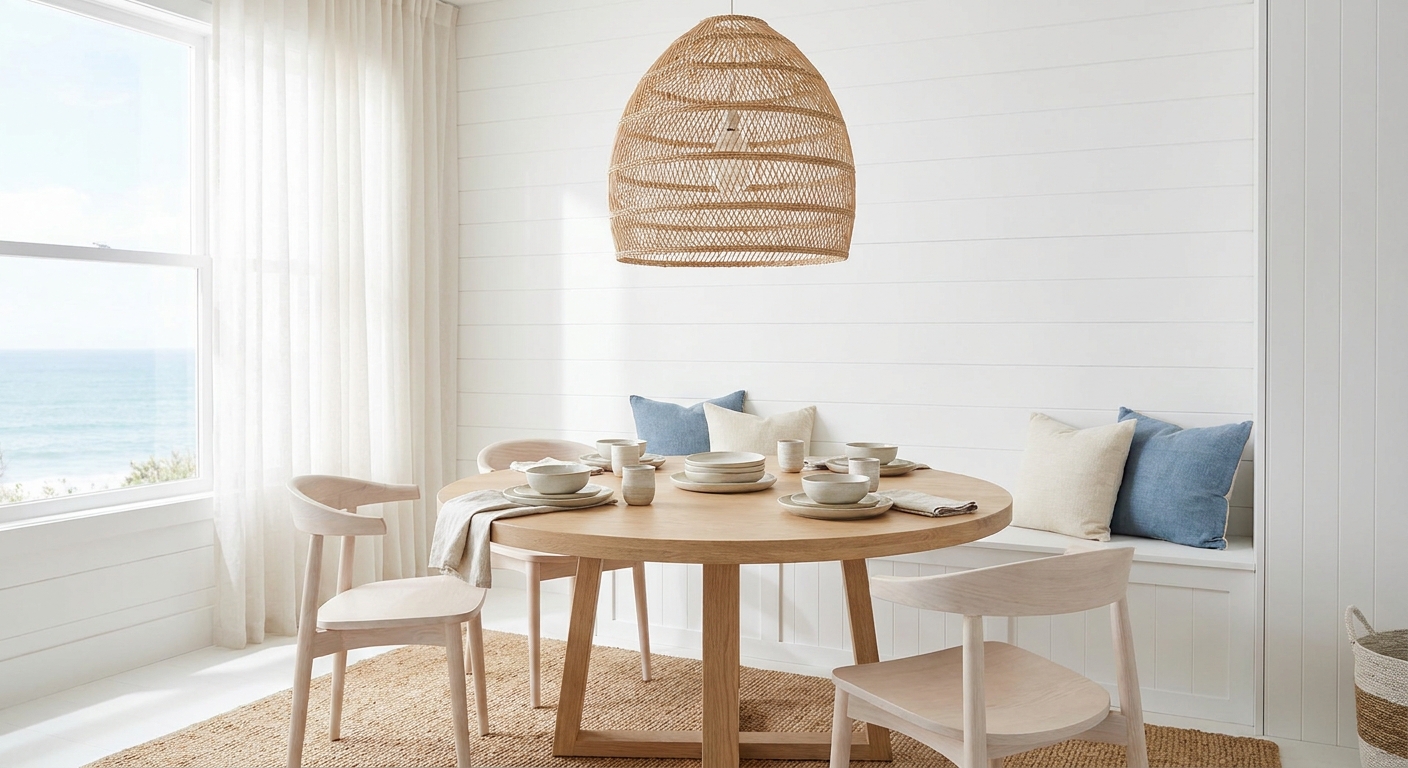
Get the breezy coastal or cozy boho look with woven, rattan, and bamboo pendants—without the gloom. Tips for weave choice, sizing, hanging height, bulbs, and...
Warm Lumen
Turn a Woven Basket or Bowl Into a Pendant Light

Lumi
Lumi is the friendly little firefly host of Warm Lumen, with a heart that glows as brightly as a perfectly placed pendant lamp. He loves discovering how soft bulbs, warm color temperatures, and layered lighting can transform any dark room into a welcoming retreat. Lumi is always fluttering by to share bright ideas and cheer you on as you create a beautifully lit space.
Published · Last updated
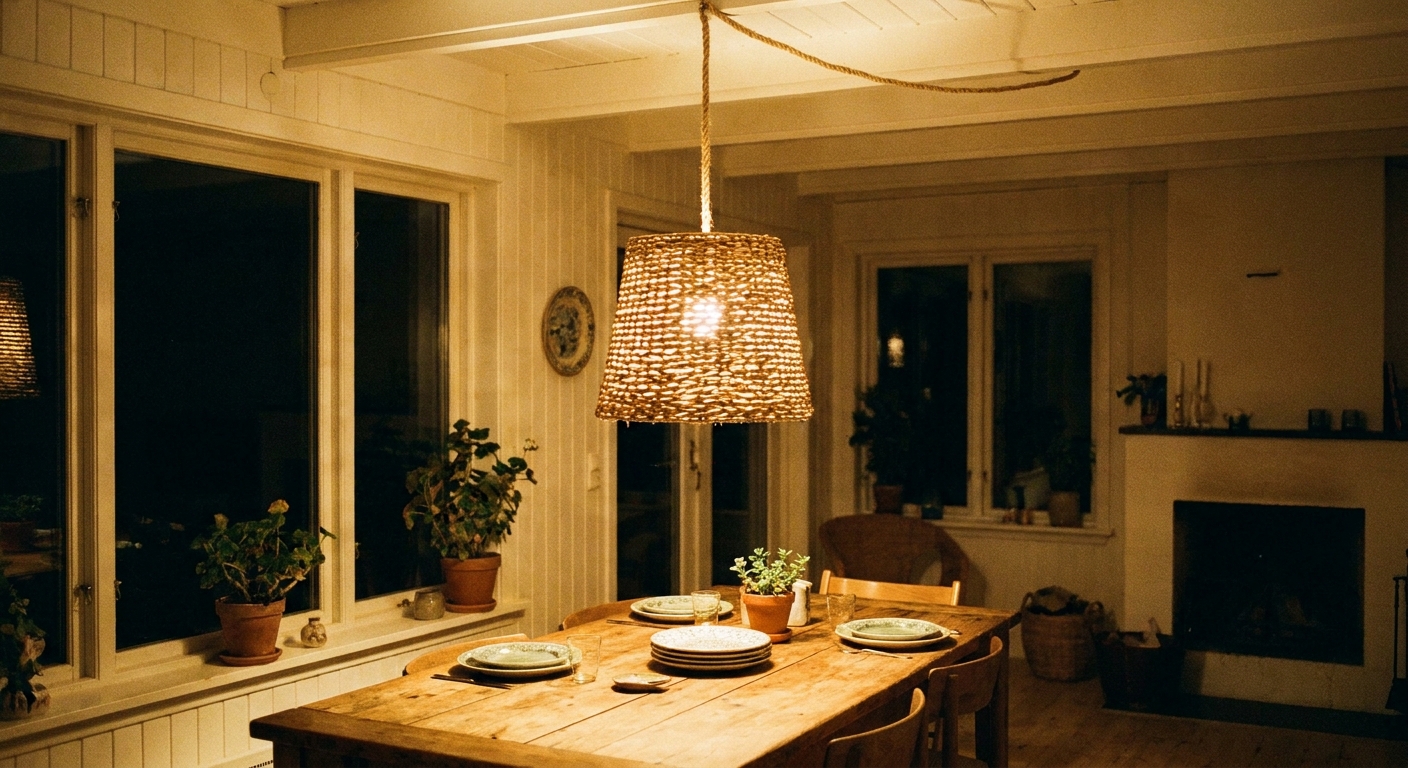
Let’s find the perfect glowing touch for every corner of your home! A woven basket or bowl can make a stunning pendant, the kind that throws cozy shadows and instantly warms up a room. The trick is keeping it lightweight, cool-running, and properly supported so it looks magical and behaves nicely above your head.
Quick overview: pick a basket → make a clean center hole → fit it with a shade ring or washers → hang from a properly mounted hook or ceiling box → choose a low-heat LED bulb that fits comfortably inside.
Before you start: safety first
- Strongly prefer LED bulbs. Avoid halogen and incandescent here. LEDs run much cooler, which matters near woven fibers, paper rope, wood, or dried grass.
- Follow the kit rating. Use a cord set or pendant kit that is listed (UL or ETL) and do not exceed the kit or socket’s maximum lamp wattage. Also note that some LED bulbs are not rated for fully enclosed fixtures, so check the bulb packaging if your basket is very closed-in.
- The basket or bowl is a shade, not a support. The ceiling box or hanging hardware must carry the weight, not the weave.
- Give the bulb breathing room. Aim for generous airflow and clearance so nothing can touch the bulb. Heat depends on bulb type, actual wattage, and ventilation, but as a practical starting point, stick to a low-watt LED (often 6 to 10W) and keep at least a couple inches of space in every direction.
- Choose the right location. Avoid damp areas unless every component is rated for it. For patios and bathrooms, see Damp vs Wet Rated Lights.
- If you are hardwiring, turn power off at the breaker. When in doubt, a licensed electrician is the safest helper for ceiling wiring.
- Know what you are changing. Modifying a shade or pairing parts in a new way can affect a product listing and may not meet every local code expectation. Follow the cord kit instructions, use listed components, and keep it conservative if this will hang over a bed, crib, or high-traffic spot.
If your goal is renter-friendly, a plug-in pendant cord set can be a great option. The cord-hiding ideas in Renter-Friendly Plug-In Wall Sconces and Cord Hiding Tricks translate beautifully to plug-in pendants too.
Pick the right basket or bowl
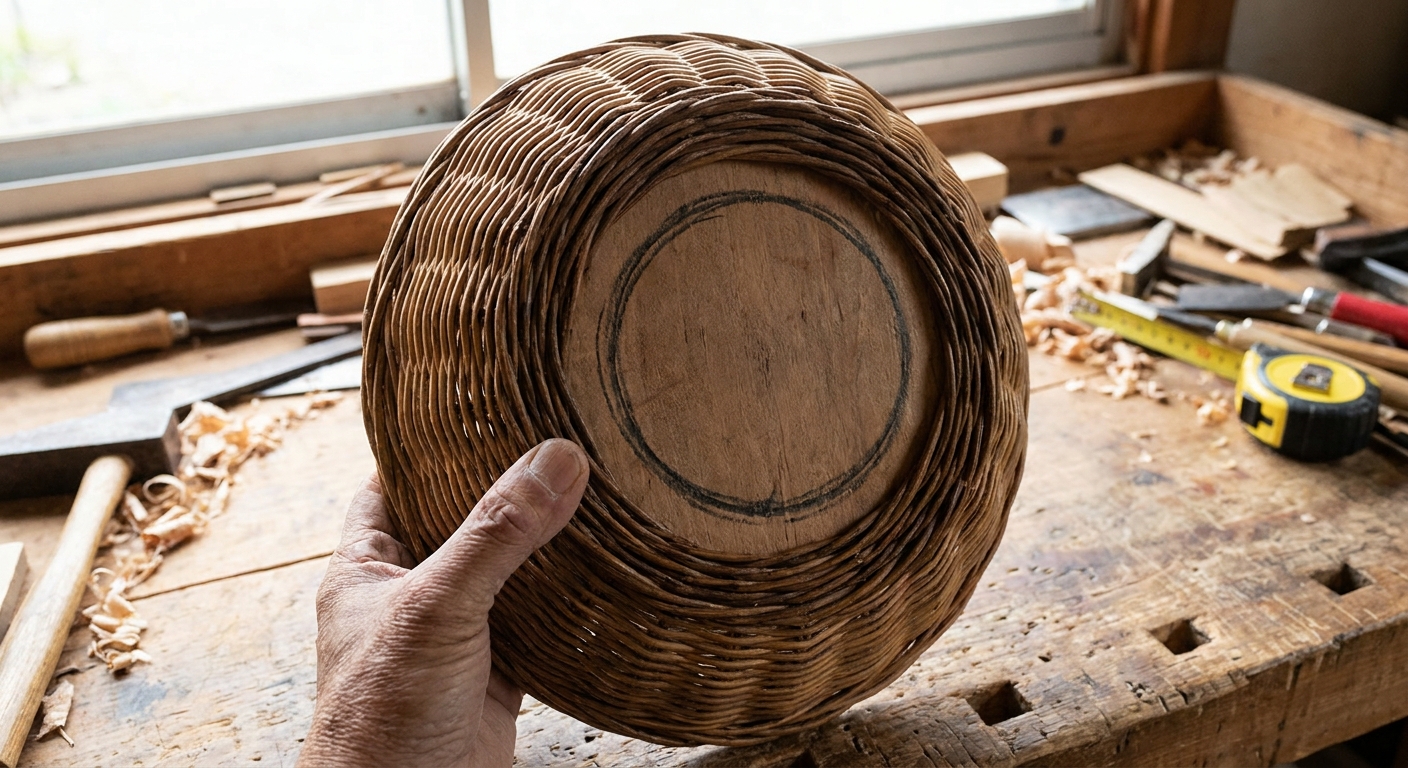
Not every cute thrifted find wants to be a ceiling light. Look for these traits:
- Lightweight: woven seagrass, rattan, bamboo, paper rope, thin wood veneer, wire fruit baskets.
- Stable shape: it should not slump when you press gently on the rim.
- Open weave or ventilation: more airflow, less heat buildup, prettier shadow play.
- No flaking finish: avoid shedding paint or brittle lacquer near a socket.
Good candidates: upside-down baskets, shallow woven bowls, wire colanders, cane pieces, wide trays with a center hub.
Skip: anything very heavy (like thick ceramic), anything that crumbles, and anything that forces the bulb to sit extremely close to the material.
Tools and supplies
For a plug-in pendant
- Plug-in pendant cord set with socket and strain relief (use a cord set rated for the bulb and use)
- LED bulb (warm, 2700K is a cozy default)
- Ceiling hook rated for the load, plus the correct anchor for your ceiling type
- Drill and bits (see below)
- Painter’s tape, marker, measuring tape
- Sandpaper (120 to 220 grit) or a deburring tool
- Optional: rubber grommet to protect the cord where it passes through
Hook note: mount into a ceiling joist when possible. If you cannot, use a properly rated anchor made for your ceiling material, and keep the total weight low. Some jurisdictions have rules about cord routing and swagged pendants, so stay tidy and follow local requirements.
For a hardwired pendant
- Hardwire pendant kit or replacement pendant socket (UL or ETL listed)
- Ceiling canopy and mounting bracket compatible with a standard ceiling box
- Wire connectors and electrical tape (as required by the kit)
- Basic hand tools (screwdriver, wire stripper)
- Optional: a lampshade ring reducer or shade fitter adapter, depending on your socket style
Need help choosing a bulb base or shape for your socket? Pop over to Light Bulb Shapes and Bases. For brightness planning, calculate the right lumens for any room before committing to a giant statement shade.
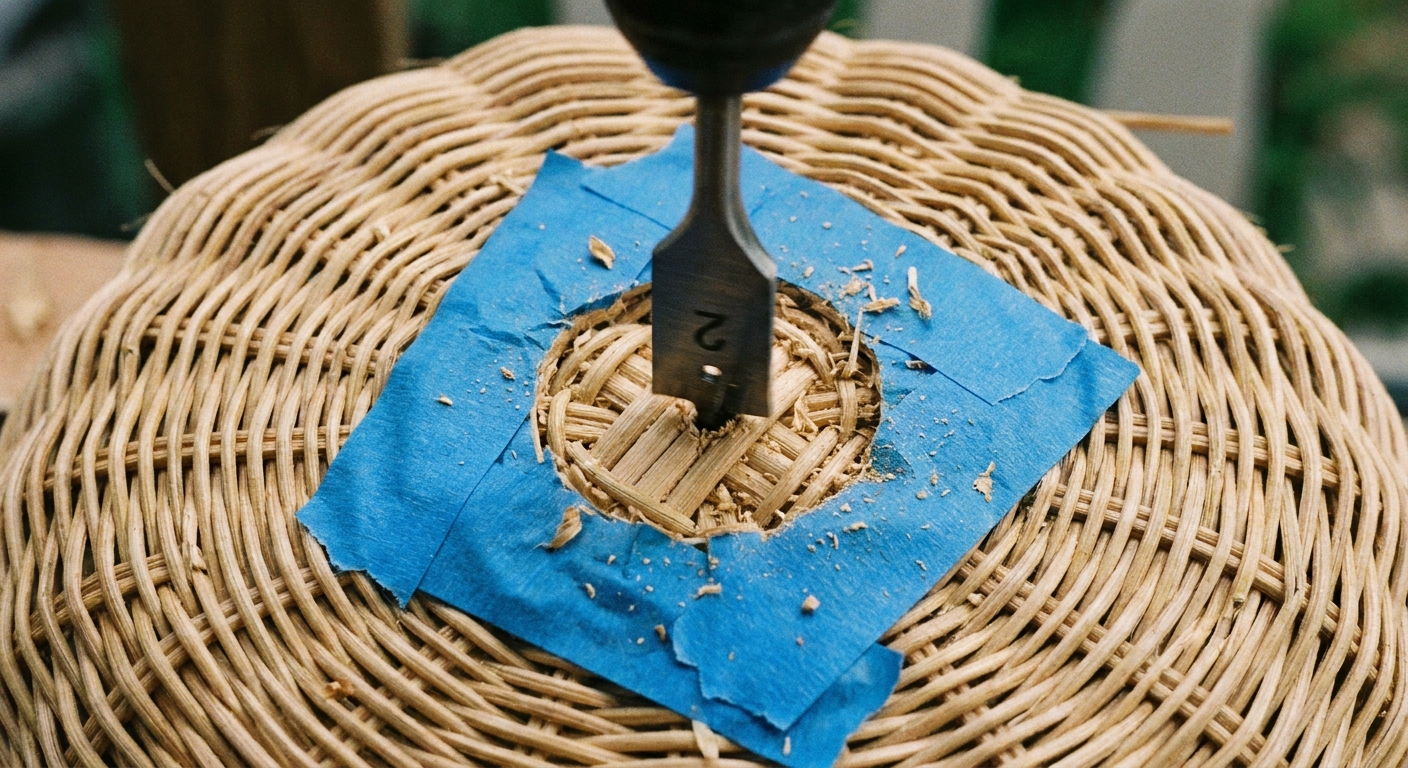
Drill the hole cleanly
The goal is a centered opening that does not shred the weave and does not pinch the cord.
Step 1: Mark the center
- Turn the basket or bowl upside down (the way it will hang).
- Find the visual center. For baskets with a spiral base, the center is usually obvious.
- Place painter’s tape over the drilling spot and mark your center point on the tape.
Step 2: Choose the right bit
- Woven natural fiber: a sharp brad-point bit or step bit works well.
- Thin wood or bamboo: brad-point bit helps prevent splintering.
- Metal wire basket: use a bit rated for metal and go slowly.
Step 3: Drill slowly and support the material
- Place scrap wood underneath if possible.
- Start with a small pilot hole, then widen to the final size.
- Do not force the drill. Let it cut.
Step 4: Smooth and protect
- Sand the hole gently.
- Add a rubber grommet if the edge feels sharp or abrasive. This helps protect the cord jacket over time.
Fit the shade so it sits straight
This is the part that makes your DIY look intentional, not wobbly.
Option A: Use a socket with a threaded shade ring
Many pendant sockets have a removable ring that can clamp a shade in place.
- Slide the basket onto the socket (cord through the hole first).
- Position the basket height so the bulb will sit comfortably inside without touching.
- Tighten the shade ring to hold the basket.
Option B: Add washers for a “floating” clamp
- Use a large washer on the inside of the basket (hidden) to spread pressure.
- Add a second washer on the outside if needed.
- Use the socket ring or a locking nut (depending on the kit) to clamp the assembly.
Option C: Add simple cross supports
If the weave is too flexible, add two thin wood slats or lightweight metal straps inside in an X shape. Drill through the slats and basket together so the pressure is distributed across a wider area.
Important: the supports help the shade hold its shape, but the ceiling mount still carries the weight.
Wire it safely (and when to stop)
Plug-in pendant cord
- Assemble the cord kit per its instructions.
- Make sure there is strain relief where the cord enters the socket. Strain relief prevents tugging from stressing the electrical connections.
- Hang the cord from a properly mounted ceiling hook, then use the basket as the shade.
Hardwired to a ceiling box
- Turn off power at the breaker and confirm it is off.
- Use a listed pendant kit with canopy and mounting bracket.
- Match wires exactly as the kit specifies (typically hot to hot, neutral to neutral, ground to ground).
- Secure all connections inside the canopy and mount to the ceiling box.
Stop and call a pro if you see brittle cloth wiring, a damaged or loose ceiling box, confusing wire colors, or if there is no equipment ground available and your fixture requires one.
Bulb choice: warm, safe, and not glary
Woven pendants are all about warmth and texture. A few bulb choices keep the vibe cozy instead of harsh.
- Color temperature: 2200K to 2700K for candle-cozy, 3000K for a slightly brighter modern warmth. If you love a vintage look, see LED Edison bulbs.
- Brightness: many woven shades feel best around 450 to 800 lumens, but room size matters. Use our lumens guide to scale up or down.
- Shape and size: make sure the bulb fits fully inside the basket with clearance. A standard A19 is often easiest. If the basket is shallow, a smaller profile bulb can prevent hotspots and accidental contact.
- Glare control: if you can see the bulb through an open weave, choose a frosted bulb or a globe shape that reads softer on the eyes. More on that in Clear vs Frosted Glass Globes.
- Color quality: CRI 90+ helps natural fibers look rich and not muddy. Learn why in CRI Explained.
- Stay within ratings: choose an LED whose actual wattage is within the socket or kit’s maximum lamp wattage, and follow any enclosed-fixture guidance on the bulb package.
Heat check
Once everything is assembled, do a simple real-life test.
- Turn the light on for 30 to 60 minutes.
- Carefully touch the basket near the socket area. It should feel only mildly warm.
- If it feels hot, or if you smell anything “toasty,” turn it off and adjust: use a lower-watt LED, increase clearance, or choose a more open weave.
Hanging height and placement
A great pendant is part lighting, part choreography. Here are friendly starting points:
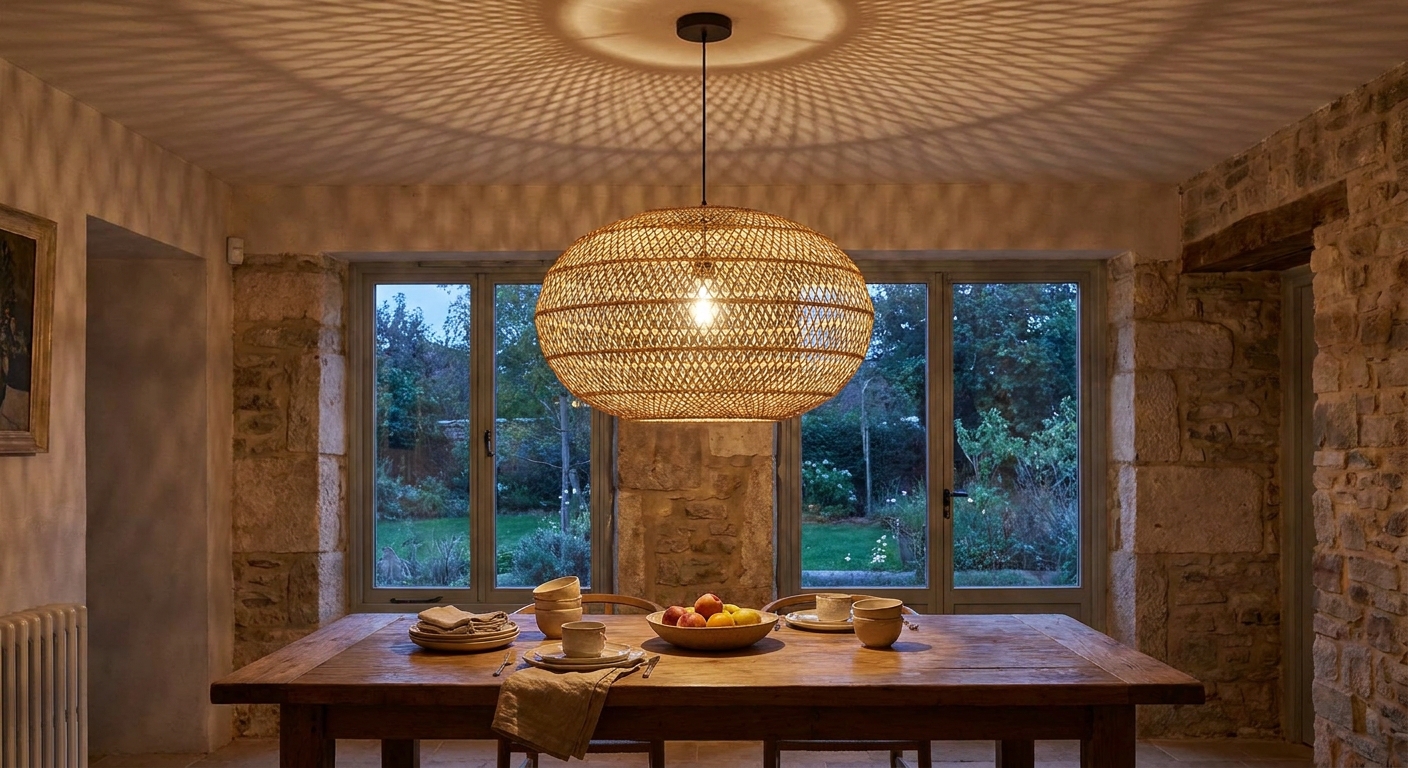
- Over a dining table: bottom of shade about 30 to 36 inches above the tabletop.
- In an open walkway: keep at least 80 inches from the floor to the bottom of the shade.
- Over a kitchen island: aim for similar to dining, but check sightlines across the room.
If you want a more tailored fit, visit Sizing a Dining Room Chandelier or Pendant.
Finishing touches
- Add a diffuser. A simple frosted acrylic circle inside the basket can soften the bulb view while still letting the weave glow. Keep the diffuser well away from the bulb, and secure it so it cannot slip or fall onto the lamp.
- Trim the rim. Linen tape, leather lacing, or thin wood beading can give the edge a finished look.
- Paint the inside. A light coat of matte white inside a deep basket boosts brightness. Let finishes fully cure and keep paint away from the socket area.
- Swap the cord color. A natural linen cord disappears against woven textures, while black cord makes it feel modern and graphic.
Common problems and fixes
The shade hangs crooked
- Widen the hole slightly so the cord exits straight.
- Add washers to level the clamping surface.
- Use internal cross supports for floppy weaves.
The bulb is too glary
- Switch to a frosted bulb or a lower-lumen bulb.
- Move the socket deeper into the shade if the kit allows.
- Add a simple internal diffuser (secured, and not touching the bulb).
The light feels dim
- Choose a brighter bulb (more lumens, not more watts).
- Paint the inside a light matte color.
- Layer the room with other light sources. See How to Layer Kitchen Lighting for a simple mindset that applies anywhere.
The LED bulb flickers on a dimmer
- Confirm the bulb is dimmable.
- Use an LED-compatible dimmer. More help here: How to Fix LED Flicker.
FAQ
Can I use a ceramic bowl as a pendant shade?
Only if it is light enough for your hardware and you can mount it securely without the bowl carrying the load. Heavy materials also need a ceiling box and mounting hardware rated for the weight. When in doubt, choose a lighter shade material.
Do I need a canopy?
For hardwired pendants, yes. The canopy covers the electrical box and wiring. For plug-in pendants hung from a hook, there is no canopy because it is not connected to a ceiling box.
What bulb is safest in a basket pendant?
A reputable LED bulb with low heat output is the safest choice. Stay within the socket or cord kit’s maximum lamp wattage, make sure the bulb fits with clearance, and check the bulb package if your shade is close to fully enclosed.
More DIY lighting ideas
- Turn Recessed Lights Into Pendants With a DIY Conversion Kit
- Spray Paint Old Metal Light Fixtures for a Modern Look
- DIY Under-Cabinet LED Strip Lighting Without Hardwiring
- Woven and Rattan Pendant Lights for Coastal and Boho Rooms
- More in DIY & Easy Upgrades
With the right cord kit, a careful hole, and a warm LED glow, that everyday basket can become the room’s softest little spotlight. Happy hanging, bright friend.