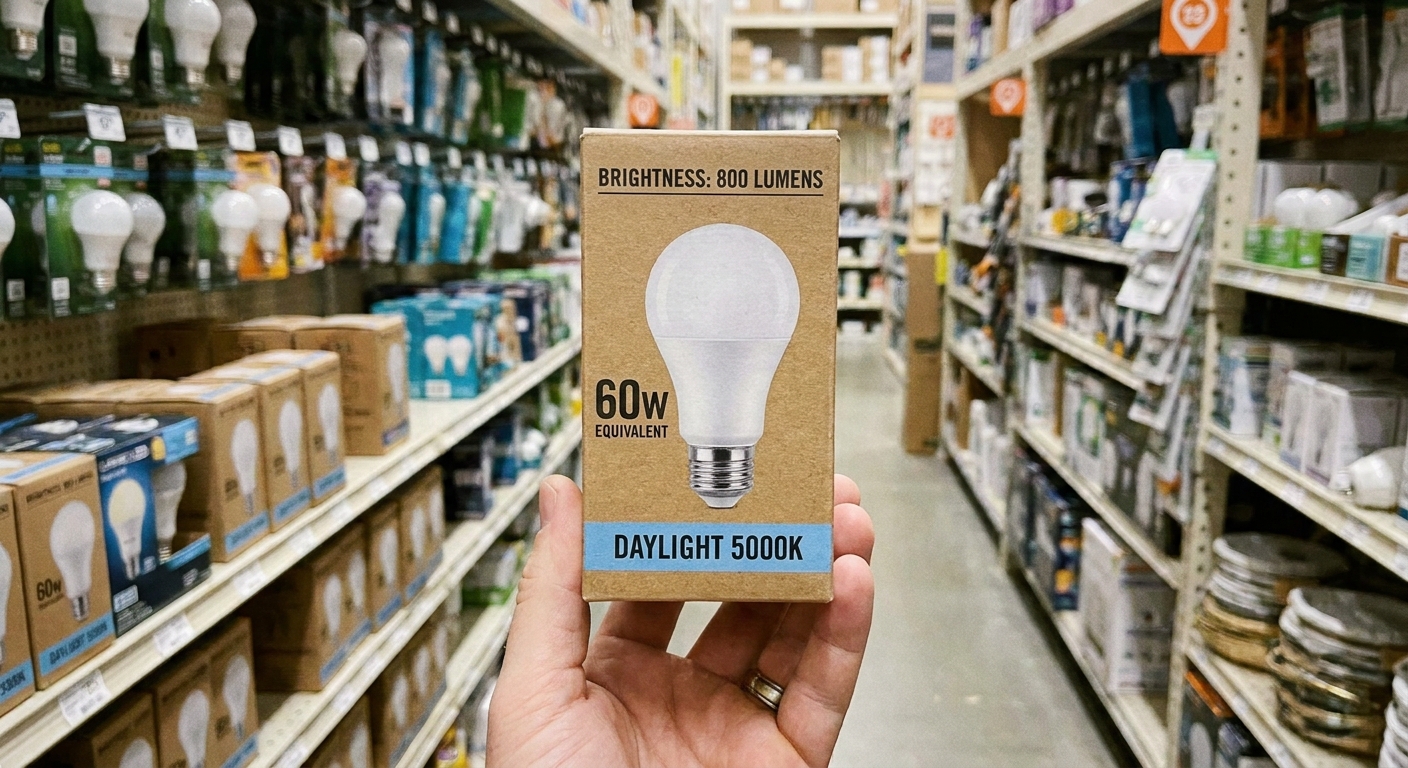
Stop guessing by watts. Learn what lumens really mean, use an easy 40W–100W replacement chart, and get quick tips on Kelvin color temperature, CRI, dimming, ...
Warm Lumen
Calculate the Right Lumens for Any Room

Lumi
Lumi is the friendly little firefly host of Warm Lumen, with a heart that glows as brightly as a perfectly placed pendant lamp. He loves discovering how soft bulbs, warm color temperatures, and layered lighting can transform any dark room into a welcoming retreat. Lumi is always fluttering by to share bright ideas and cheer you on as you create a beautifully lit space.
Published · Last updated
Let’s find the perfect glowing touch for every corner of your home. When lighting feels too dim, too harsh, or just a little off, it usually comes down to one thing: total light output. One of the simplest ways to get it right is to match your room size to a recommended brightness level using foot-candles, then convert that into lumens you can shop for.
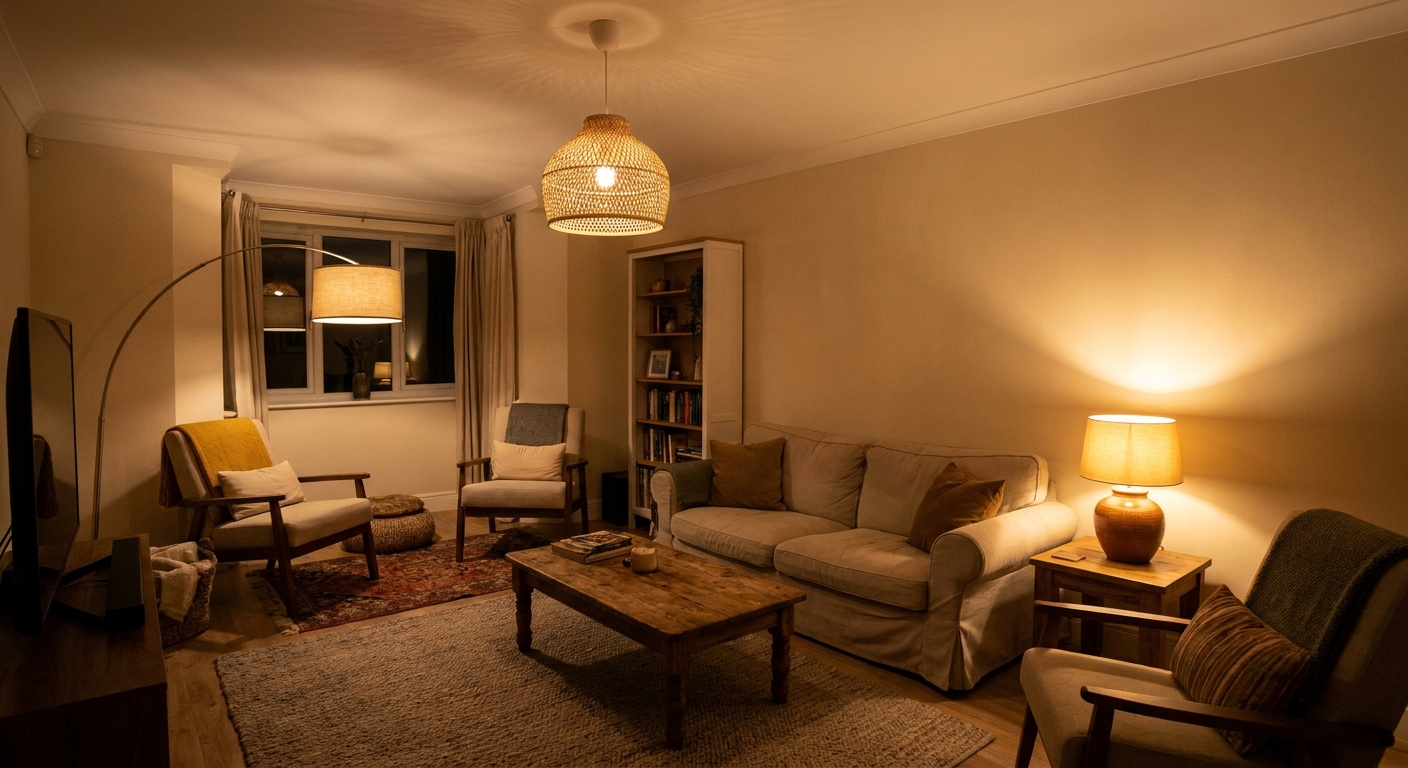
The only formula you need
Here is the core calculation:
Total lumens needed = Room area (square feet) × Target foot-candles
This is a practical planning estimate for homes, not a photometric guarantee. Fixture design, mounting height, shades, and placement can all change how bright the room actually feels.
- Lumens = how much light a bulb or fixture produces.
- Foot-candles (fc) = illuminance, or how much light hits a surface (like the floor, desk, or counter).
- Square feet = room length × room width.
Step by step: from room size to lumens
1) Measure the room
Measure length and width in feet, then multiply.
- Area (sq ft) = length × width
If the room is an L shape, break it into two rectangles, calculate each, then add them together.
2) Pick a foot-candle target
Choose a range based on typical use. Use the lower end for a softer mood, and the higher end for crisp visibility. If you are older, have low-contrast finishes, or do detailed tasks, you may naturally prefer the higher end.
| Space | Typical target (foot-candles) |
|---|---|
| Living room (general) | 10 to 20 fc |
| Dining room (general) | 10 to 20 fc |
| Bedroom (general) | 5 to 15 fc |
| Hallway | 5 to 10 fc |
| Kitchen (general ambient) | 20 to 30 fc |
| Kitchen (counters and prep) | 30 to 50 fc |
| Bathroom (general ambient) | 10 to 25 fc |
| Bathroom (vanity face lighting) | 30 to 50 fc |
| Home office (general) | 20 to 30 fc |
| Desk task area | 40 to 60 fc |
| Laundry room | 20 to 50 fc |
| Garage (parking and storage) | 10 to 30 fc |
| Workshop or workbench zone | 30 to 75 fc |
These are common residential targets, not hard rules. The next section shows how to adjust when your room is darker, taller, or more glare-prone.
3) Do the lumen math
Multiply your square footage by your chosen foot-candles.
- Total lumens = sq ft × fc
4) Split those lumens across layers
Most rooms feel best with layered light, not one super bright fixture. As a starting point:
- Ambient (general light): 50 to 70 percent of total lumens
- Task (work zones): 20 to 40 percent
- Accent (art, shelves, texture): 10 to 20 percent
Want a simple layering approach for cooking spaces? Visit How to Layer Kitchen Lighting.
Worked examples
Example 1: Living room
Room: 12 ft × 15 ft = 180 sq ft
Target: 15 fc (comfortable general brightness)
Total lumens: 180 × 15 = 2,700 lumens
Easy way to allocate:
- Ambient: about 1,600 to 1,900 lumens (a ceiling fixture, or a few lamps if you skip overhead)
- Task: about 600 to 900 lumens (reading lamp near seating)
- Accent: about 200 to 500 lumens (picture light, shelf lighting, or a small directional lamp)
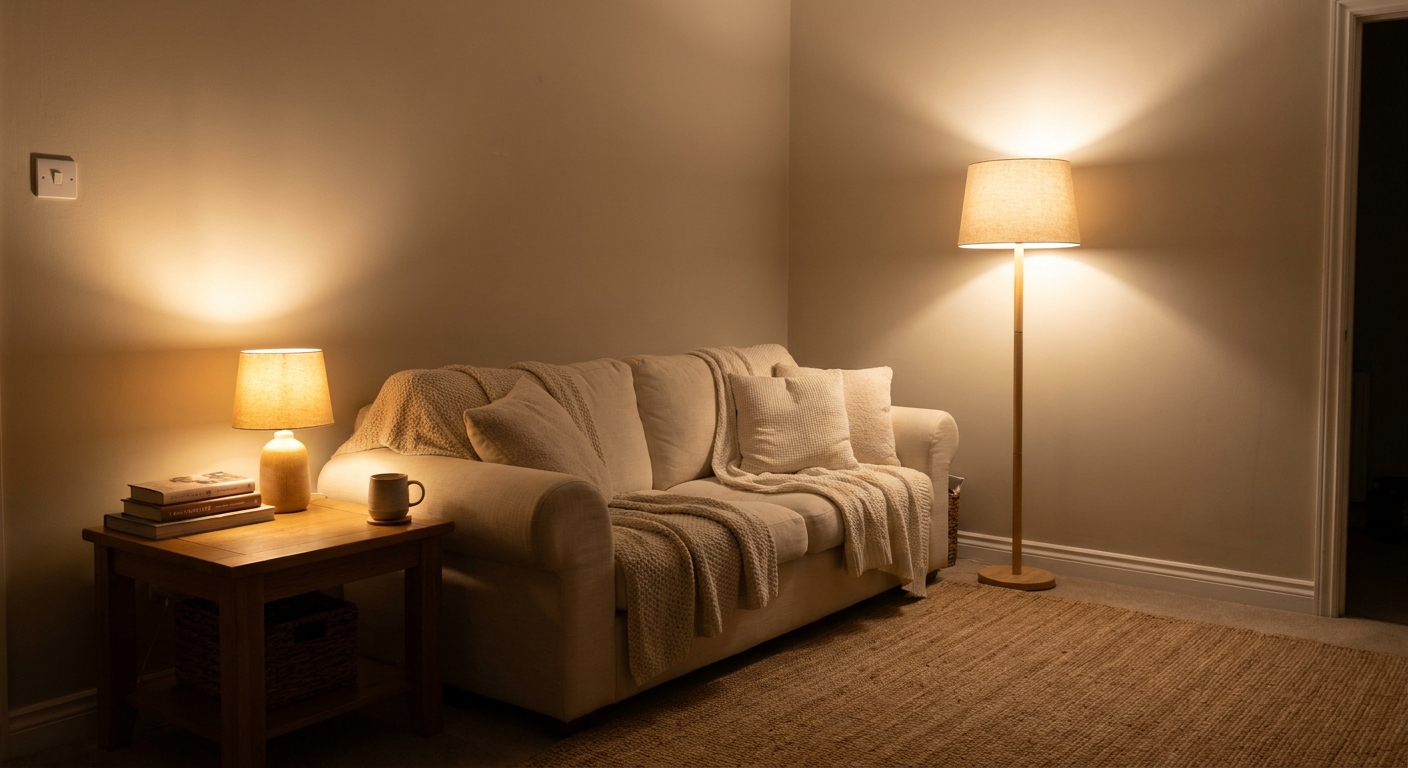
If your living room has no ceiling fixture, that is totally workable. See Living Room Lighting Without Overhead Fixtures.
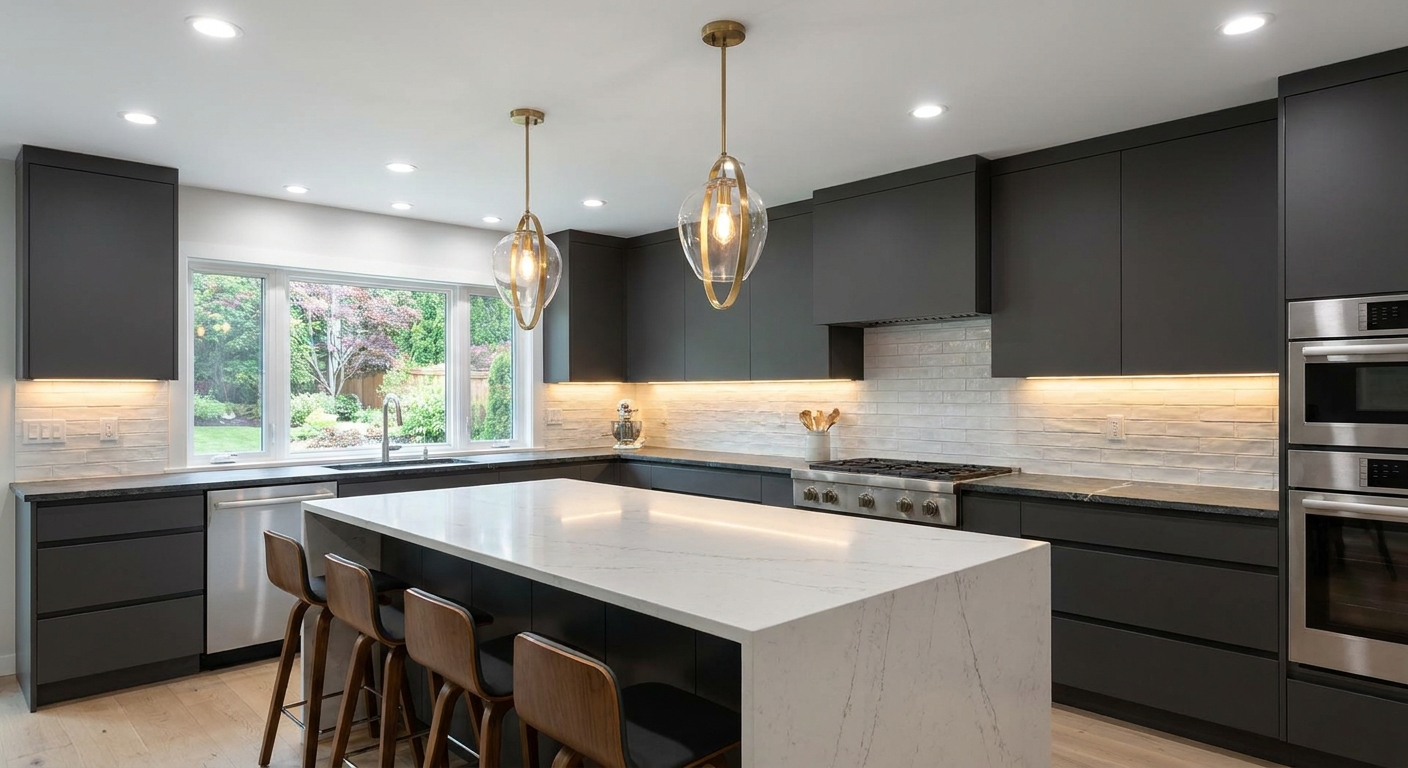
Example 2: Kitchen with brighter counters
Room: 10 ft × 12 ft = 120 sq ft
Ambient target: 25 fc
Ambient lumens: 120 × 25 = 3,000 lumens
Now add task lighting where food prep happens. Instead of basing it on the whole room, it is often more accurate to base it on the counter area that needs the extra brightness.
Counter zone: 2 ft × 8 ft run = 16 sq ft
Task target: 40 fc
Task lumens (starting estimate): 16 × 40 = 640 lumens
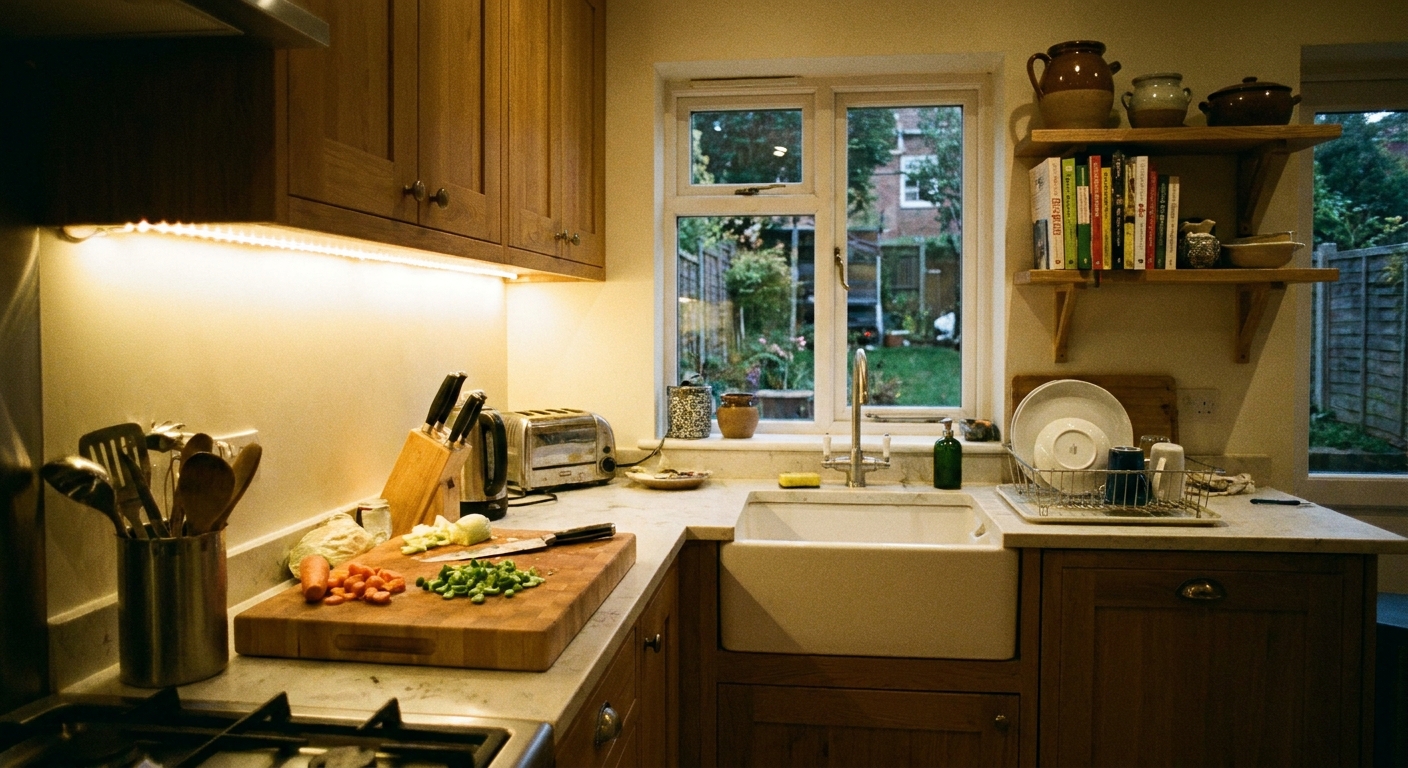
In real kitchens, under-cabinet lighting depends heavily on fixture optics, mounting position, and how efficiently the light lands on the counter. Treat the number above as a baseline, then check product specs like lumens per foot and plan for dimming so you can fine-tune brightness.
That task light is usually delivered by under-cabinet bars, puck lights, or well-placed pendants.
Example 3: Bathroom vanity lighting
Room: 8 ft × 10 ft = 80 sq ft
General target: 20 fc
General lumens: 80 × 20 = 1,600 lumens
Vanities often need extra, but it should be face-friendly brightness from the front or sides, not harsh top-down glare.
For color temperature guidance (so skin tones look natural), see Best Color Temperature for Bathroom Vanity Lighting.
Adjustments that make the math match real life
The formula gives a strong baseline. These quick tweaks help the result feel right in the actual room.
If you have dark walls, dark floors, or lots of wood
Dark finishes absorb light. Add 10 to 25 percent more lumens, especially for rooms where you read, cook, or apply makeup.
If your ceilings are tall
Higher ceilings spread light over more volume and can reduce the amount of light that makes it down to your work surfaces. Add 10 to 20 percent for 9 to 10 ft ceilings, and 20 to 40 percent for very tall or vaulted spaces. Also consider more sources at human height, like floor lamps and wall sconces, to keep the room from feeling gloomy at eye level.
If you want a softer mood (without losing function)
Keep the total lumens near your target, but put more of them on dimmers and spread them across multiple fixtures. This avoids the all-or-nothing feeling of a single bright ceiling light.
If glare is a problem
Glare is not just “too many lumens”. It is often bare bulbs, clear glass, or high output from a single point source. Choose shades, diffusers, and warmer color temperatures, and aim light toward walls and ceilings when possible. You can also improve comfort by choosing higher quality light (good color rendering) instead of simply adding brightness.
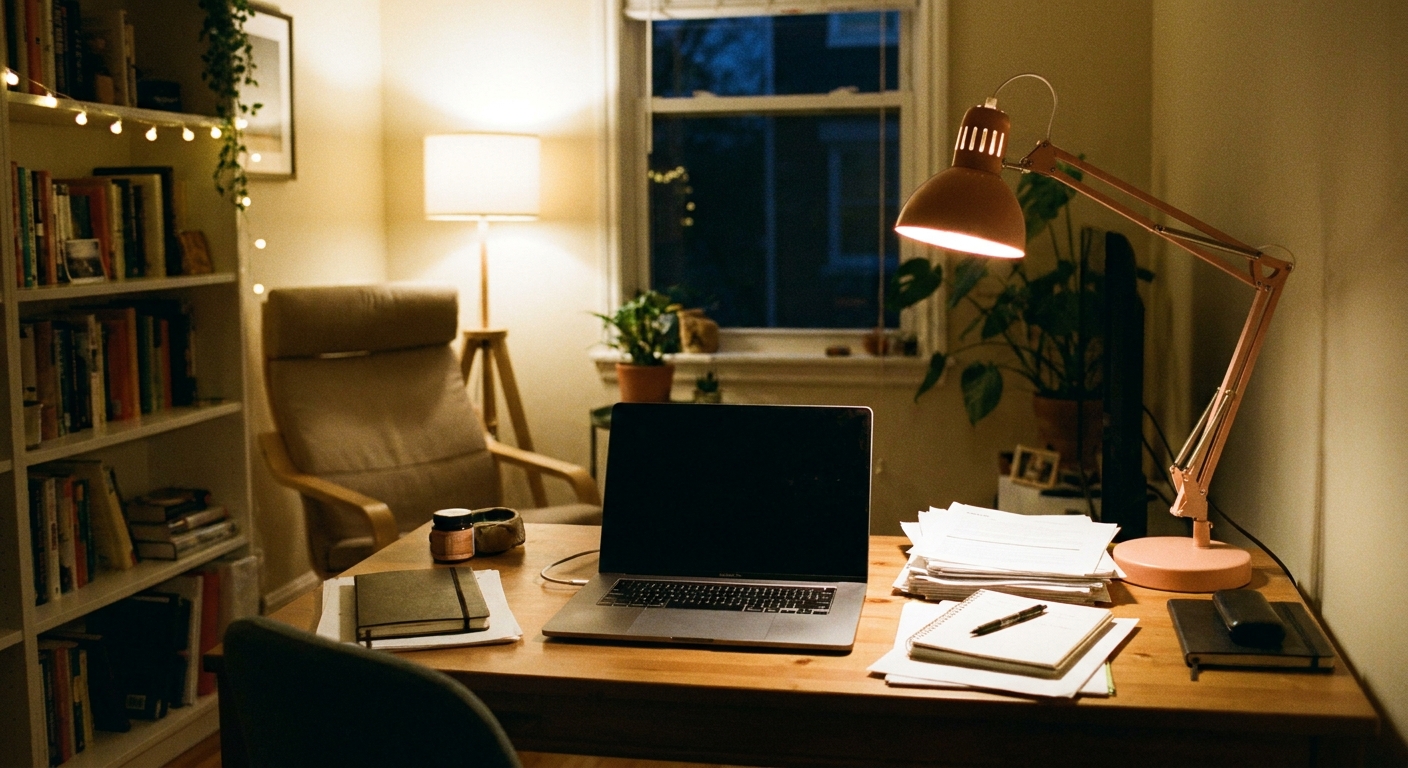
Working near a screen? Visit Home Office Lighting Setup: Reduce Screen Glare and Eye Strain.
If your layout or fixtures create bright spots and shadows
Lumens add up, but distribution matters. A single central fixture can leave corners dim, while multiple smaller sources spaced around the room usually feel more even. Recessed downlights tend to create pools of light, while flush mounts and shaded fixtures spread light more broadly.
How to translate lumens into bulbs and fixtures
Read product specs
Ignore “watt equivalent” as a planning tool. Use the lumens number listed for each bulb or integrated LED fixture.
- A typical LED A19 bulb: often around 800 to 1,100 lumens
- Integrated LED fixtures: range widely, often 1,000 to 4,000+ lumens
Add up lumens across all light sources in the room
If your target is 2,700 lumens, you can reach it many ways:
- 3 bulbs at 900 lumens each (about 2,700 total)
- 1 ceiling fixture at 1,800 lumens plus 1 floor lamp at 900 lumens (about 2,700 total)
Plan for control
The most comfortable rooms have options. Dimmers, multiple circuits, and a mix of lamp types let you swing from bright-cleaning mode to cozy-evening glow.
If you are deciding between smart controls, see Smart Bulbs vs Smart Switches.
Quick reference: lumen targets by room size
Use this as a fast starting point when you do not want to run the full range math.
| Room size | Soft (10 fc) | Balanced (20 fc) | Bright (30 fc) |
|---|---|---|---|
| 100 sq ft | 1,000 lumens | 2,000 lumens | 3,000 lumens |
| 150 sq ft | 1,500 lumens | 3,000 lumens | 4,500 lumens |
| 200 sq ft | 2,000 lumens | 4,000 lumens | 6,000 lumens |
| 250 sq ft | 2,500 lumens | 5,000 lumens | 7,500 lumens |
| 300 sq ft | 3,000 lumens | 6,000 lumens | 9,000 lumens |
Then adjust based on finishes, ceiling height, fixture type, and how task-heavy the space is.
Common mistakes
- Using watts instead of lumens: watts measure energy use, not brightness.
- Planning only for the center of the room: corners and walls need light too, or the room feels cave-like.
- Relying on one overhead fixture: it often creates shadows and glare. Layer instead.
- Forgetting the work zones: counters, desks, vanities, and reading chairs need higher foot-candle targets than general ambient light.
FAQ
Is lumen math accurate if I use lamps instead of ceiling lights?
Yes. Lumens are lumens, no matter the source. Lamps can be even more comfortable because they place light at eye level and reduce harsh shadows. You may simply use more fixtures to spread the light evenly.
What if my fixture has a shade or diffuser?
Bulb lumens are straightforward because they describe the bulb’s output. With integrated LED fixtures, the listing often shows fixture lumens, which may already account for optics and diffusers. Either way, a shade or diffuser changes how light is distributed and how bright it feels in specific directions. That is another reason layered lighting works so well: it helps you place light exactly where you need it.
Do I need to calculate for the whole open concept area?
It helps to calculate by zones instead. Treat the kitchen, dining, and living areas as separate lighting goals, then ensure the totals add up to a cohesive feel.
A gentle glow-up checklist
- Measure your room (sq ft).
- Choose foot-candles based on how the space is used.
- Multiply to get total lumens.
- Split lumens across ambient, task, and accent layers.
- Add dimming and multiple sources for comfort.
For more foundational lighting building blocks, head over to Lighting Basics & Education.