Stop guessing your lighting. Use a simple foot-candle × square footage formula to find total lumens, then split them into ambient, task, and accent layers wi...
Warm Lumen
Sizing a Dining Room Chandelier or Pendant

Lumi
Lumi is the friendly little firefly host of Warm Lumen, with a heart that glows as brightly as a perfectly placed pendant lamp. He loves discovering how soft bulbs, warm color temperatures, and layered lighting can transform any dark room into a welcoming retreat. Lumi is always fluttering by to share bright ideas and cheer you on as you create a beautifully lit space.
Published · Last updated
Let's find the perfect glowing touch for every corner of your home, starting right above the dining table. A well-sized chandelier or pendant looks balanced, lights faces kindly, and makes the whole room feel intentionally “finished” instead of randomly bright.
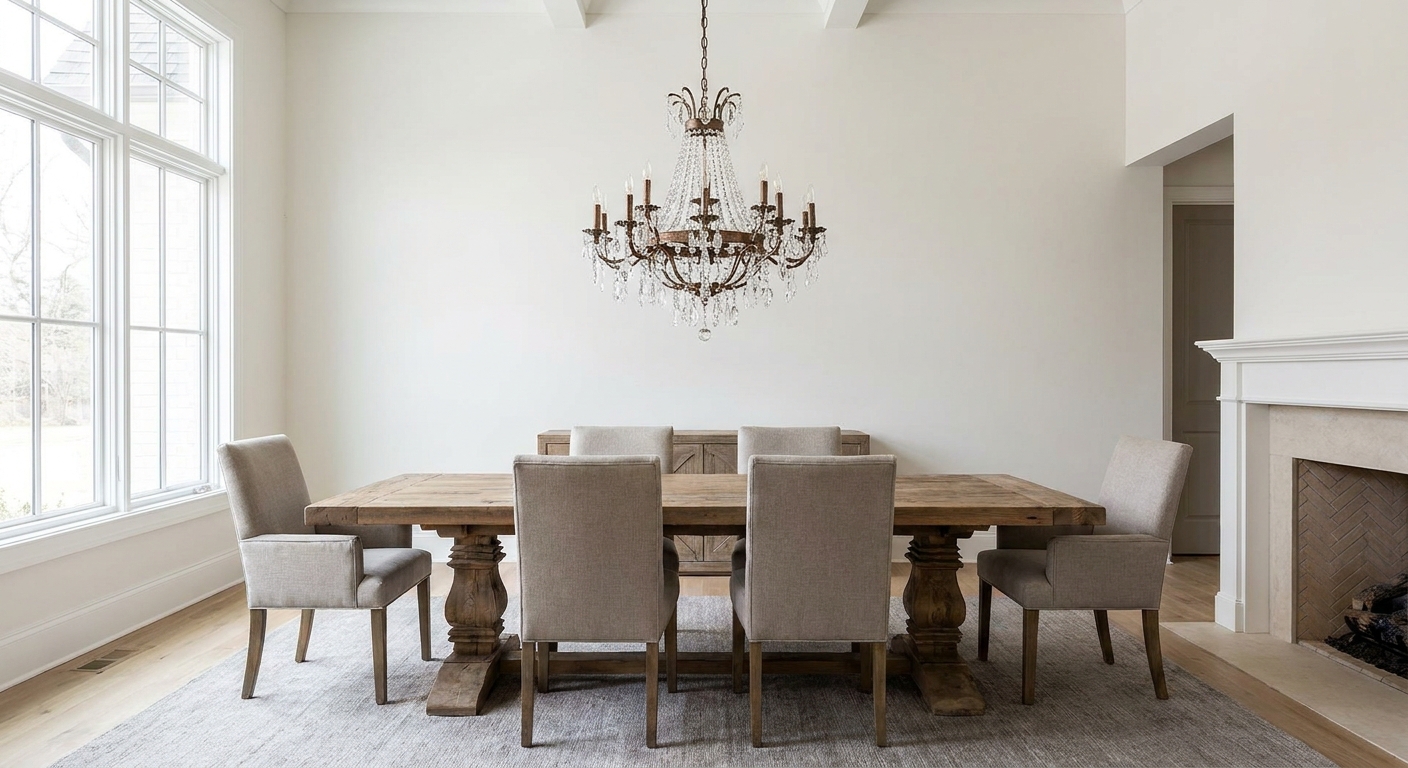
Quick sizing cheat sheet
If you only remember a few numbers, make them these. They cover most dining rooms and will steer you away from fixtures that feel too tiny or too overpowering.
- Fixture width or diameter: aim for about 1/2 to 2/3 of the table width.
- Clearance from table edges: keep the fixture at least 6 inches in from each side of the tabletop, and ideally 9 to 12 inches in.
- Hanging height above the table: typically 30 to 36 inches from the tabletop to the bottom of the fixture.
- Adjust for ceiling height: for ceilings taller than 8 feet, add about 3 inches of hanging height for each extra foot of ceiling.
Want more room lighting fundamentals beyond dining spaces? Visit Lighting Basics & Education.
Step 1: Measure your table first
The dining table is the “stage,” and the fixture is the spotlight. Start with these two measurements:
- Table width (side to side)
- Table length (end to end)
Rectangular and oval tables
Best rule of thumb: choose a fixture that is 1/2 to 2/3 of the table width.
- If your table is 36 inches wide, aim for a fixture about 18 to 24 inches wide.
- If your table is 42 inches wide, aim for about 21 to 28 inches wide.
Optional extra for linear fixtures: if you are shopping a linear chandelier, a helpful starting point is a length around 1/2 to 2/3 of the table length, while still keeping comfortable edge clearance at the ends.
Also check edge clearance: keep the fixture’s widest point at least 6 inches away from the table edge on all sides. More breathing room usually looks more polished, especially with chairs pulled out.
Round and square tables
Use the table’s diameter (round) or width (square).
- Round table: fixture diameter about 1/2 to 2/3 of the table diameter.
- Square table: fixture diameter or width about 1/2 to 2/3 of the table width.
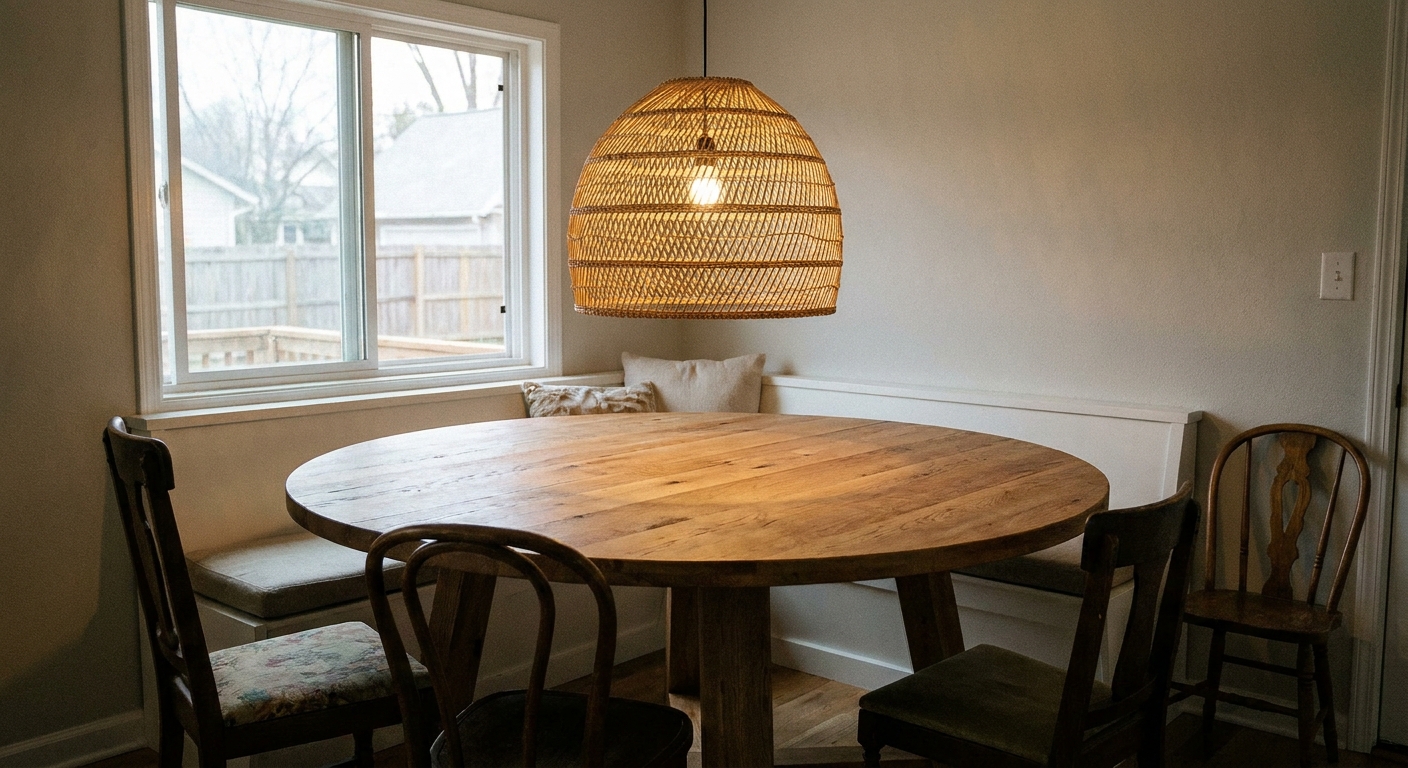
Step 2: Pick the right shape
“Right” is mostly about visual balance and how evenly the light spreads across plates and faces.
For rectangular tables
- Linear chandelier or a long rectangular fixture feels naturally aligned.
- Two or three pendants in a row can work beautifully if they are spaced evenly and hung at the same height.
- One round chandelier can work too, especially if the fixture has some horizontal presence, but it is easier to undersize by accident.
For round tables
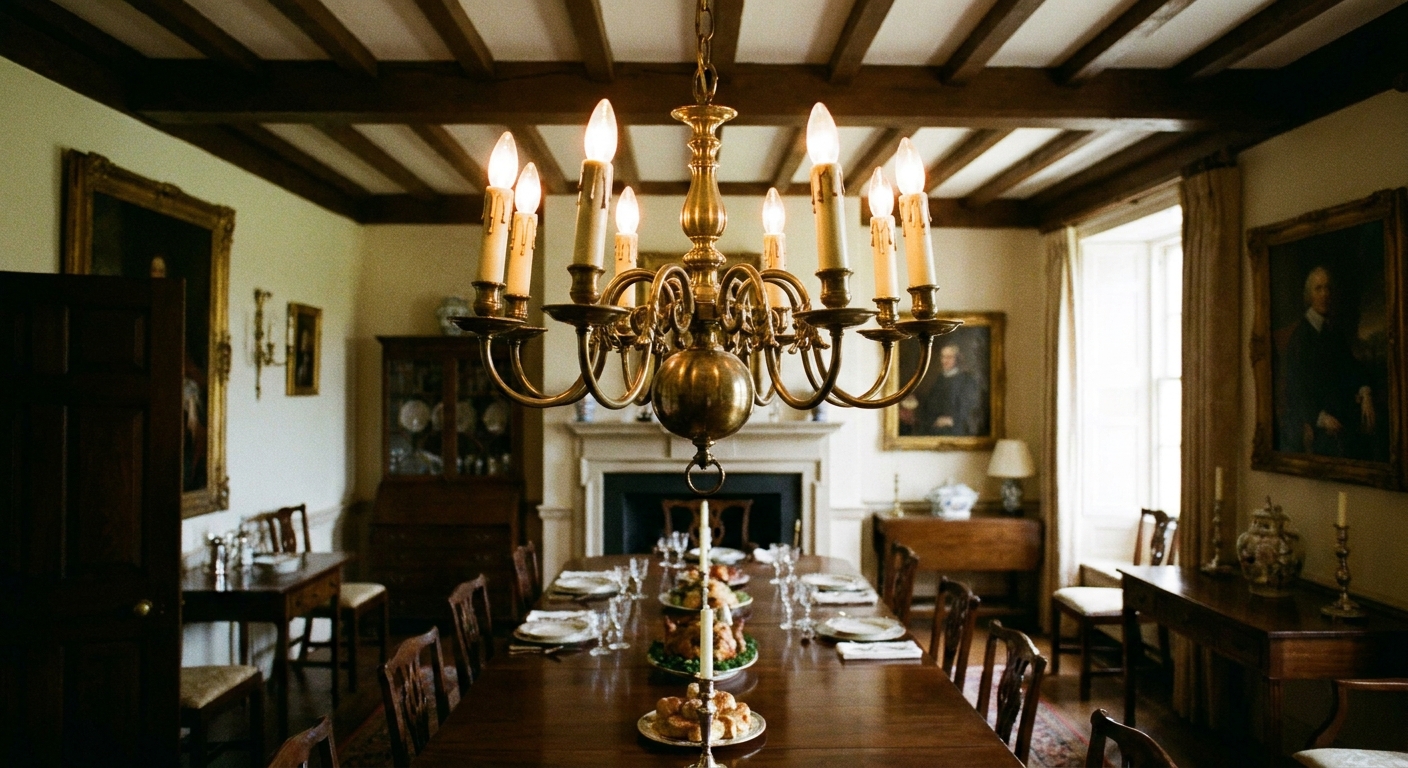
- One chandelier or one statement pendant is usually the cleanest match.
- If you want multiple pendants over a round table, keep them tight and cohesive so the arrangement still reads as one “centerpiece.”
More fixture shapes and style ideas live in Fixtures & Styles.
Step 3: Hang it at the right height
Hanging height is where comfort and sparkle meet. Too low feels crowded. Too high makes the light feel detached from the table.
Standard ceilings (8 feet)
Start with 30 to 36 inches from the tabletop to the bottom of the fixture.
- 30 to 32 inches if the fixture is visually light and compact.
- 34 to 36 inches if the fixture is wide, visually heavy, or has bright exposed bulbs that you want out of direct eye-line.
Comfort check: stand up from your chair. If the fixture feels like something you could bump with your head or shoulders, raise it a bit.
Taller ceilings
If your ceiling is taller than 8 feet, add about 3 inches of hanging height per extra foot of ceiling.
- 9-foot ceiling: about 33 to 39 inches above the tabletop
- 10-foot ceiling: about 36 to 42 inches above the tabletop
Little firefly note: this is a starting point, not a law. If someone tall regularly sits at the table and the fixture feels low, nudge it up. If the light feels like it is floating too far above dinner, bring it down a touch.
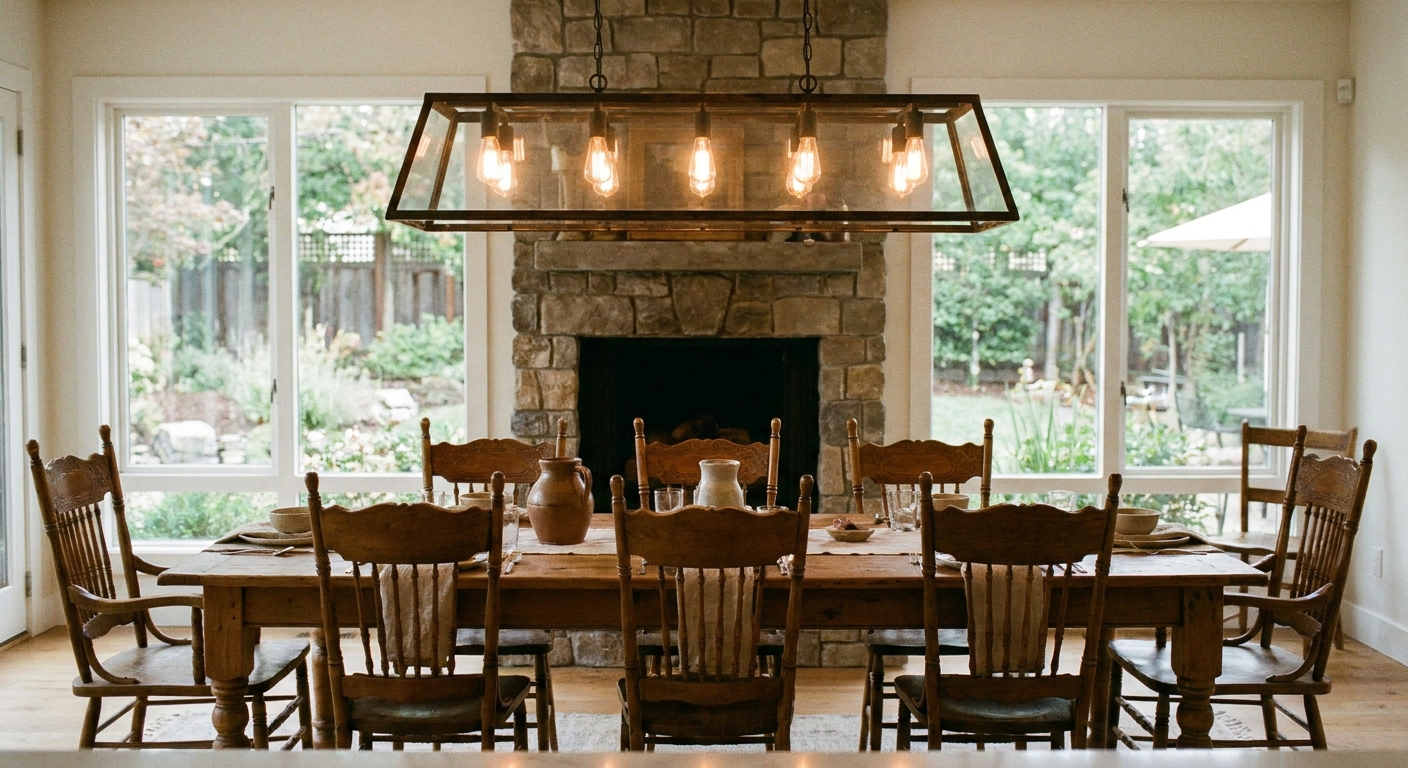
Step 4: Centering and spacing
Center it on the table
Even if your dining room is open concept or the table is off-axis with the ceiling box, the fixture generally looks best centered over the tabletop.
If moving the junction box is not in the plan, a swag hook can help shift the canopy point while keeping the fixture centered over the table. This is a great moment to check your local code, the fixture’s mounting instructions, and whether the hardware is properly rated for the fixture’s weight. If you rent, get landlord permission before you make changes.
If you use two or three pendants
The goal is simple: even spacing and comfortable edge clearance.
- Start with edge clearance: keep each pendant’s outer edge at least 6 to 12 inches in from the table ends.
- Then space the centers evenly: measure the usable run between those end clearances and divide it evenly for two or three pendants.
- Adjust for pendant size: bigger shades need bigger gaps so everything can breathe.
Need more room-specific help? Browse more guides in Room-by-Room Lighting.
Step 5: Brightness and bulbs
A beautifully sized fixture can still feel “off” if it is too dim, too glaring, or the color temperature fights the mood.
How bright should dining lighting be?
A flexible goal for the chandelier or pendants themselves is often around 1,500 to 3,000 lumens total, depending on room size, wall color, shade opacity, and how much other light you have in the room. Many dining rooms feel best with layered lighting like recessed lights, sconces, or lamps doing some of the work too.
- Cozy dinners: lower light levels plus dimming feel best.
- Homework and puzzles: you will appreciate higher output or a brighter scene.
Use warm color temperature
For most dining rooms, 2700K is a warm, flattering default. If your home leans modern and you like a slightly cleaner feel, 3000K can still read warm without turning orange.
Prioritize dimming and glare control
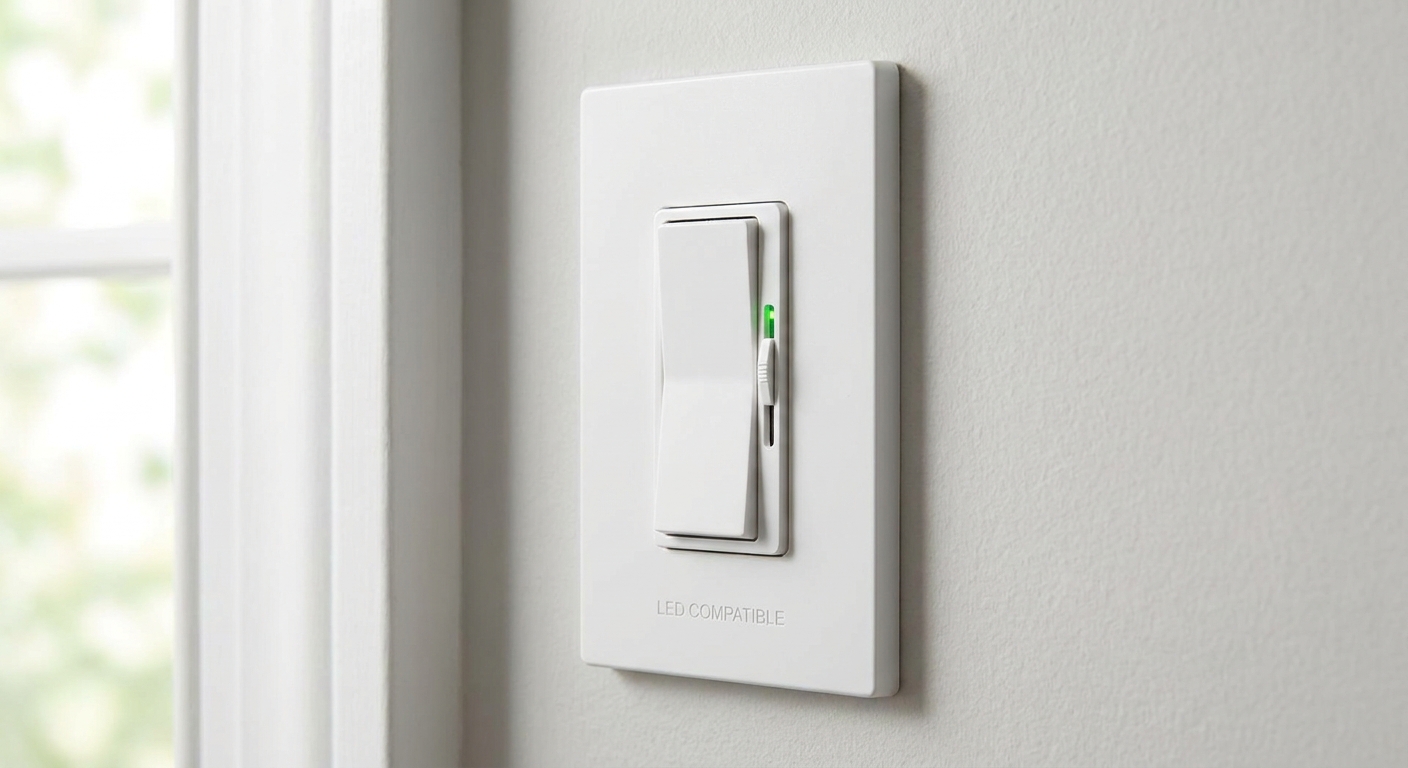
If there is one upgrade that makes dining lighting feel magical, it is a dimmer. It lets the same fixture do “Tuesday night pasta” and “holiday sparkle” without changing anything else.
For less glare, choose frosted bulbs, lower-lumen bulbs, or a fixture with shades, globes, or diffusers, especially if bulbs are exposed.
For more on bulbs, color temperature, and dimmers, visit Lighting Basics & Education.
Common sizing mistakes
Mistake: Choosing a fixture based only on room size
Fix: use the table as the primary reference. The room matters, but the table is what you are lighting.
Mistake: Hanging it too high
Fix: re-measure from tabletop to fixture bottom and aim for the range that fits your ceiling height. Lowering just a few inches often makes the whole setup feel intentional.
Mistake: Exposed bulbs at eye level
Fix: raise the fixture slightly, add a dimmer, or choose bulbs with lower glare. Shades, globes, and diffusers help too.
Mistake: Fixture looks tiny over a long table
Fix: remember that long tables often need more length and visual presence, not just the right width. Consider a longer linear option, or switch from one center pendant to two or three smaller pendants spaced evenly.
Mini examples
Example 1: 72 x 36 inch table, 8-foot ceiling
- Target fixture width: about 18 to 24 inches
- Hanging height: about 30 to 36 inches above tabletop
- Long-table note: because the table is 72 inches long, many people prefer a linear fixture with enough length or visual spread to feel anchored, or two pendants instead of one small center piece.
Example 2: 60 inch round table, 9-foot ceiling
- Target fixture diameter: about 30 to 40 inches
- Hanging height: about 33 to 39 inches above tabletop
- Style match: one chandelier or one statement pendant
FAQ
Can a chandelier be wider than the table?
It can, but it usually looks and feels awkward in a dining setting. A safer approach is to keep the chandelier narrower than the tabletop and preserve at least 6 inches of clearance from the table edge, with 9 to 12 inches looking especially balanced.
What if my table has leaves and changes size?
Size to the table’s most common setup. If you extend it often for gatherings, lean toward the larger end of the recommended range or choose a linear fixture that visually stretches with the table.
Do I need a chandelier if I have recessed lights?
Recessed lights are great for general illumination, but a dining chandelier or pendant provides a centerpiece and more flattering light at face level. Layering them together is often the sweetest glow.
How low can I hang a dining pendant without blocking views?
Most people land comfortably at 30 to 36 inches above the tabletop. If sightlines feel blocked, raise it a few inches while keeping the fixture centered and on a dimmer.
Final check before you buy
- Measure your table width and confirm your target fixture width or diameter.
- If you are choosing a linear fixture, sanity-check the length so it feels proportional to the table.
- Confirm hanging height from tabletop, based on your ceiling height and comfort when standing up.
- Make sure the fixture can be dimmed and that bulb type and lumens match the mood you want.
- When in doubt, mock it up with painter's tape on the table or a cardboard circle held at the intended height. A quick visual check can save a lot of second-guessing.
If you would like more help choosing finishes and shapes that match your home’s vibe, visit Fixtures & Styles. Your dining room glow is closer than it looks.