Chasing LED flicker, buzzing, or jumpy dimming? Learn why dimmers and LED drivers clash, how leading-edge, trailing-edge, and ELV controls differ, and the qu...
Warm Lumen
Replace a Light Switch With an LED Dimmer

Lumi
Lumi is the friendly little firefly host of Warm Lumen, with a heart that glows as brightly as a perfectly placed pendant lamp. He loves discovering how soft bulbs, warm color temperatures, and layered lighting can transform any dark room into a welcoming retreat. Lumi is always fluttering by to share bright ideas and cheer you on as you create a beautifully lit space.
Published · Last updated
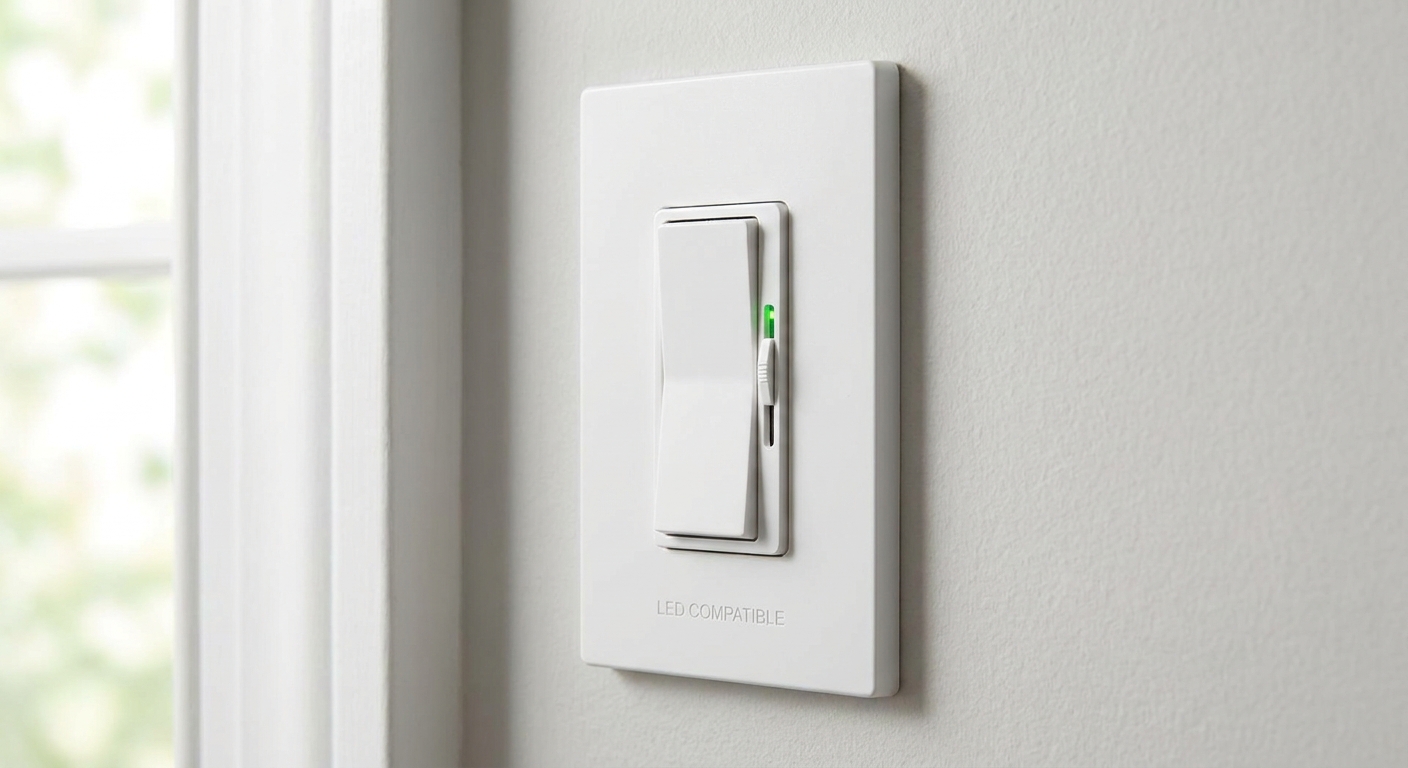
Let’s find the perfect glowing touch for every corner of your home! Swapping a basic on/off wall switch for an LED-compatible dimmer is one of the quickest ways to make a room feel calmer, cozier, and more flexible. The key is doing it safely and choosing a dimmer that plays nicely with LEDs.
Before you start: safety and when to stop
Anytime you work on a wall switch, you are working with household voltage. If anything below feels uncertain, it is completely okay to pause and call a licensed electrician.
Turn off power the safe way
- Switch off the correct breaker at your electrical panel.
- Confirm power is off at the switch using a non-contact voltage tester. Test the tester on a known live circuit first, then test the switch box, then test the tester again.
- Keep the wall switch area dry and work with good light, like a flashlight or headlamp.
Stop and get help if you see any of these
- Aluminum wiring (often dull silver-colored wire in older homes). Aluminum can be made safer with special connectors and pigtails, but that is a job for a pro.
- Cracked or brittle insulation on wires
- Signs of overheating (scorch marks, melted plastic, burnt smell)
- More wires than expected and you cannot confidently identify them
- No grounding conductors and your dimmer requires ground
If a breaker trips immediately after you restore power (including AFCI or GFCI breakers), turn it back off and recheck your connections. If you cannot quickly find a clear cause, stop and call an electrician.
Bathrooms and covered outdoor areas have extra rules around moisture and protection. If you are working near a damp location, it helps to review what “rated” fixtures mean in Damp vs Wet Rated Lights.
Tools and materials
- LED-compatible dimmer (look for “LED” or “CFL/LED” on the packaging)
- Matching wall plate (many dimmers need a dimmer-style plate)
- Flathead and Phillips screwdriver
- Non-contact voltage tester
- Wire stripper (if needed)
- Needle-nose pliers (optional)
- UL-listed wire connectors (wire nuts) if your dimmer does not reuse existing ones
- Electrical tape (optional, for neatly wrapping terminals where appropriate)
Important: Use the installation instructions that come with your exact dimmer model. Wire colors and terminal labels vary by brand.
Choose the right LED dimmer
Not all dimmers dim all LED bulbs the same way. The best match depends on the bulb type, the driver inside the bulb or fixture, and how much wattage is on the circuit.
Check three things before buying
- LED compatibility: The packaging should clearly say it is designed for dimmable LEDs.
- Load rating: Dimmers have minimum and maximum loads. LEDs draw so little power that a dimmer can struggle if the total load is too low. Add up the bulb wattages on that switch.
- Single-pole vs 3-way: If one switch controls the lights, you need single-pole. If two switches control the same lights, you need a 3-way capable dimmer and you must wire it correctly.
A quick note on dimmer types
Most screw-in LED bulbs are designed to work with standard forward-phase (triac) LED dimmers. Some fixtures with electronic drivers or electronic low-voltage transformers may dim better on reverse-phase (often labeled ELV) dimmers. If your fixture manual lists a dimmer type, follow that list.
Plan for flicker-free dimming
LED dimming issues are usually a compatibility problem between dimmer and bulbs, not “bad wiring.” For troubleshooting tips later, keep How to Fix LED Flicker With the Right Dimmer handy.
Step-by-step: replace the switch with a dimmer
1) Remove the wall plate and switch
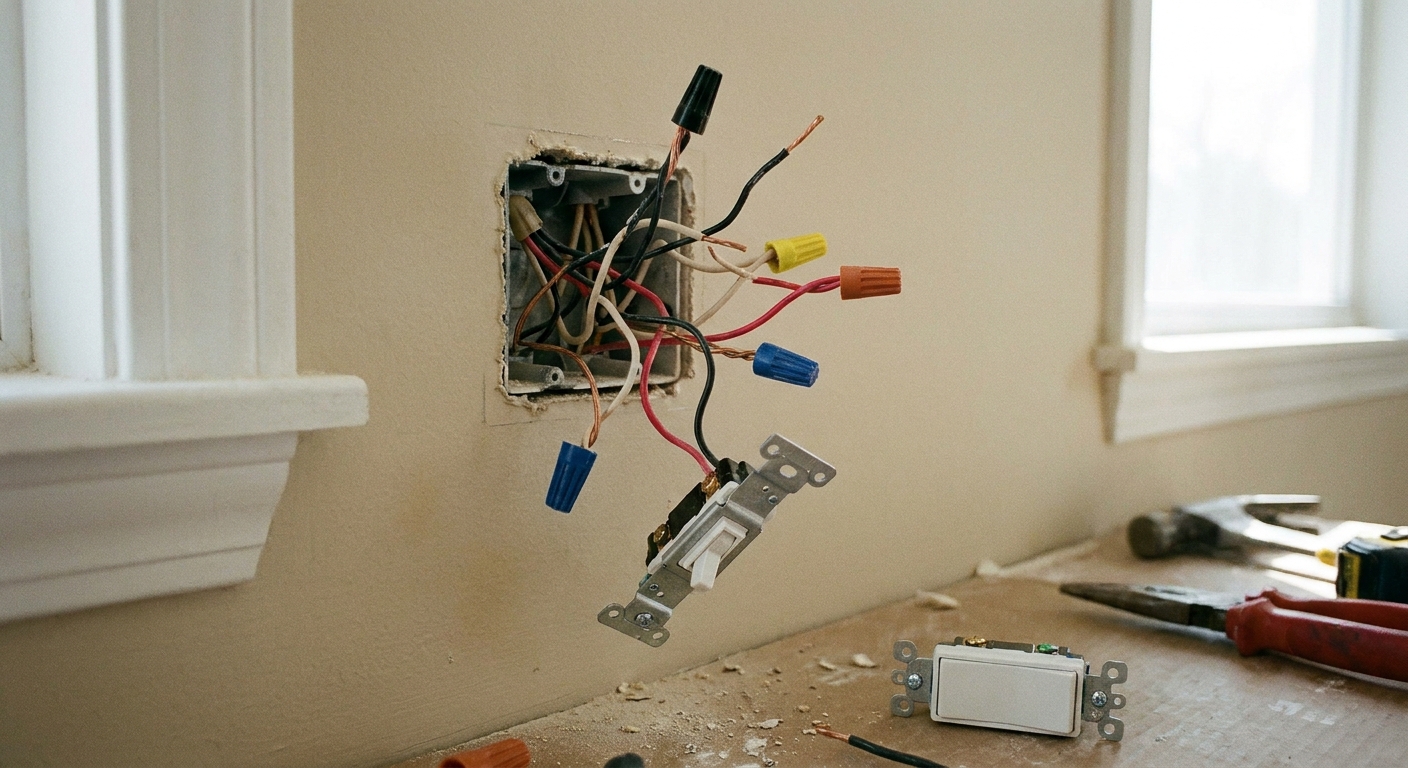
- Remove the wall plate screws and set the plate aside.
- Unscrew the switch mounting screws (top and bottom) and gently pull the switch out.
- Do not touch bare metal parts yet. Confirm again with your voltage tester that power is truly off.
2) Take a clear photo and label what you see
Before disconnecting anything, take a well-lit photo of the existing switch and wires. This becomes your “map” if you need to put everything back.
In most single-pole setups you will see:
- Two hot wires (often black). One is the incoming power (line) and one goes to the light (load).
- A ground wire (bare copper or green).
- Neutral wires (usually white) bundled in the back of the box. A standard switch typically does not connect to neutral.
3) Disconnect the old switch
- If wires are attached to screw terminals, loosen the screws and remove the wire loops.
- If wires are pushed into backstab holes, look for a small release slot to free the wire, or clip and re-strip the conductor if needed (leave enough length).
Keep the ground wire accessible.
4) Identify line and load (if your dimmer requires it)
Some 2-wire dimmers are non-polarized, meaning either lead can go to line or load. Many modern LED dimmers are polarity-sensitive and will label leads as LINE and LOAD. Follow your model’s diagram.
If your old switch had two identical screws and no labels, you may not know which is line vs load. If the dimmer requires it and you are unsure, the safest choice is to stop and call an electrician. Correct identification typically involves testing with power on, which should only be done by someone comfortable with proper electrical testing procedures.
5) Connect the new dimmer
Follow your dimmer’s instructions exactly. Common wiring patterns look like this:
- Ground: Connect the dimmer’s green (or bare) ground to the bare copper/green ground in the box. If multiple grounds are present, they are usually tied together with a wire connector.
- Hot (line) and load: Connect the dimmer’s leads to the two hot wires from the box, matching LINE and LOAD if required.
- Neutral (only if required): Some smart dimmers and certain LED dimmers need neutral. That means connecting the dimmer’s neutral lead (often white) to the bundle of neutral wires in the back of the box using an approved connector. If there is no neutral bundle available and the dimmer requires neutral, you need a different dimmer or professional help.
Wire connector tips: Tug each wire gently after tightening the connector. A secure splice should not slide apart.
Multi-gang boxes: If your dimmer shares a box with other switches, check the instructions for any “derating” steps (some models require removing side fins and lowering the maximum wattage). This can also affect how warm the dimmer runs.
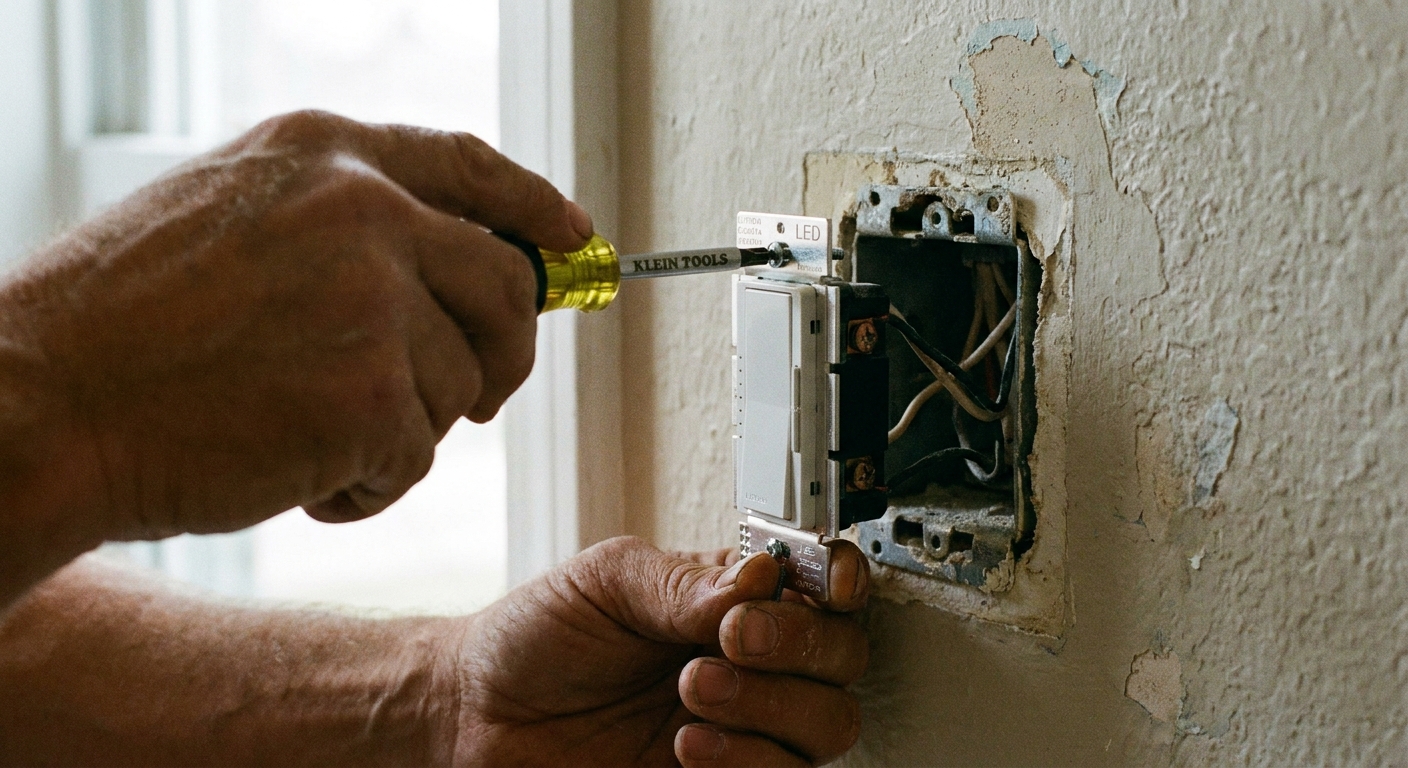
6) Fit the dimmer back into the box
- Carefully fold wires back into the box. Keep splices tucked neatly.
- Avoid pinching wires behind the dimmer body.
- Screw the dimmer into the box so it sits straight. Do not overtighten.
- Install the correct wall plate.
7) Restore power and test
- Turn the breaker back on.
- Turn the dimmer on and slowly slide or rotate through the full dimming range.
- Listen and watch: there should be no flicker or flashing and no noticeable buzzing.
If the dimmer has a small setup dial or digital calibration, use it to set your lowest comfortable level without flicker.
Common problems and quick fixes
Flickering or shimmering
- Confirm the bulbs are labeled dimmable.
- Make sure the dimmer is rated for LED loads.
- Try a different bulb brand or model. LED drivers vary a lot.
- Adjust the dimmer’s low-end trim (if it has one).
More detail here: How to Fix LED Flicker With the Right Dimmer.
Lights turn off before the slider reaches the bottom
This is usually a low-end setting issue or a compatibility issue. Raise the low-end trim, or switch to bulbs known to dim smoothly on your dimmer type.
Buzzing sound
- A faint hum can happen, especially at certain dim levels. Noticeable buzzing is a red flag.
- Check that the wall plate is not pressing on the dimmer and that mounting screws are snug.
- Try a different LED bulb brand or a higher quality dimmer.
- If buzzing persists, stop using the dimmer and replace it.
Dimmer feels warm
Warm is normal. Hot is not. If the dimmer is too hot to comfortably touch, turn power off and reassess load, wiring connections, and box fill (an overcrowded box with too many conductors for its size can trap heat).
Make dimming look beautiful
Once the dimmer works, the room glow depends on bulb choice. For cozy ambiance, many rooms look best with warm color temperatures and good color rendering.
- For help choosing warmth: Best Color Temperature for Bathroom Vanity Lighting (the color temperature guidance applies well beyond bathrooms, too).
- For “true colors” at low dim levels: CRI Explained.
- For brightness planning: Calculate the Right Lumens for Any Room.
FAQ
Do I need special bulbs for a dimmer?
Yes. Your bulbs should say dimmable. Non-dimmable LEDs can flicker, strobe, or fail early on a dimmer.
Can I put a dimmer on any light fixture?
Not always. Some LED fixtures have integrated drivers that are not dimmable, or they require specific dimmer types. Check the fixture documentation for dimming compatibility and recommended dimmers.
What if my switch box has no neutral wire?
A basic LED wall dimmer often does not need neutral, but many smart dimmers do. If your chosen dimmer requires neutral and you do not have one in the box, choose a no-neutral model or contact an electrician.
Is this the same as replacing a 3-way switch?
The safety steps are the same, but the wiring is different. In a typical 3-way wall setup, two switches control one set of lights using a common terminal and traveler wires between the switches. Buy a dimmer labeled for 3-way use and follow its wiring diagram exactly.
A gentle final safety glow
If at any point wires do not match what the dimmer instructions show, pause. The coziest lighting upgrade is the one that is safe, secure, and steady. When everything clicks into place, you get that lovely superpower: the ability to tune your room from bright and busy to soft and calm in one smooth slide.
If you want more small, confidence-boosting projects, head over to DIY & Easy Upgrades.