A simple dining chandelier sizing guide: match fixture width to table size, hang it 30–36 inches above the tabletop, adjust for tall ceilings, and avoid comm...
Warm Lumen
Quick Fixes for Outdated Chandeliers

Lumi
Lumi is the friendly little firefly host of Warm Lumen, with a heart that glows as brightly as a perfectly placed pendant lamp. He loves discovering how soft bulbs, warm color temperatures, and layered lighting can transform any dark room into a welcoming retreat. Lumi is always fluttering by to share bright ideas and cheer you on as you create a beautifully lit space.
Published
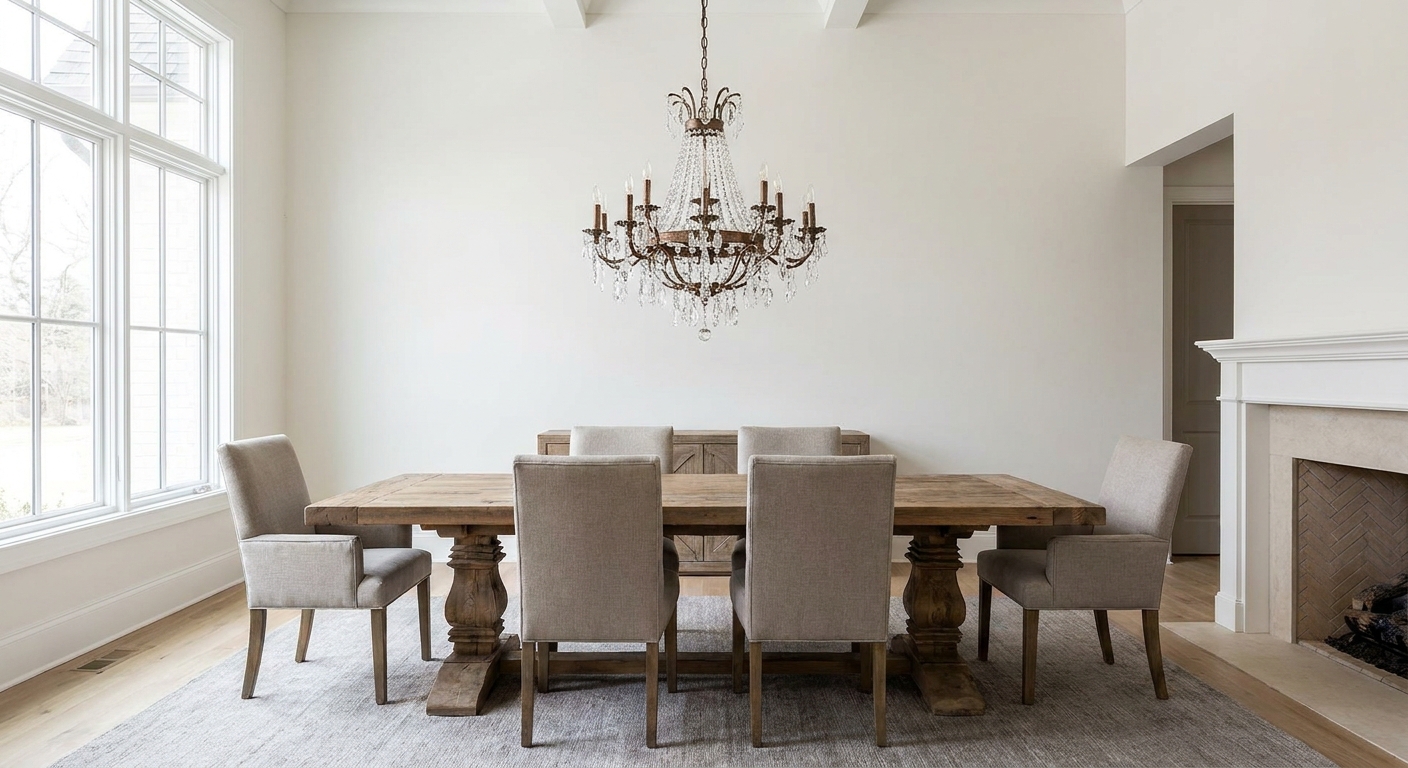
Let’s find the perfect glowing touch for that chandelier that’s doing its best, but still feels a little stuck in another decade. The good news: a dining room chandelier can look fresher in an afternoon with a few small swaps that do not require rewiring or a full fixture replacement.
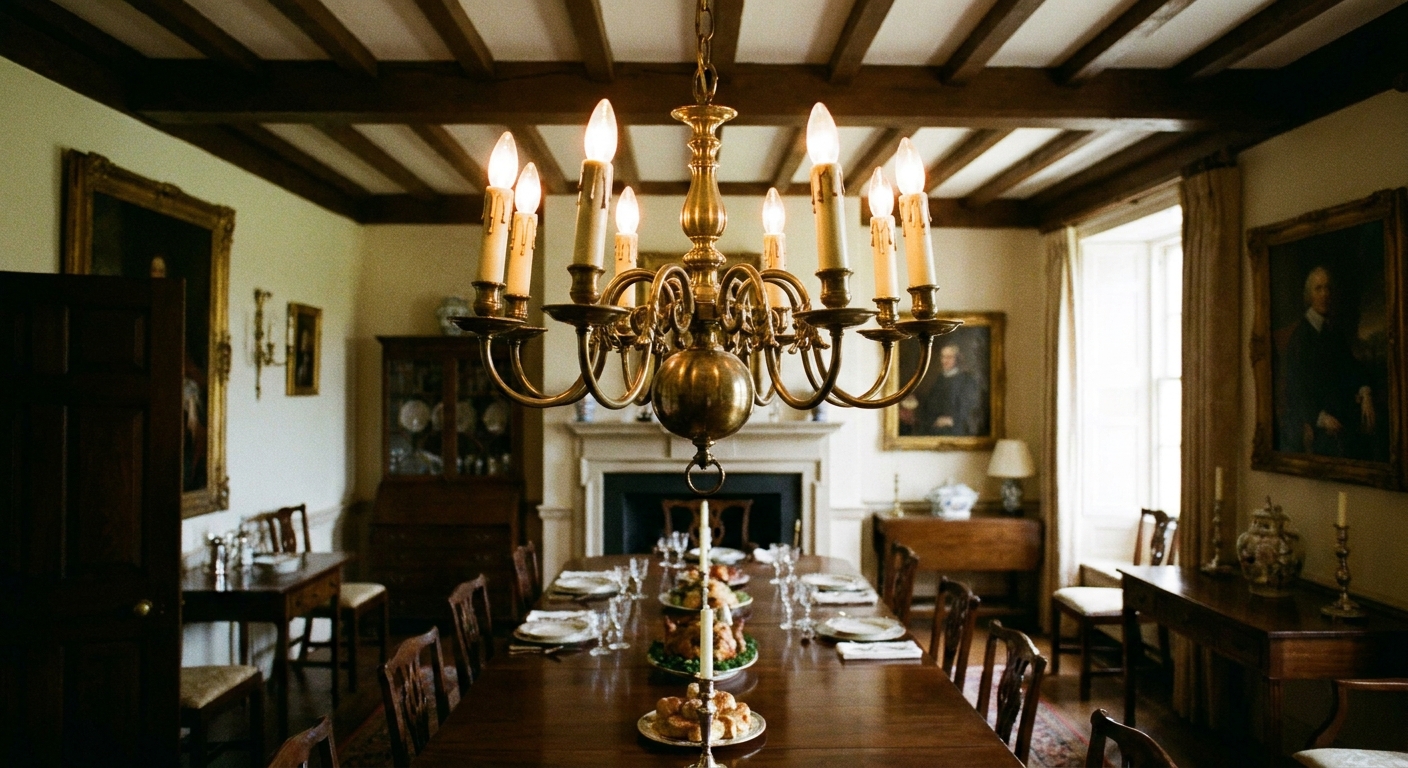
Below are three quick fixes that work especially well for the most common “outdated chandelier” culprits: yellowed candle covers, dusty crystal strands, and bare bulbs that feel too formal or too harsh.
Before you start: a 10-minute safety reset
These updates are simple, but you will be working around glass, sharp little metal parts, and bulbs that can get hot.
- Turn off the chandelier at the switch, then let bulbs cool completely.
- If you will be touching sockets, socket collars, or anything wiring-adjacent, flip the power off at the breaker too.
- If you are removing crystals or shades, lay a towel on the table below to catch anything that slips.
- Use a sturdy step stool so you can work slowly and keep both hands free.
- Take one quick photo of the fixture before you change anything. It makes reassembly much easier, especially with crystals.
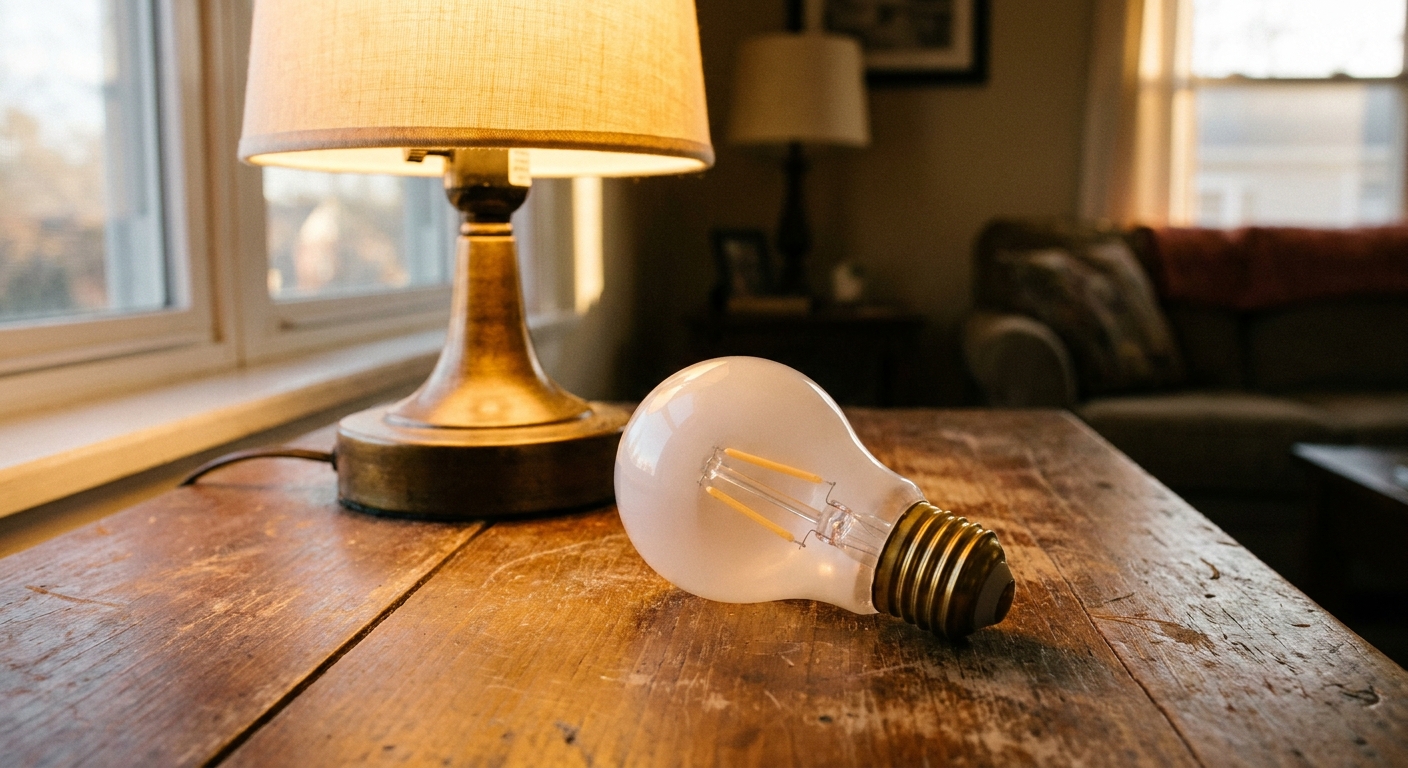
If you want to double-check bulb sizes and base types before you shop, this guide can help: Light Bulb Shapes and Bases (E26, E12, A19, and B11).
Fix #1: Swap discolored candle sleeves (candle covers)
Those little “candles” around each bulb are often the fastest way to date a chandelier. Over time, they can yellow, crack, warp, or look grimy even after cleaning. Fresh sleeves instantly sharpen the whole silhouette.
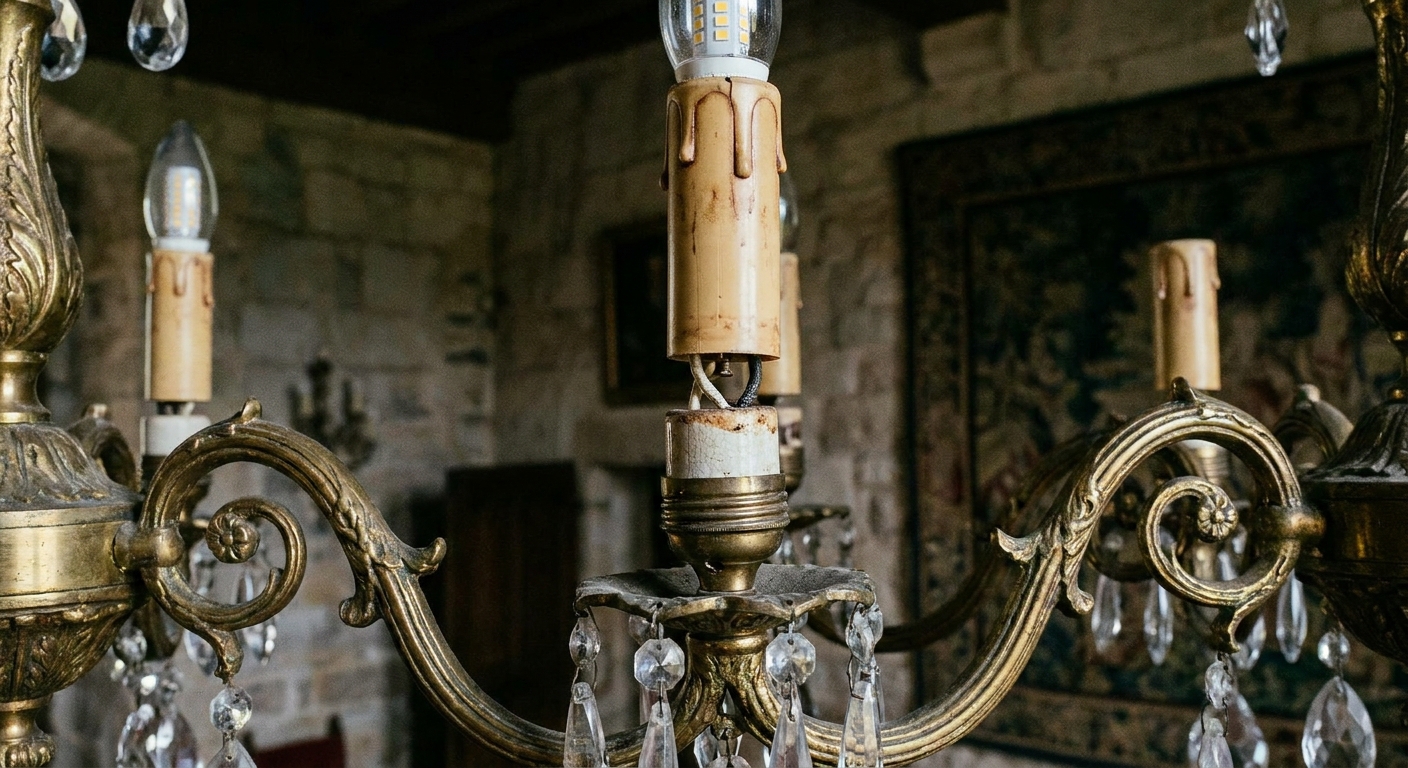
What to buy
- New candle sleeves in a cleaner color (classic white, soft ivory, or matte black for a modern twist).
- Correct size so they sit neatly without buckling. Most slide over the socket or sit on a drip cup (bobèche), the little dish under the bulb.
- Fixture-safe material that is meant for chandeliers. Many are plastic, and that can work well with LED bulbs, but LEDs still generate heat at the base, so leave a little breathing room and avoid sleeves that press tightly against the bulb body.
Quick measuring checklist
- Inside diameter: measure the opening where the sleeve slides over the socket.
- Height: match the current sleeve height if you like the proportions, or go slightly shorter to look less formal.
- Bottom style: does the sleeve sit on a drip cup (bobèche) or slide down to the arm collar?
How to swap sleeves
- Remove the bulb.
- Check whether the sleeve is secured with a small set screw or collar. If so, loosen it first.
- Slide off the old sleeve. If it resists, do not force it. Gently wiggle while pulling straight up.
- Dust the socket area with a dry cloth.
- Slide on the new sleeve and make sure it sits level.
- Reinstall the bulb.
Firefly tip: If your chandelier uses E12 candelabra bulbs, a small change in bulb shape makes a big visual difference. Clear torpedo-style bulbs can look more traditional, while frosted bulbs soften the sparkle and hide the inner LED components.
If you’re also tempted to update the chandelier’s brightness while you’re up there, use this for a sanity check: Calculate the Right Lumens for Any Room.
Fix #2: Remove dusty crystals (or simplify the sparkle)
Crystal chandeliers can be stunning, but they can also feel fussy when the room is heading more modern, coastal, or relaxed. If your fixture looks busy, uneven, or impossible to keep clean, simplifying it can make it feel intentional again.
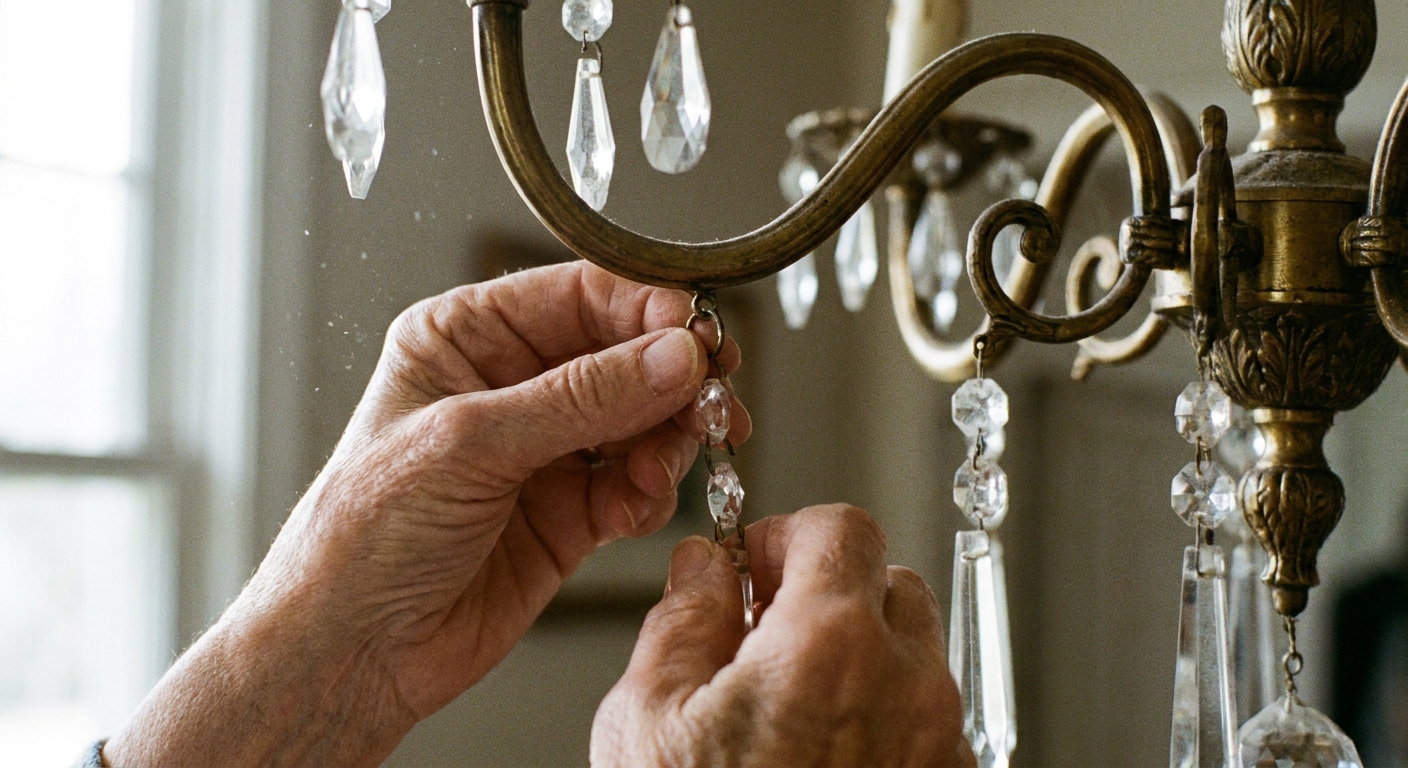
Two easy approaches
Option A: Remove all crystals
This works best when the metal frame is attractive on its own. The fixture becomes lighter, airier, and easier to dust.
Option B: Keep only a few crystals
Try keeping a single drop at the bottom finial, or a few matching pieces that repeat evenly. The key is symmetry so it looks designed, not half-finished.
How to remove crystals without regret
- Take a quick close-up photo of the crystal layout first (even if you already photographed the whole fixture).
- Work one strand at a time.
- Unhook using your fingers if possible. If you need pliers, wrap the jaws with tape to avoid scratching.
- Place removed crystals in a small bowl or zip bag as you go.
- Step back after every few removals to see how the balance looks.
Cleaning, if you decide to keep them
- Dust first with a soft, dry microfiber cloth.
- For grime, lightly dampen the cloth with water and a tiny drop of mild dish soap, then dry immediately.
- Test an inconspicuous spot first if your fixture has a delicate finish (antique brass, lacquered, gilded).
- Avoid spraying cleaner directly onto the fixture. Overspray can spot finishes and let moisture sit in joints or sockets.
Glow detail: Crystals look their best when your bulbs have good color quality. If your dining room finishes or wood tones look flat under LED, this guide explains what to look for: CRI Explained: Why Color Accuracy Matters in Home Lighting.
Fix #3: Add clip-on mini shades for instant softness
If your chandelier feels too bare, too bright, or too “pointy” with exposed bulbs, mini shades are a cozy makeover with major payoff. They add texture, reduce glare, and make the whole fixture feel more “room” and less “showroom.”
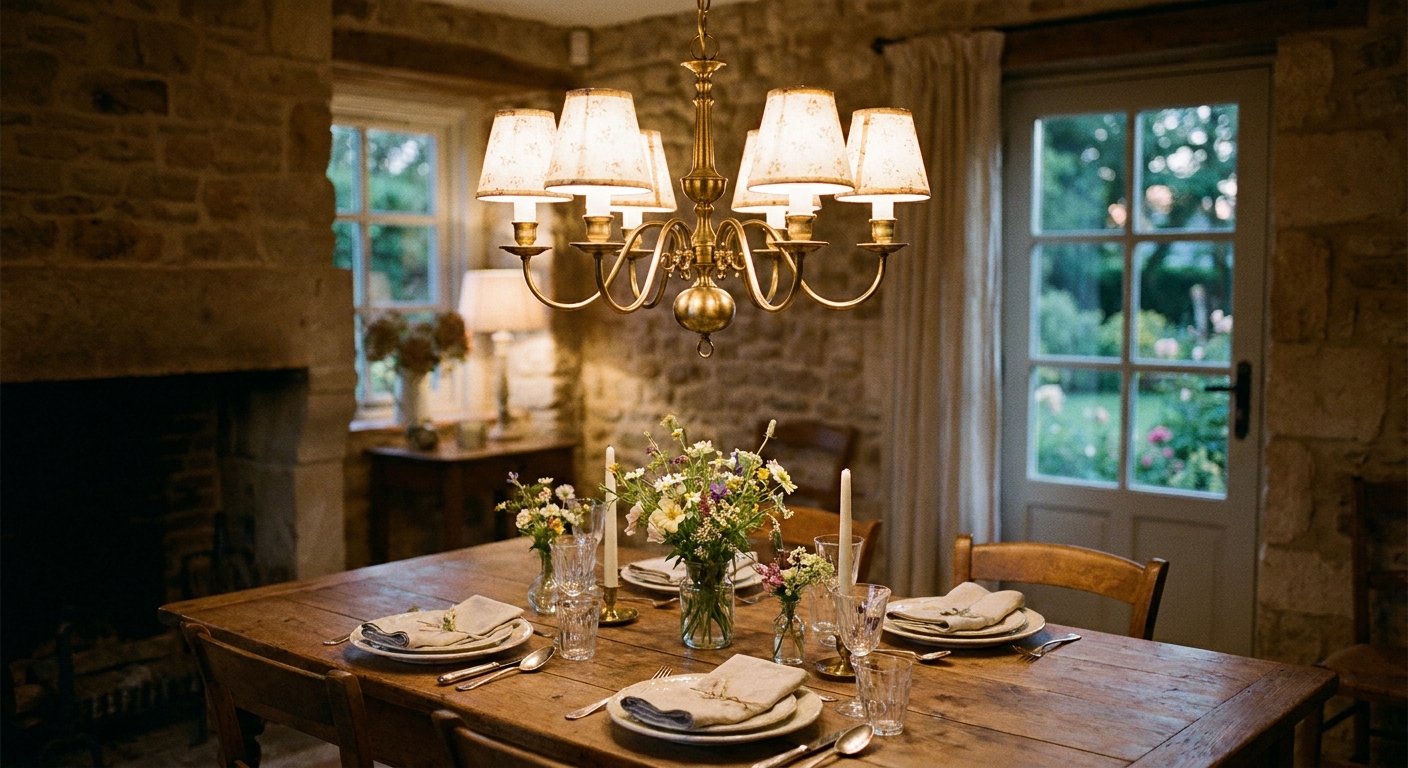
Choose the right fitter
- Clip-on (bulb clip): the shade clips directly to a candelabra bulb. Fastest to install.
- Washer fitter: some chandeliers can use a washer-style shade if the socket has a threaded ring (often seen on some candle sockets). Many chandeliers do not, so clip-on is usually the easy win.
Compatibility notes (so they do not slip)
- Bulb-clip shades usually fit best on torpedo or candle-shaped bulbs. Rounder bulb shapes can make clips sit crooked.
- Some LED candelabra bulbs have wider bases or unusual shoulders. If the clip feels loose, try a different bulb shape rather than forcing the clip.
- Keep shades a little off the bulb surface. Even LEDs produce heat, and covered bulbs can run warmer than exposed ones.
Size guidelines that keep a chandelier from looking crowded
- Go smaller than you think: mini shades commonly look best around 3 to 5 inches wide.
- Mind the arms: shades should not bump into each other or the center column.
- Keep the bottom line even: matching shades hung at the same height look tailored and calm.
Fabric and color choices that modernize fast
- White or ivory linen: classic, bright, and soft.
- Natural woven textures: warm and relaxed, especially with wood or brass in the room.
- Black or deep brown: moody and modern, best with warm bulbs so it still feels inviting.
Want more shade-fit help beyond chandeliers? Head here: Choosing the Right Lampshade.
Heat and bulb notes (important)
- Mini shades pair best with LED candelabra bulbs because they run cooler than incandescent.
- Check the fixture’s label for maximum wattage and follow it. Even with LEDs, enclosed or covered setups can trap heat.
- If your chandelier is dimmable, choose dimmable LED bulbs and a compatible dimmer to avoid flicker. If flicker shows up after your upgrade, this guide helps: How to Fix LED Flicker With the Right Dimmer.
Bonus micro-upgrades that take minutes
Upgrade the bulbs for a warmer, newer look
- Color temperature: for dining rooms, 2700K is a safe cozy standard, and 3000K can feel a touch cleaner and more modern while still warm.
- Finish: frosted bulbs reduce glare and look more uniform, especially with shades removed.
If you like to decode packaging instead of guessing, this helps: How to Read the FTC Lighting Facts Label.
Refresh the visible hardware you can actually see
- Tighten any wobbling finial or center nut gently.
- Re-center crooked sleeves and straighten arms by hand only if they are designed to be adjustable. Do not force cast metal.
- Replace missing decorative caps so the chandelier looks complete again.
Adjust hanging height (if it is safe and simple)
If your chandelier feels a little off, a small chain adjustment can make it look more current without changing the fixture. If you will be opening the canopy, touching a wire connection, or do not clearly see how it is supported, switch off the breaker and consider calling a pro.
When a quick fix is not the right fix
Sometimes a chandelier is outdated because it is the wrong scale, hangs at an awkward height, or simply fights the room. If your fixture is too small or too big for the table, a cosmetic refresh will only go so far.
This sizing guide can help you decide whether to upgrade or replace: Sizing a Dining Room Chandelier or Pendant.
- Replace rather than refresh if sockets are cracked, wiring is brittle, or the fixture is visibly damaged.
- Call a pro if you see scorched socket marks, hear buzzing, or the chandelier flickers even with known-good bulbs.
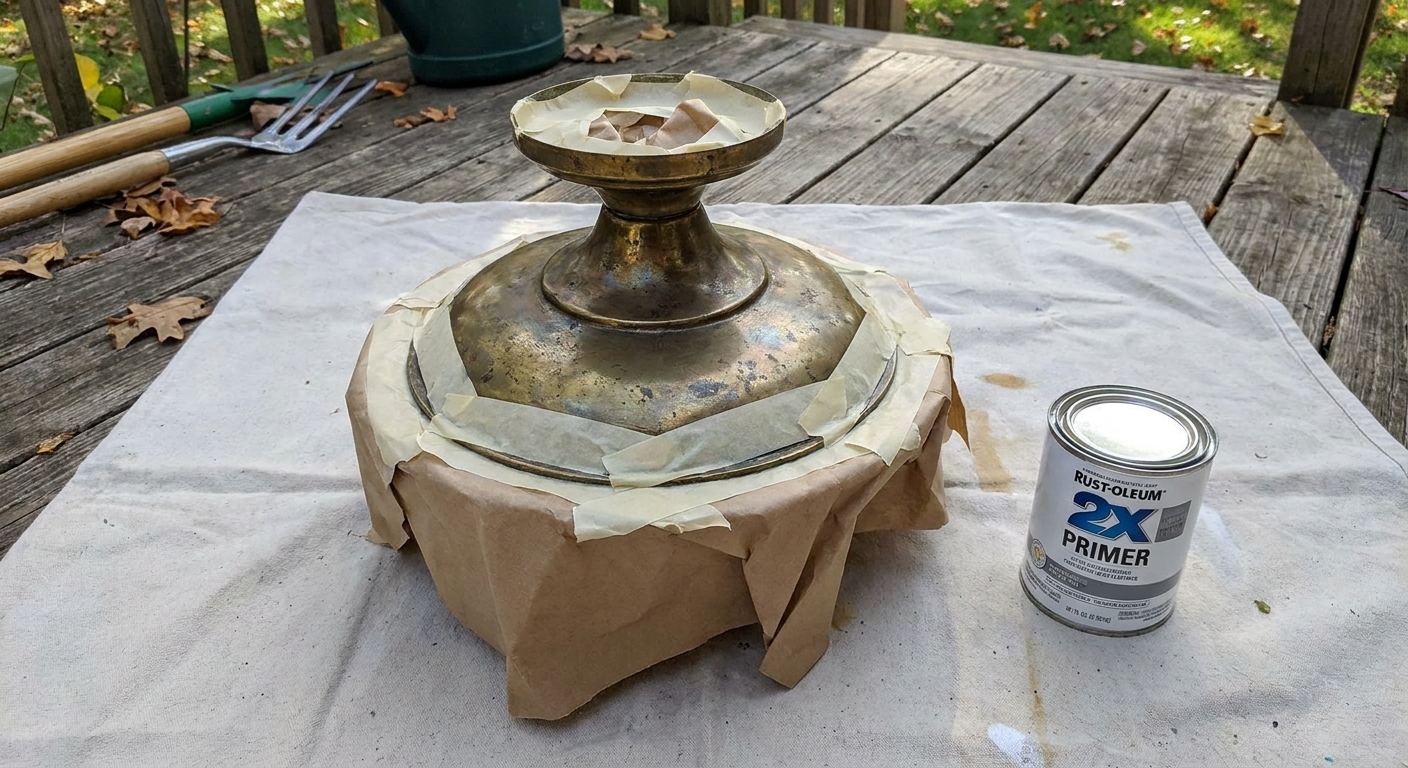
If your next thought is “Should I just paint it?” this can help you do it safely and neatly: Spray Paint Old Metal Light Fixtures for a Modern Look.
Quick decision guide: sleeves, crystals, or shades?
- Your chandelier looks yellowed or grimy: start with new candle sleeves.
- Your chandelier looks busy or dusty: remove crystals or simplify to a few symmetrical drops.
- Your chandelier feels harsh or too formal: add clip-on mini shades and use warm, frosted LED bulbs.
Small changes, big glow. A chandelier does not need to be brand new to feel like it belongs in your home today. It just needs the right little edits so the light looks soft, intentional, and welcoming.
If you want more tiny-upgrade ideas that keep your ceiling intact, you can browse the DIY hub here: DIY & Easy Upgrades.