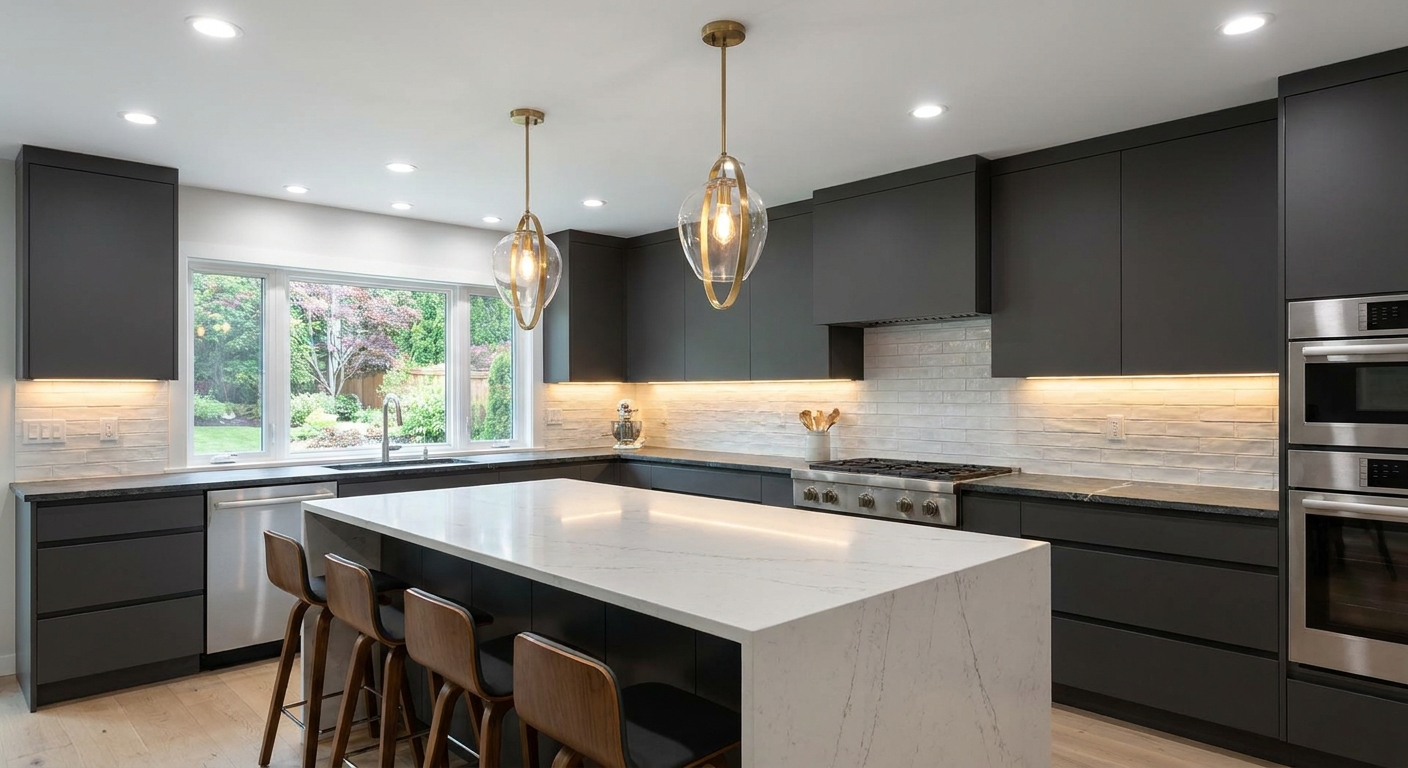
Create a kitchen that feels both bright and welcoming. Learn how to combine recessed ambient light, under-cabinet task lighting, and pendants—with spacing, h...
Warm Lumen
DIY Under-Cabinet LED Strip Lighting Without Hardwiring

Lumi
Lumi is the friendly little firefly host of Warm Lumen, with a heart that glows as brightly as a perfectly placed pendant lamp. He loves discovering how soft bulbs, warm color temperatures, and layered lighting can transform any dark room into a welcoming retreat. Lumi is always fluttering by to share bright ideas and cheer you on as you create a beautifully lit space.
Published · Last updated
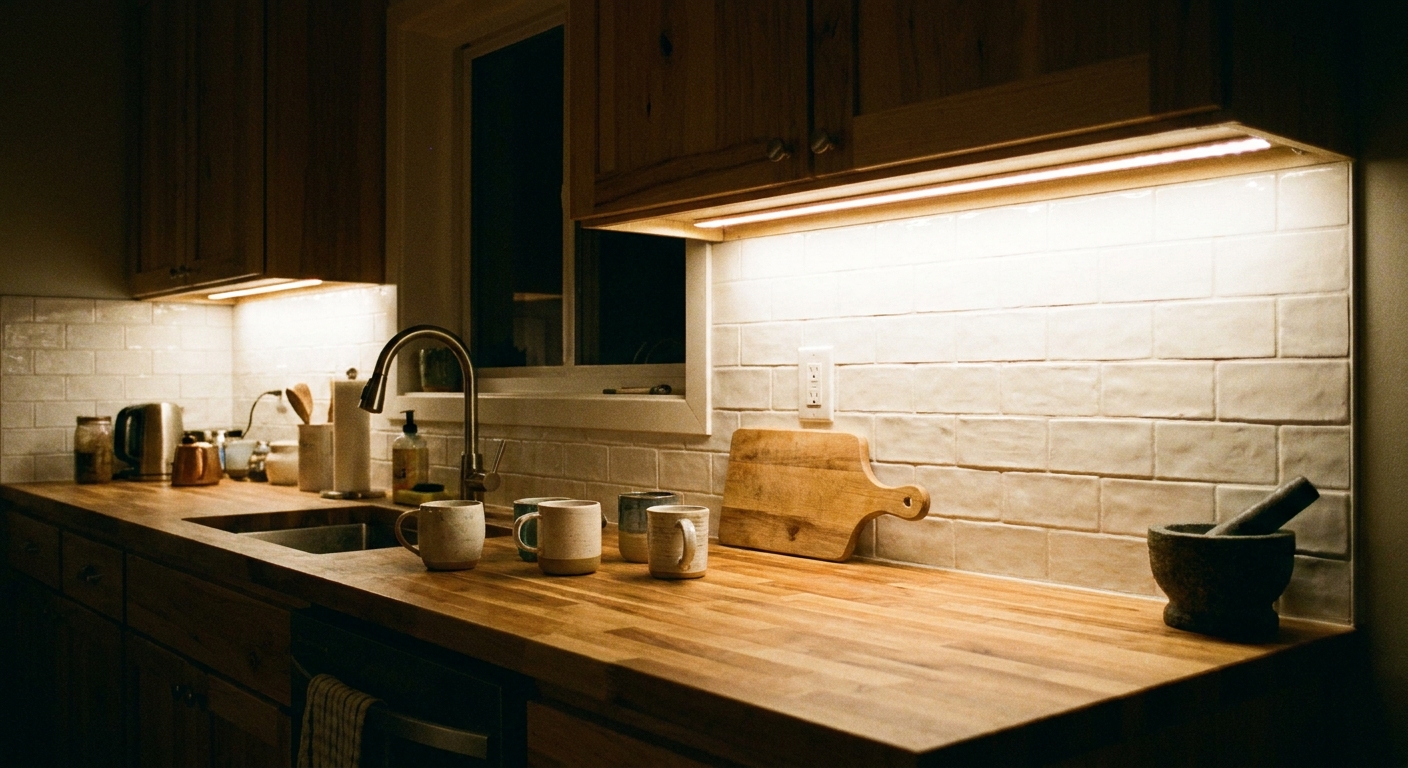
Let’s find the perfect glowing touch for your kitchen counters without opening a junction box. Under-cabinet LED strip lighting is one of the quickest ways to make food prep safer, reading recipes easier, and late-night snacking a lot less shadowy. This guide focuses on plug-in and battery-powered options, so you can skip hardwiring while still getting a clean, polished look.
Before you start: choose your strip type
There are two no-hardwire paths, and the best one depends on how long you want the lights on each day.
Plug-in LED strips (best for most kitchens)
- Pros: consistent brightness, great for daily cooking, usually brighter than battery strips, many include dimmers.
- Watch for: managing and hiding the cord to the outlet.
Battery-powered LED strips (best for rentals or short runs)
- Pros: no outlet needed, very renter-friendly, easy to remove.
- Watch for: lower brightness and battery changes or recharging. At full brightness, battery life can be surprisingly short, so rechargeable packs are usually the least annoying option if you use the lights nightly.
If you want more guidance on building a layered kitchen plan beyond strips, see How to Layer Kitchen Lighting.
What to look for when buying LED strip lights
Strip kits vary a lot. A few small choices up front can make the final install look smooth and feel comfortable on the eyes.
1) Color temperature (warmth)
For kitchens, many people like 3000K for a warm-but-clean glow. If your kitchen already leans very warm (wood tones, warm paint), 2700K can feel cozy. If you prefer a crisper look for tasks, 3500K to 4000K can work, but 4000K often reads clinical in many homes and is more common in commercial or task-heavy spaces.
Need help with the whole Kelvin question? See Best Color Temperature for Bathroom Vanity Lighting. It’s bathroom-focused, but the warmth tips translate beautifully to kitchens too.
2) Brightness (lumens)
Under-cabinet strips are task lighting, so brightness matters. A simple, useful target is 200 to 400 lumens per foot for everyday prep. If you want a brighter, more commercial-style work surface, 400 to 800 lumens per foot is possible (especially with diffusers and dimming), but it can feel intense at night.
- High-use prep zones: look for roughly 300 to 600 lumens per foot plus a dimmer, so you have both power and flexibility.
- Ambient glow only: 100 to 250 lumens per foot is usually plenty when you just want a soft nighttime wash.
If you want to calculate lighting more confidently, visit Calculate the Right Lumens for Any Room.
3) Color accuracy (CRI)
For food prep, CRI 90+ helps ingredients look more natural (greens look greener, tomatoes look less dull). That said, CRI 80 is common on budget strips and still totally usable for most kitchens. Learn why it matters in CRI Explained.
4) Voltage and compatibility
This is the quiet detail that saves you from connector headaches later.
- 12V vs 24V: many plug-in strip kits are 12V or 24V DC. Do not mix a 12V strip with a 24V power supply (or the other way around), and do not swap in a random adapter. Use the power supply designed for the kit.
- Connector types: common formats include 2-pin (single-color), and 4-pin (RGB). Strip width matters too (often 8mm or 10mm). If you need extra corners or jumpers, match the connector to your strip’s pin count and width.
5) Dimming and controls
- Inline dimmer: the easiest no-hardwire option, usually included in plug-in kits.
- Remote: convenient for multiple zones.
- Motion sensor: great for nighttime, but can turn off mid-task if the sensor placement is awkward.
6) Water resistance near sinks
Near a sink, look for strips with a protective coating (often called “water-resistant” or “silicone coated”). Keep any power connections away from splashes.
Tools and supplies (no hardwiring needed)
- LED strip kit (plug-in or battery)
- Measuring tape
- Pencil
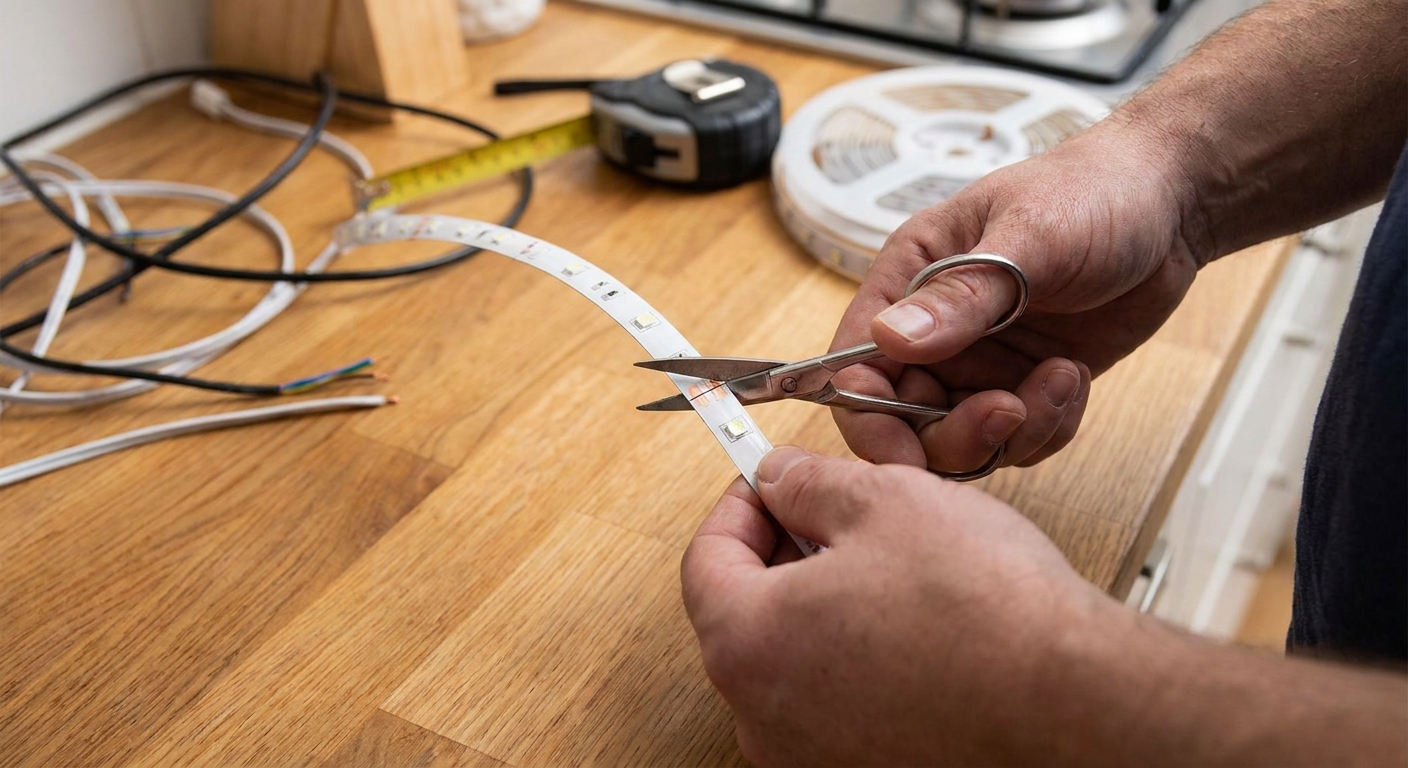
- Scissors (only if the strip is labeled “cuttable”)
- Cleaning supplies: mild degreaser or rubbing alcohol, lint-free cloth
- Mounting method: the kit’s adhesive backing, plus optional mounting clips or double-sided tape
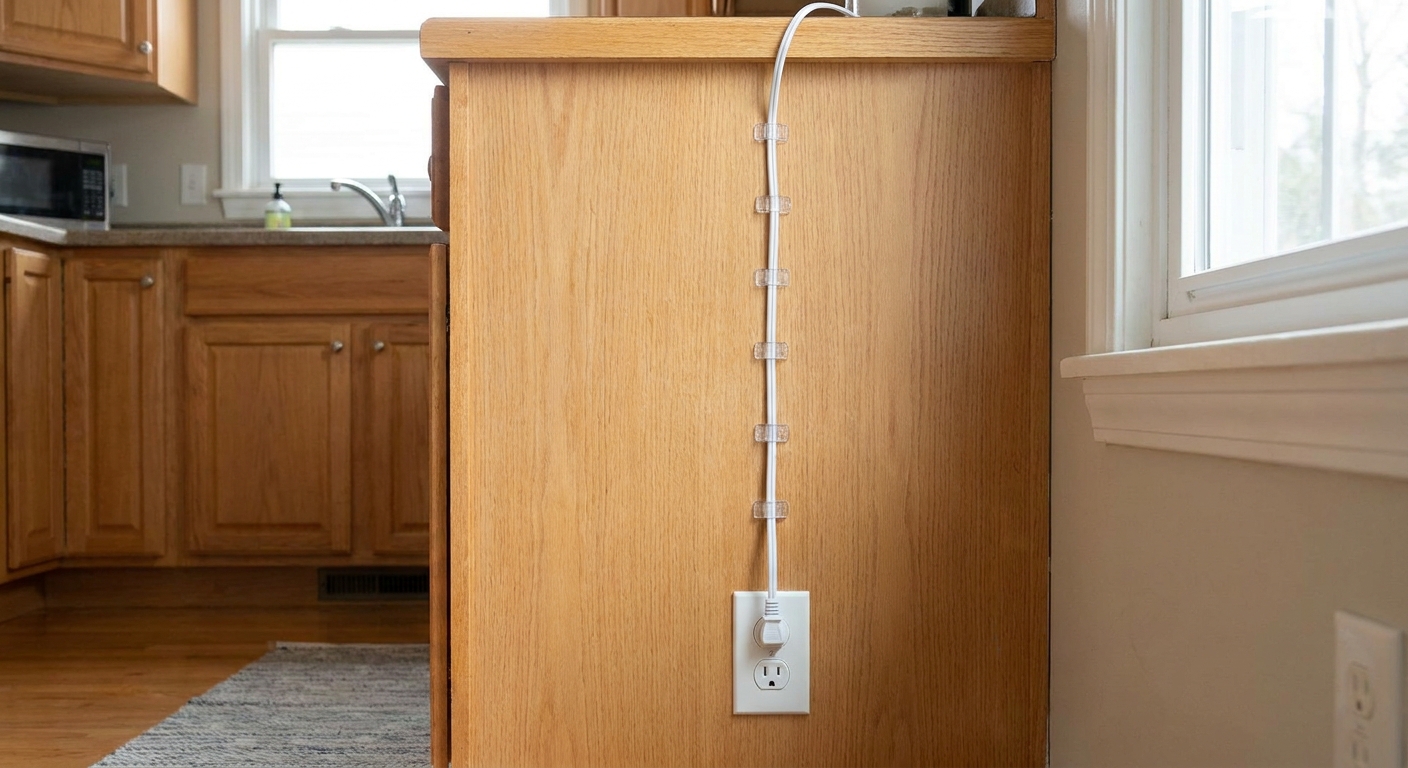
- Cord clips or adhesive cable raceway (helpful for hiding cords)
- Optional but highly recommended: aluminum channel with a diffuser (more on this below)
Plan the layout
A few minutes of planning prevents the two most common strip-light headaches: dark gaps and visible dots.
Step 1: Decide where the light should land
The goal is an even wash of light across the counter, not a spotlight effect at the backsplash. Most installs look best when the strip is placed:
- Near the front edge of the cabinet bottom (but tucked back enough that you do not see the strip standing at the counter).
- Continuous over work areas when possible.
Step 2: Choose one power starting point
For plug-in kits, pick the outlet you will use first. Then plan strip runs so the power lead reaches without tension. For battery packs, plan where the pack will sit so it’s easy to access but not obvious.
Step 3: Measure each cabinet run
Measure the underside length for each section you want lit. Write them down. Add a little slack for corners and for reaching a dimmer or connector.
Step 4: Plan corners and gaps
Many strips do not like a sharp 90-degree bend, especially if it means creasing or kinking the strip. Some flexible designs handle gentle bends better than others, but the safe rule is: avoid tight folds and do not force corners.
Common solutions include:
- Corner connectors made for your strip type
- Short jumper wires between straight sections
- Stopping and starting on either side of a cabinet divider if it is not a key prep area
Clean first so the adhesive stays put
Cabinet undersides collect invisible cooking film. Adhesive hates grease.
- Turn the lights off in the kit and keep everything unplugged while you work.
- Wipe the mounting surface with a mild degreaser, then wipe again with rubbing alcohol.
- Let it dry completely before sticking anything up.
Quick caution: on painted, laminated, or delicate finishes, test your degreaser or alcohol in an inconspicuous spot first to make sure it does not dull or soften the surface.
If your cabinet underside is textured, dusty, or unfinished wood, adhesive may fail over time. In that case, use mounting clips (often included) or an aluminum channel for a more secure hold.
How to cut LED strip lights
Only cut a strip if the packaging says it’s cuttable. Most are, but the rule is strict: cut only on the marked cut lines (often shown with a scissor icon).
- Unroll and lay the strip flat on a clean surface.
- Measure and mark the length you need.
- Find the nearest cut mark that matches that length.
- Cut cleanly with scissors.
If you cut off too much, do not panic. Many kits can reconnect pieces using compatible connectors, but connector types vary by strip width and pin style.
Upgrade option: use an aluminum channel
If you want your under-cabinet lighting to look more built-in (and stay put longer), an aluminum channel with a diffuser cover is worth considering.
- Cleaner look: straighter lines and fewer sags on long runs.
- Fewer dots and less glare: the diffuser softens the LED points.
- Better adhesion: adhesive sticks better to a smooth channel than to raw or textured wood.
- Heat management: aluminum can help shed heat, which can support longevity on higher-output strips.
You still keep this a no-hardwire project. The channel mounts with screws or strong tape, and the strip sticks inside the channel.
Install method A: Plug-in LED strips
This is the classic no-hardwire upgrade: bright, reliable, and easy to control.
Step 1: Do a full test fit first
- Before peeling any adhesive, plug in the kit.
- Connect all strip sections and turn them on.
- Check for dead segments, flicker, or a connector that needs a firmer click.
If you notice flicker on certain dim settings, your kit’s dimmer may be the culprit. For broader dimming help, see How to Fix LED Flicker With the Right Dimmer. (Even though that guide discusses dimmers more generally, the troubleshooting steps are useful for inline controls too.)
Step 2: Peel and stick in short sections
- Start at your power end.
- Peel a few inches of backing, press firmly for 20 to 30 seconds.
- Continue a little at a time, keeping the strip straight.
Step 3: Keep the strip hidden from normal view
Stand at the counter and look up. If you can see the LEDs directly, shift the strip slightly toward the cabinet wall. Direct view can create glare and visible hot spots.
Step 4: Route the cord neatly
Use small adhesive cord clips or an adhesive cable raceway along the cabinet edge, down a side panel, and toward the outlet. The goal is a path that looks intentional and stays away from heat and water.
Step 5: Place the dimmer where you will actually use it
Inline dimmers often end up dangling awkwardly. A simple fix is to mount the dimmer module under the cabinet near the front corner (hidden, but reachable) using removable adhesive strips.
Install method B: Battery-powered LED strips
Battery kits are perfect when there’s no outlet nearby or when you want a fully removable setup.
Step 1: Choose a battery pack location
- Accessible: you should be able to reach it without a step stool every time.
- Hidden: a back corner under the cabinet or inside a cabinet (if the kit allows) keeps it tidy.
- Dry: avoid placing it next to the sink.
Step 2: Use extra support
Battery packs add weight. If the kit only includes adhesive, consider using mounting clips where possible so the strip does not slowly peel away.
Step 3: Choose the right mode
- Motion sensor: sweet for nighttime wayfinding.
- On-off switch: better for longer cooking sessions so the light does not time out.
Make it look seamless
Reduce glare
- Mount the strip slightly behind the cabinet front rail so you do not see the LEDs directly.
- Choose diffused strips or use an aluminum channel with a diffuser cover if you are sensitive to sparkle.
Soften dots on the backsplash
Dots usually mean the strip is too close to the wall or the LEDs are spaced far apart. Moving the strip a bit forward can help the light blend before it hits the backsplash. A diffuser cover helps too.
Fix dark gaps
- Use jumpers to cross small breaks between cabinet sections.
- Light the areas where you chop and read recipes first, then fill in the rest if needed.
Safety notes
- Use listed/approved power supplies. Stick with the adapter that came with the kit, or a compatible replacement that is safety listed by a recognized testing lab.
- Keep power supplies ventilated. Do not bury adapters under piles of towels or paper goods.
- Avoid heat. Do not run strips near the underside of a range hood where heat and grease are intense unless the product is rated for it.
- Keep connections dry. Especially around sinks and coffee stations.
- Do not staple cords. Use cord clips or raceway so wires are not pinched.
- Do not run cords through walls or cabinets like in-wall wiring. Keep everything plug-in and accessible, which is both safer and keeps you firmly in no-hardwire territory.
- Follow the kit’s wattage limits. Overloading can cause dimming, overheating, or early failure.
Troubleshooting quick fixes
The strip won’t turn on
- Check the outlet or battery charge.
- Confirm connector arrows or polarity marks line up (some strips only work one way).
- Reseat connectors. Many failures are just a loose contact.
It keeps falling down
- Clean again with rubbing alcohol and let it dry fully.
- Add mounting clips every 12 to 18 inches.
- Warm the adhesive slightly with your hands before sticking, then press firmly.
Uneven brightness across a long run
- Make sure you are not exceeding the kit’s maximum run length.
- If your system supports it, use a signal amplifier/repeater or inject power at the far end using the manufacturer’s recommended parts and layout. (Do not improvise with random adapters.)
Flicker or buzzing
- Try a different dim level or bypass the dimmer if possible.
- Confirm the power supply matches the strip voltage (from the kit, not a random adapter).
Finishing touches
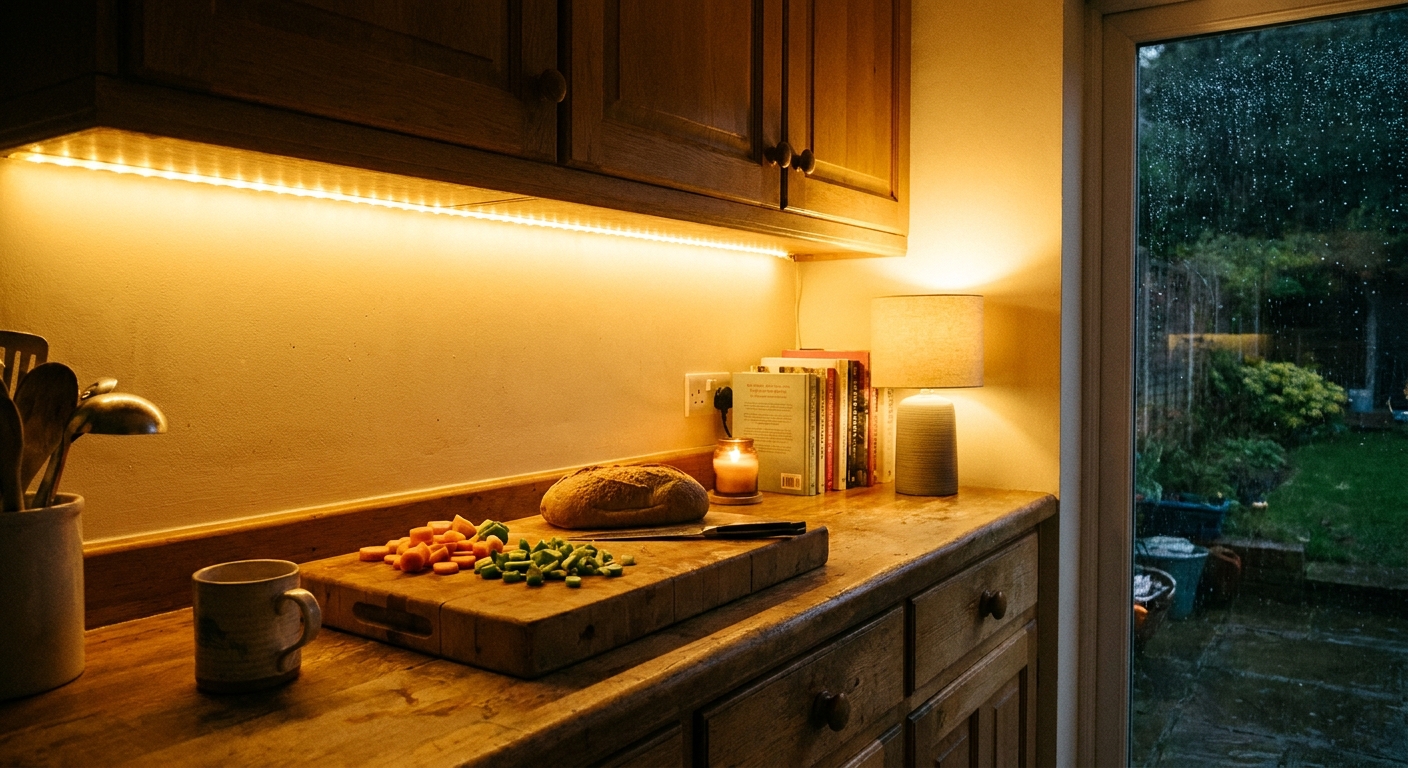
- Match the warmth. If your kitchen pendants are warm, choose warm under-cabinet light too so everything glows together.
- Add a second layer. Under-cabinet lighting shines even brighter when it’s part of a plan. See How to Layer Kitchen Lighting.
- Think about the whole home vibe. If you’re in upgrade mode, browse more small-project ideas in DIY & Easy Upgrades.
FAQ
Will LED strips damage cabinets when removed?
Adhesive can leave residue, especially on stained wood or painted surfaces. To reduce risk, use removable mounting tape, mounting clips, or mount the strip inside an aluminum channel so the adhesive is on the channel, not your cabinet.
Can LED strip lights be installed under cabinets with a lip?
Yes. A lip can actually help hide the strip from view. Mount the strip on the flat underside, positioned so the lip blocks direct sightlines to the LEDs.
Are battery strips bright enough for chopping and cooking?
Some are, but many are better as gentle glow lighting. If you cook often, plug-in strips are usually the more satisfying choice for steady, bright task light.
Do I need a diffuser?
Not always, but a diffuser helps if you notice glare, harsh dots, or reflections on glossy countertops. It also gives a more built-in look.