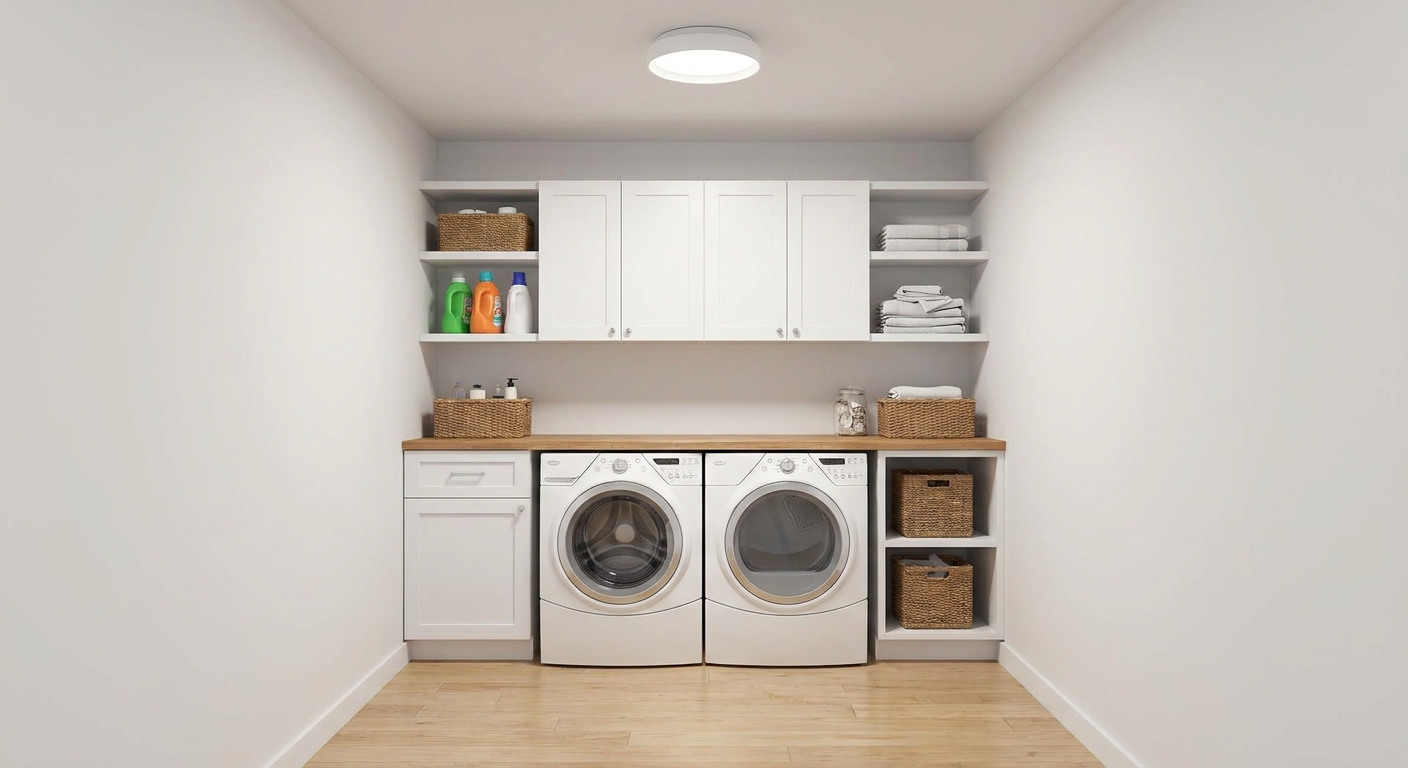
Transform a dim laundry nook with a bright flush-mount ceiling light plus under-shelf battery puck lights. Includes lumen targets, 3000–4000K tips, CRI 90+, ...
Warm Lumen
DIY Closet Lighting Upgrades: Motion-Sensor and Battery Options

Lumi
Lumi is the friendly little firefly host of Warm Lumen, with a heart that glows as brightly as a perfectly placed pendant lamp. He loves discovering how soft bulbs, warm color temperatures, and layered lighting can transform any dark room into a welcoming retreat. Lumi is always fluttering by to share bright ideas and cheer you on as you create a beautifully lit space.
Published · Last updated
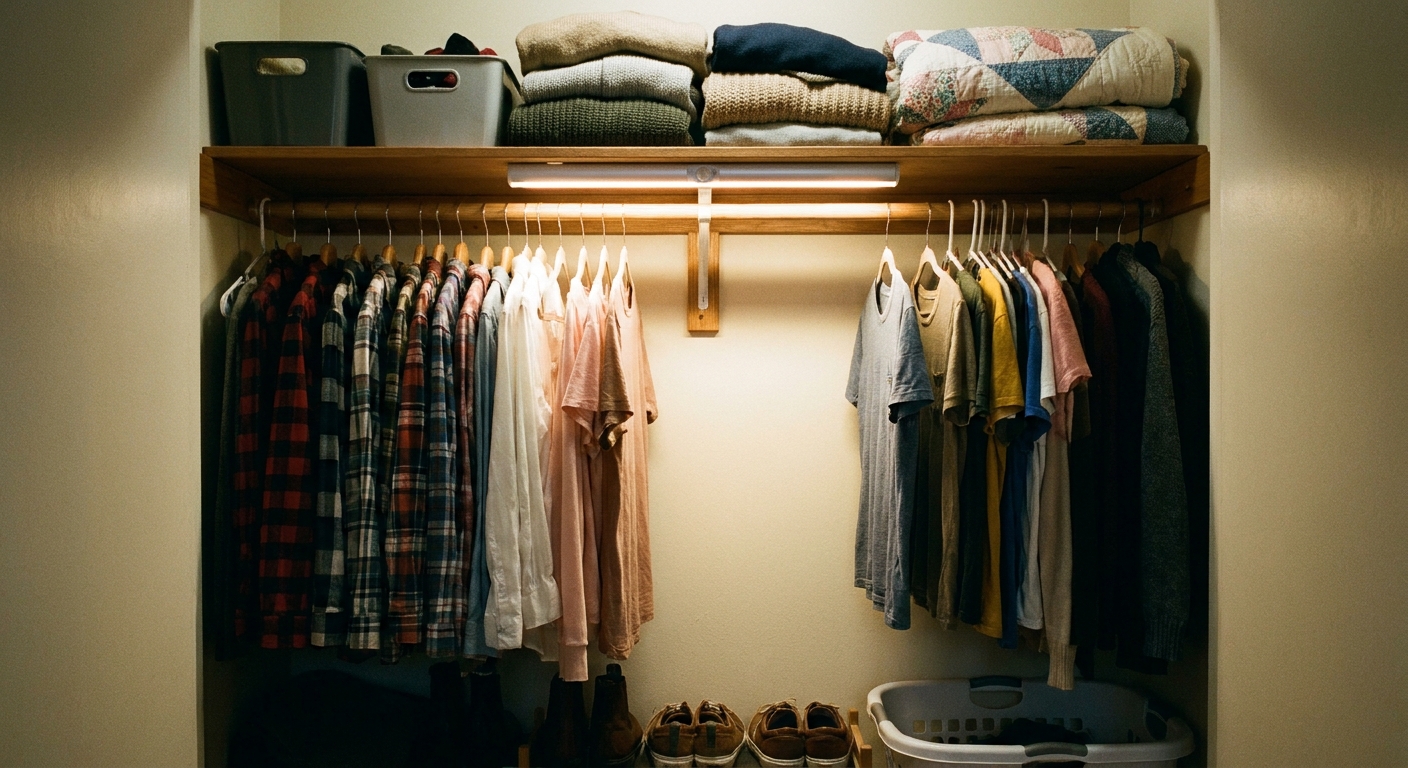
Let’s find the perfect glowing touch for that shadowy closet corner. Closet lighting is one of the most satisfying upgrades because it can be clean, quick, and completely wiring-free. With today’s motion-sensor and battery-operated options, you can get bright, even light without cutting into drywall or calling an electrician.
Before you buy: what matters in closet lighting
Closets need light that turns on fast, spreads widely, and does not blind you when you’re half-awake. Here are the specs worth caring about.
- Brightness (lumens): For a typical reach-in closet, many people are happiest in the 200 to 600 lumens range total, depending on size, wall color, and how deep the shelf is. As a real-world reference, one 300 to 400 lumen bar often works well for a standard 5 to 6 foot reach-in, while two bars usually feel better for 7 to 10 foot spans or extra-dark corners. For a walk-in, aim higher and consider multiple lights. If you want a quick way to estimate brightness for spaces, see Calculate the Right Lumens for Any Room.
- Color temperature (Kelvin): 2700K to 3000K feels warm and cozy and keeps whites from looking icy. 3500K to 4000K can make it easier to distinguish navy from black in a dim closet. If you want a refresher on reading bulb info, peek at How to Read the FTC Lighting Facts Label.
- Color accuracy (CRI): A higher CRI helps clothing colors look “true” under closet lighting. If packaging lists it, 90+ CRI is a lovely bonus. More on that here: CRI Explained.
- Beam shape: A wide, frosted bar spreads light more evenly than a tiny puck that creates hard shadows. (Bars are usually kinder to closets.)
- Power and charging: Replaceable batteries are simplest. Rechargeable is less wasteful and can be more convenient, but brightness can vary as the battery discharges. Some models regulate output better than others.
- Sensor behavior: Look for adjustable on-time (15 seconds, 30 seconds, 60 seconds) and a true auto/off/on switch so it is not triggering all day.
Best no-wire closet light types (and when to use each)
Most no-wire closet lights land in a few familiar types: bars, magnetic bars, pucks, and short-run strips. You can choose based on your closet surfaces and how often you want to remove the light for charging.
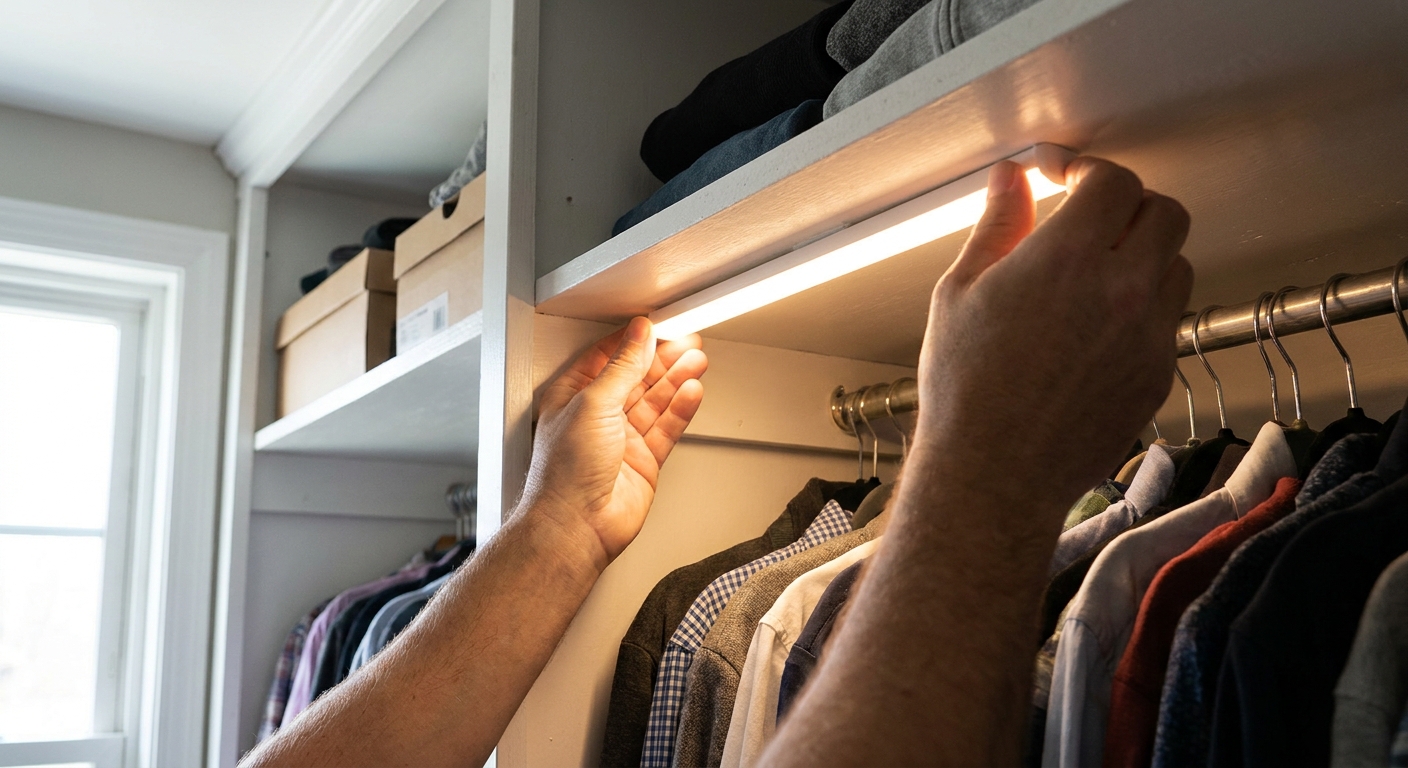
1) Peel-and-stick light bars
Best for: smooth shelves, melamine closet systems, painted trim, the underside of a closet shelf.
Why they work: A slim bar placed near the front edge of a shelf throws light forward onto hangers and down into bins.
- Pros: Fastest install, no tools, easy to position in the best spot.
- Cons: Adhesive can fail on dusty, textured, or cold surfaces. Removing can peel paint if you rush it.
- Look for: a bar with a diffuser cover (frosted lens), motion plus light sensing (so it does not turn on in daylight), and easy removal for charging.
2) Magnetic closet lights (with a metal strip or plate)
Best for: anyone who wants easy charging and re-positioning, or renters who want less adhesive stress.
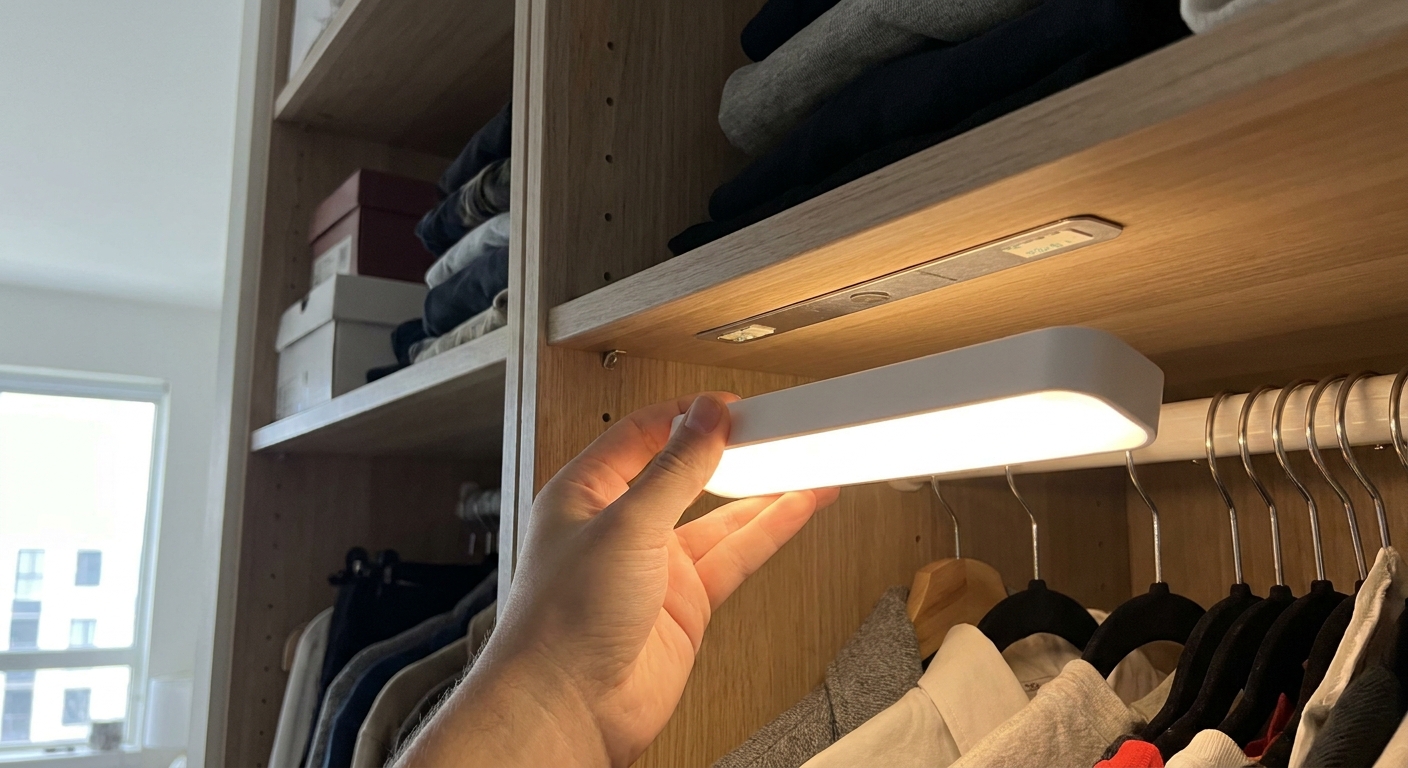
How it works: You stick or screw a thin metal strip in place, and the light snaps on magnetically.
- Pros: Quick to remove for charging, easier to realign if it is crooked, generally more secure than adhesive-only lights.
- Cons: The strip still uses adhesive or screws, and magnets vary in strength.
- Look for: a strong magnet, a strip that spans most of the light length, and a body shape that hides the strip from eye level.
3) Battery puck lights
Best for: small linen closets, a single shelf zone, or spotlighting a specific section like shoes or handbags.
- Pros: Small, inexpensive, easy to tuck into tight spots.
- Cons: More shadowy and uneven than bars, batteries can drain faster, and multiple pucks can look busy.
- Look for: a frosted lens and motion sensing (tap-to-on is annoying when your hands are full).
4) Battery LED strip lighting (short runs)
Best for: outlining a closet opening, lighting a deep shelf, or adding a soft wash along a closet system edge.
Good to know: Many strip kits are USB powered or plug-in. True battery packs exist, but brightness and battery life can be a tradeoff. If you want the look of strip lighting without hardwiring, this guide can help you think through placement and diffusion ideas even if your power source is different: DIY Under Cabinet LED Strip Lighting Without Hardwiring.
- Pros: Very even glow when paired with a diffuser channel, flexible placement.
- Cons: Adhesive can be finicky, battery packs can be bulky, and bare strips can create harsh dots.
Quick comparison: peel-and-stick vs magnetic vs puck vs strips
| Option | Best for | Install difficulty | Light quality | Charging/battery convenience |
|---|---|---|---|---|
| Peel-and-stick bar | Reach-in closets, shelf undersides | Very easy | Even, wide (best overall) | Varies (choose removable) |
| Magnetic bar | Rechargeables, renters, frequent charging | Easy | Even, wide | Excellent (snap-off) |
| Puck lights | Small zones and spot lighting | Easy | Spotty, more shadows | Often frequent battery changes |
| Battery strip lights | Accent glow, edges, deep shelves | Moderate | Great with diffusion | Battery pack can be bulky |
Where to place closet lights for the most useful glow
Placement is the difference between “wow, I can see everything” and “why is my closet still gloomy?” Here are layouts that behave nicely.
Reach-in closet
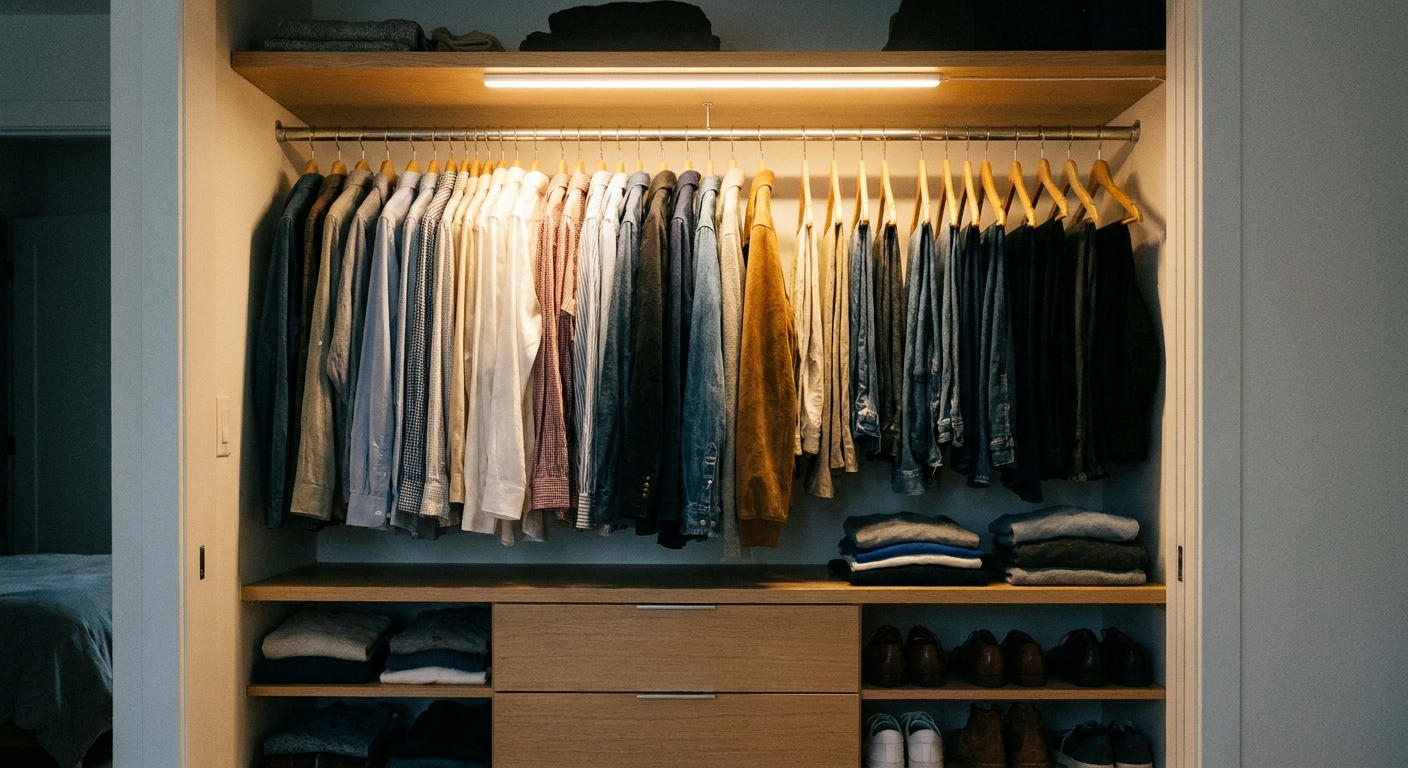
- Best spot: under the top shelf, near the front edge, centered left to right.
- If the closet is wide: use two shorter bars spaced evenly to reduce shadows at the corners.
- A quick “how many lights” rule: about 1 bar for 4 to 6 feet of closet width, and 2 bars for 7 to 10 feet. Add a third only if you have a very deep closet or a dark corner that still looks muddy.
- A door note: with bifold or sliding doors, mount a little farther back from the face frame so panels do not scrape the light. With swing doors, you can usually mount closer to the front edge as long as the door does not hit the fixture.
- Avoid: placing the light too far back. Hangers will block the beam and cast shadows on clothes.
Walk-in closet
- Use layers: one or two motion bars for general visibility, plus targeted lights for shelves, shoe walls, or a dressing mirror.
- Start at the entry: a motion sensor near the closet door triggers as you step in.
- Then add zones: one more light for your darkest run of hanging clothes or shelves. In many walk-ins, entry plus 1 to 2 zones feels like the sweet spot.
- For dark corners: add a second sensor light aimed into the corner rather than blasting the whole space brighter.
Shelves, cubbies, and shoe storage
- Under-shelf: a bar under each shelf level is the neatest “boutique” look.
- Vertical mounting: if shelves are deep, mount a bar vertically on the side panel so light rakes across items.
Step-by-step: a clean install that actually stays put
Tools and supplies
- Microfiber cloth
- Rubbing alcohol (isopropyl) and a cotton pad or paper towel
- Painter’s tape (for temporary positioning)
- Measuring tape
- Optional: small cable clips if your light has a separate battery pack
1) Pick the “shadow test” spot
Hold the light where you think it should go and open the closet as you normally do. If hangers block the beam, slide the light forward until clothing is evenly lit.
2) Clean the mounting surface
Adhesives fail because of dust and closet-system residue. Wipe with alcohol, then let it dry completely.
3) Dry-fit with painter’s tape
Tape the light or the mounting strip in place, trigger the motion sensor, and check for glare. A light that shines directly into your eyes will feel harsher than it needs to.
4) Mount and press firmly
When using adhesive pads or strips, press firmly along the whole length. Many adhesives grip well after a few hours and reach their strongest bond after about 24 hours, so avoid yanking the light off the mount right away.
5) Set the mode
If your light offers these options, start here:
- Auto mode: for everyday closets
- 15 to 30 seconds on-time: for quick grab-and-go closets
- 60 seconds: for linen closets where you sort and fold
- Night mode: if available, for gentler late-night light
Choosing brightness and color: make clothes look right
Closets are sneaky. A light can be bright enough, but still make colors feel “off.” Two knobs fix most of that: Kelvin and CRI.
- If your closet is near a bedroom: 2700K keeps the glow calm and cozy.
- If you often match outfits in the closet: 3000K to 3500K can make whites and denim easier to judge.
- If you can choose CRI: pick 90+ CRI for better color truthfulness, especially for reds, browns, and blacks.
If you want to build a whole-home plan where closet lighting matches nearby rooms, the ideas in Lighting Basics & Education can help you keep color temperature consistent.
Battery life expectations (and how to stretch it)
Battery-powered lights are wonderfully simple, but battery life depends on how often the sensor triggers, the brightness setting, and battery size. A few habits can keep things glowing longer.
- Use “auto” plus daylight sensing if your closet gets sun. Otherwise it will trigger all day.
- Aim the sensor away from hall traffic. If the sensor can “see” the hallway, it will turn on constantly.
- Choose a dimmer setting if your light offers levels. Two medium lights often feel better than one super bright light.
- Recharge on a schedule. If your lights are rechargeable, topping up before they fully drain can help performance feel more consistent.
Renter-friendly tips: bright closets, calm walls
If you are trying to leave paint and drywall as untouched as possible, focus on removable mounting and gentle removal techniques.
- Prefer magnetic lights so only the strip is adhered, not the entire light body.
- Stick to smooth surfaces like finished wood, metal, or laminated closet panels when possible.
- Remove slowly: warm adhesive with a hair dryer on low, then peel back gradually. Do not yank straight down.
- Hide charging cables neatly if you use a USB-powered light with a battery pack. For cord-hiding ideas that also work on closet walls, see Renter-Friendly Plug-In Wall Sconces and Cord-Hiding Tricks.
Safety notes for closets and storage areas
- Keep lights clear of fabric piles. LEDs run cooler than older bulbs, but it is still smart to avoid burying any light under clothing or bedding.
- Avoid blocking ventilation slots if your fixture has them.
- Do not mount where doors pinch. Sliding doors and bifolds can scrape lights if placed too close to the frame.
- If your closet is damp (some basements are), choose lights that are rated appropriately. This guide explains ratings clearly: Damp vs Wet Rated Lights.
Troubleshooting: quick fixes for common annoyances
The light falls down
- Clean again with isopropyl alcohol and let fully dry.
- Move the mount to a smoother surface.
- Switch to a magnetic strip system or a screw-mount option if you can.
The motion sensor triggers constantly
- Aim it away from the door gap or hallway movement.
- Use a shorter on-time setting.
- Turn off “auto” during the day if the closet is in a high-traffic zone.
The closet is still shadowy
- Add a second bar light rather than over-brightening one spot.
- Mount closer to the front edge of the shelf.
- Choose a frosted lens for wider spread.
The light is too harsh
- Switch to 2700K to 3000K if you are using a cool white setting.
- Choose a diffused bar instead of clear puck lenses.
- Angle the light so it washes the clothes, not your eyes.
A simple “pick this” cheat sheet
- Most reach-in closets: 1 to 2 motion-sensor diffused bar lights, peel-and-stick or magnetic.
- Deep shelves and cubbies: magnetic bars (easy to remove for charging) or short diffused strip runs.
- Linen closet: a bar light with a longer on-time (60 seconds) so you can sort without re-triggering.
- Shoe wall: 2 to 3 smaller bars placed to reduce shadows, or under-shelf lighting for each tier.
When your closet lighting is handled, it often sparks a fun domino effect. If you want more quick wins like this, head over to DIY & Easy Upgrades for more no-drama lighting ideas.
FAQ
Do battery motion-sensor lights work through closet doors?
Most PIR motion sensors need a clear line of sight and usually will not detect motion through a closet door. (Some radar or mmWave sensors can detect through certain materials, but they are less common in simple closet lights.) If you want the light to turn on as soon as the door opens, mount the sensor where it can “see” the doorway interior as it swings or slides open.
Is it better to put the light on the ceiling or under the shelf?
Under the top shelf near the front edge is often more useful because it throws light onto the hanging area without your head and shoulders casting a big shadow. Ceiling placement can work in walk-ins, especially if you use multiple fixtures or wider bars.
Should closet lights be warm white or cool white?
Warm white (2700K to 3000K) feels cozy and blends nicely with bedroom lighting. Neutral white (3500K to 4000K) can make it easier to judge clothing colors. If you can, choose a light with selectable color temperature so you can find your sweet spot.
What if my closet has no shelf to mount under?
Try mounting a slim bar vertically on a side wall, or place two shorter bars on the left and right upper corners aimed inward. Magnetic mounts help here because you can adjust position easily.