A simple dining chandelier sizing guide: match fixture width to table size, hang it 30–36 inches above the tabletop, adjust for tall ceilings, and avoid comm...
Warm Lumen
Turn Recessed Lights Into Pendants With a DIY Conversion Kit

Lumi
Lumi is the friendly little firefly host of Warm Lumen, with a heart that glows as brightly as a perfectly placed pendant lamp. He loves discovering how soft bulbs, warm color temperatures, and layered lighting can transform any dark room into a welcoming retreat. Lumi is always fluttering by to share bright ideas and cheer you on as you create a beautifully lit space.
Published · Last updated
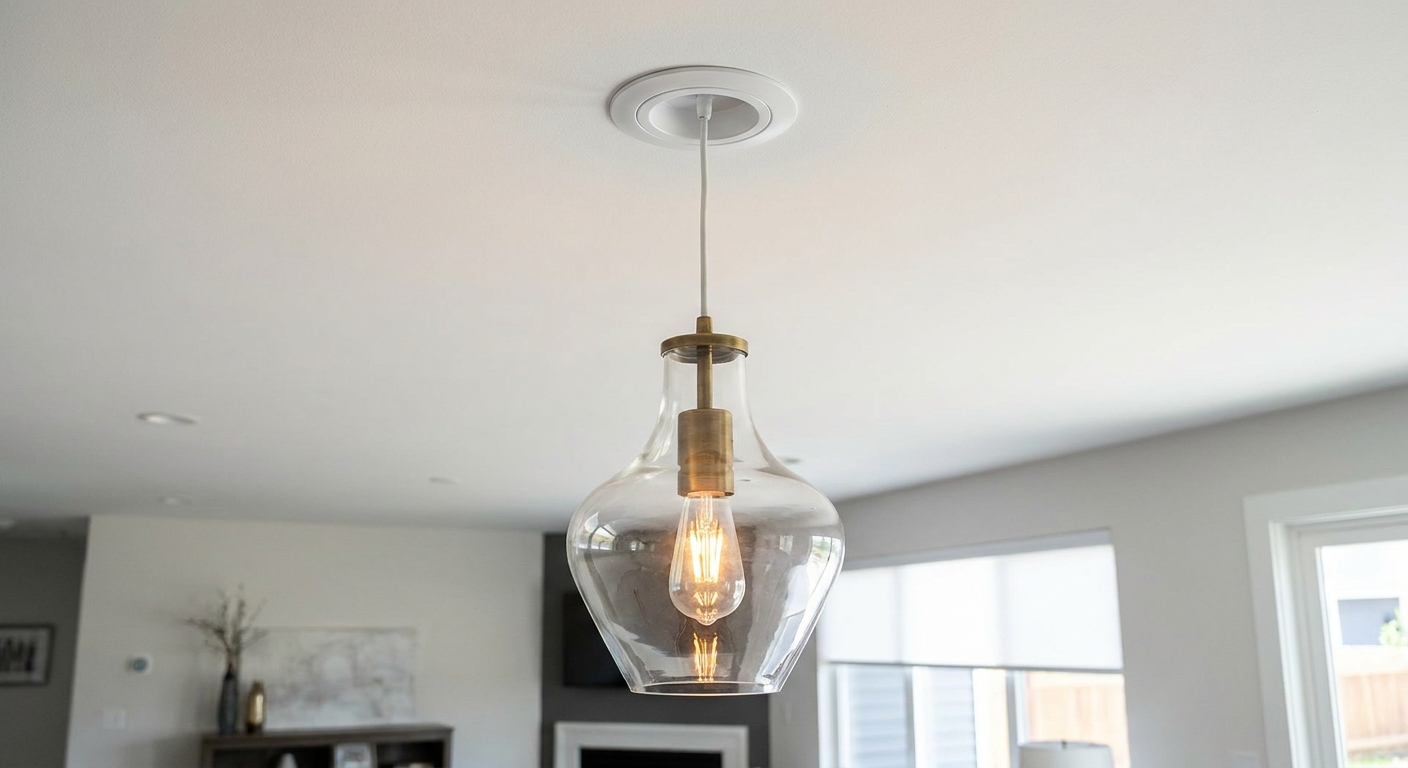
Let’s find the perfect glowing touch for every corner of your home. If your ceiling is dotted with basic recessed can lights, a pendant conversion kit can turn one of those simple ceiling spots into a stylish hanging light without opening the drywall. For many setups, it is a quick project you can finish in under an hour.
What the kit does
Think of a conversion kit as a clever adapter. It typically:
- Attaches to your existing recessed can (the housing already in the ceiling)
- Connects to the existing light socket (often with a screw-in adapter)
- Provides a canopy or cover plate to hide the old recessed opening
- Gives you a pendant cord and a place to mount the pendant shade
This is different from installing a brand-new junction box and hardwired pendant. You are using what is already there, which is why this upgrade can be so approachable.
Important safety note: Choose a recessed-to-pendant conversion kit that is listed for this use (for example UL or ETL) and follow the manufacturer instructions and weight rating. A random socket-to-pendant adapter is not the same thing.
Before you buy
1) Check the opening size
Most kits are made for common recessed sizes like 4-inch, 5-inch, and 6-inch cans. Measure the inside diameter of the opening (or check the label inside the housing). If your recessed light is an odd size, you may need a different trim style or a larger cover plate so the old opening is fully hidden.
2) Confirm you have a socket
- Dedicated LED housings: Some recessed fixtures are dedicated LED modules and do not have a standard screw-in socket. If there is no socket, a typical conversion kit will not work.
- LED retrofit trims: Some LED recessed trims screw into a standard E26 socket. Those can usually be removed, leaving the socket available for a conversion kit.
3) Check ratings and heat
- IC rating is about insulation contact: If your can is IC-rated, it is designed to be near insulation.
- Use LEDs to keep temperatures low: Regardless of IC rating, LEDs help minimize heat in the housing and in any enclosed canopy or shade.
4) Keep it light
Conversion kits are usually intended for lightweight pendants. Do not guess. Choose a kit that clearly states a maximum supported weight and mounting method.
Also, note that some kits secure to the recessed housing, while others rely on trim springs, torsion springs, or a retrofit-style bracket. If your kit relies on springs, treat it as ultra-light duty only and stick to the manufacturer’s limits.
What you’ll need
- Recessed can to pendant conversion kit (matched to your can size and listed for pendant use)
- Bulb (often A19 or similar, depending on the pendant shade and socket)
- Screwdriver (commonly Phillips)
- Step stool or ladder
- Optional: tape measure (for dialing in pendant height)
- Optional: wire cutters only if your kit requires trimming a cord, and only if the manufacturer instructions allow it
If you are also planning to swap a flickery dimmer, peek at How to Fix LED Flicker With the Right Dimmer first. Smooth dimming makes pendants feel extra cozy.
How to do it
Different brands vary, so use this as a friendly overview and follow your specific kit manual if anything differs.
Step 1: Turn off power
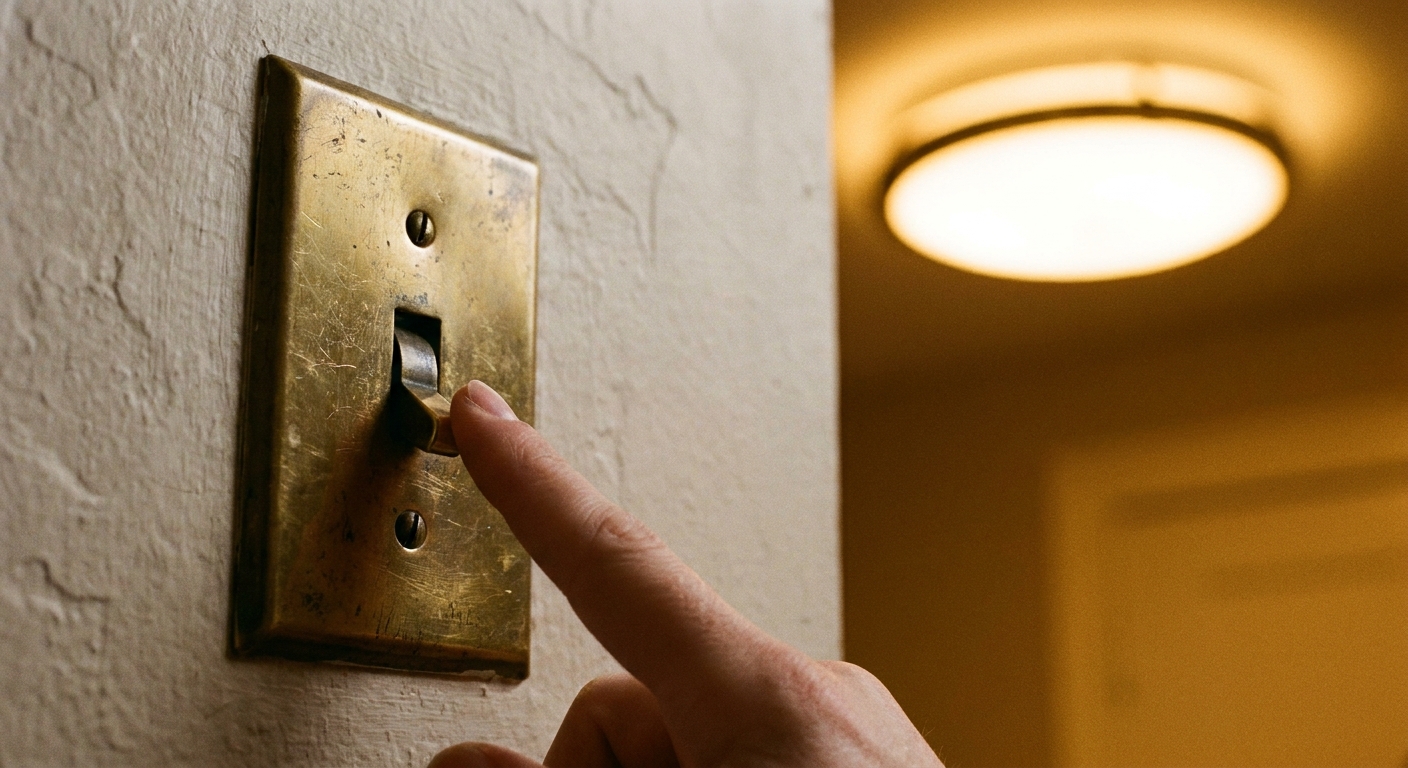
Switch the light off and turn power off at the breaker. If the light was recently on, give it a few minutes to cool.
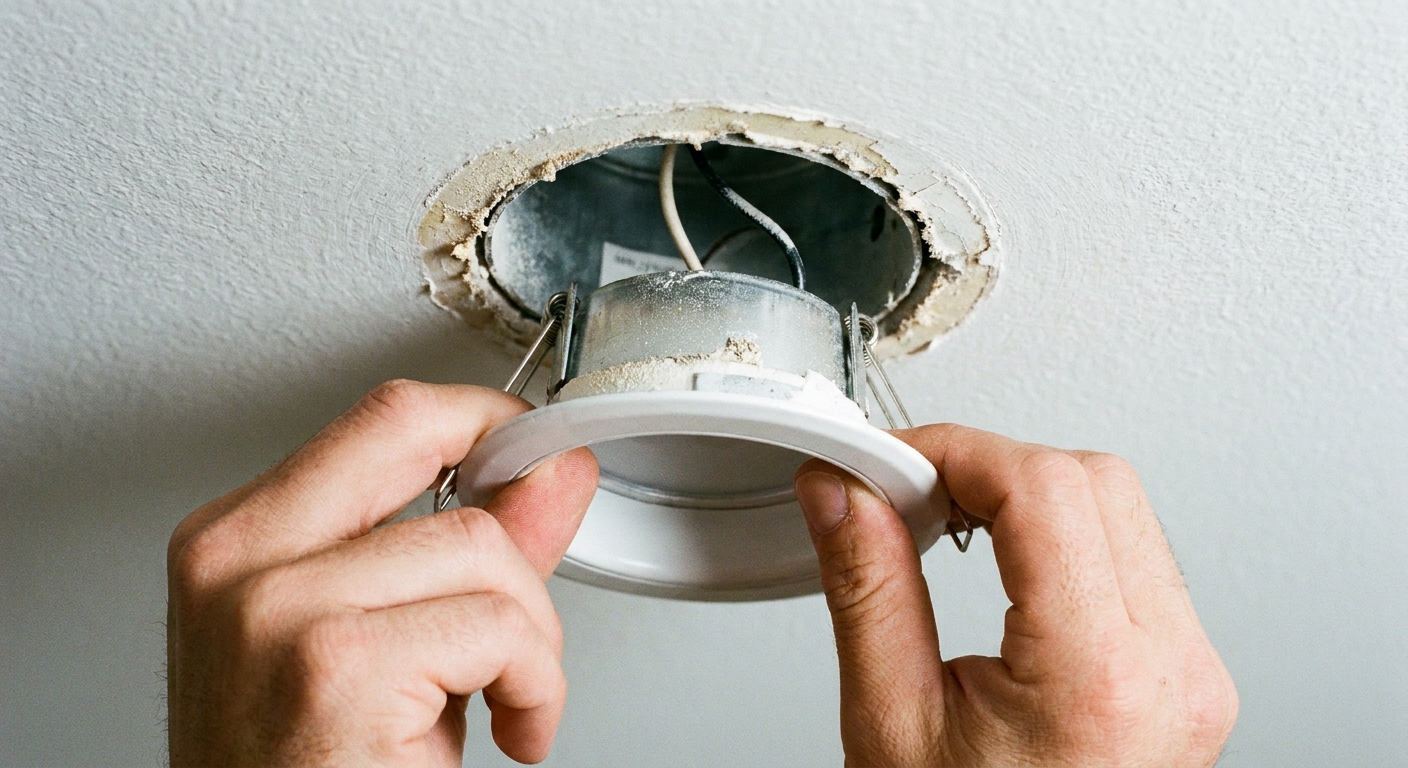
Step 2: Remove the trim
Gently pull down the trim ring or baffle. Many trims are held in with spring clips. Squeeze the clips to release them.
Step 3: Remove the bulb
Unscrew the bulb and set it aside.
Step 4: Attach the socket adapter
Many kits include a screw-in adapter that goes into the existing socket. This is what powers the pendant. Tighten it snugly, but do not force it.
Step 5: Set the pendant height
Adjust the cord length to the look you want. In general, shorter feels tidy and modern, longer feels dramatic and loungey.
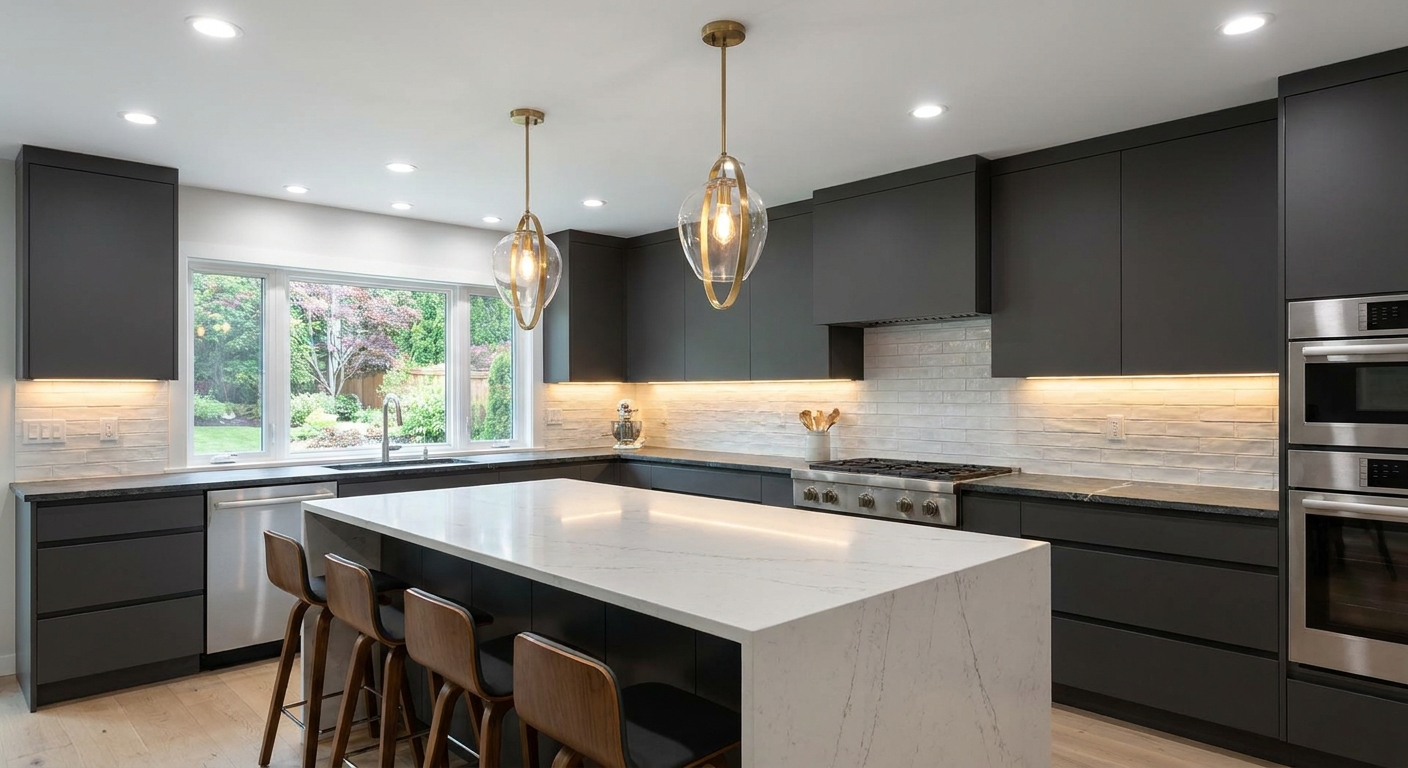
- Over a kitchen counter or island: A common starting point is about 30 to 36 inches from the countertop to the bottom of the pendant, then adjust for sightlines and tall-family comfort.
- In an open walkway: Aim for generous head clearance so nobody bonks a shade when walking through.
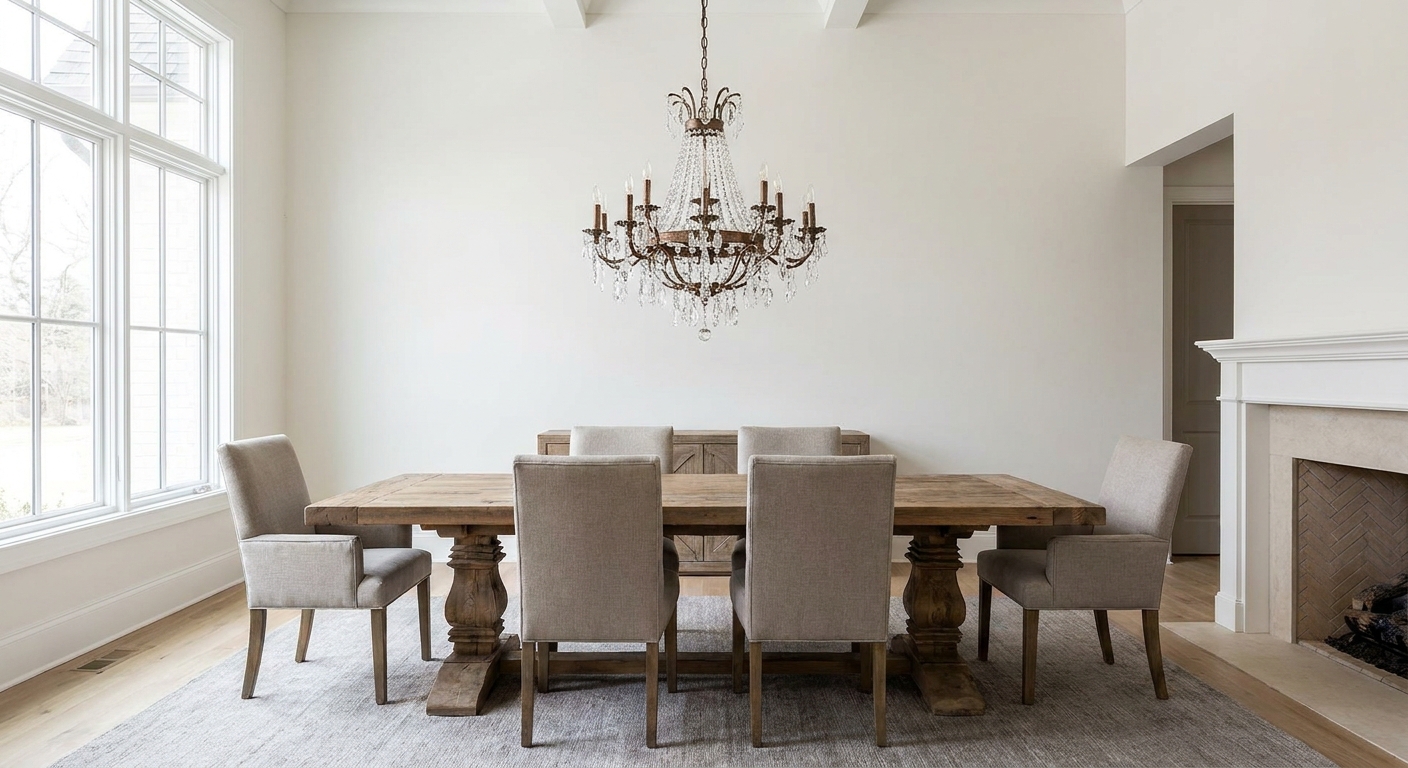
If you want help with classic pendant and chandelier proportions, see Sizing a Dining Room Chandelier or Pendant.
Step 6: Secure the bracket and canopy
Install the mounting bracket using the exact method included with your kit (housing clips, torsion springs, or a retrofit bracket). Do not improvise alternate mounting methods.
Once the bracket is secure, slide the canopy up to cover the old opening and tighten the set screws evenly.
Step 7: Install the shade and bulb
Attach the pendant shade or globe according to the kit instructions, then install a bulb that suits the shade and your desired brightness.
Step 8: Restore power and test
Flip the breaker back on and test the light. If it flickers, hums, or does not turn on, turn power back off and re-check each connection step.
Bulb tips
Choose a warm color temperature
Most pendants look best in the warm range, especially in living spaces and bedrooms. If you want a soft glow, look for 2700K. If you want slightly cleaner but still warm, 3000K can be a nice middle ground.
For more help matching warmth to the room, visit Best Color Temperature for Bathroom Vanity Lighting. The same color temperature ideas apply, even outside the bathroom.
Pick the right brightness
Pendants can feel more intense than recessed lights because the light source is closer to eye level and can create more direct glare, even at the same lumens. A good starting point is a moderate-lumen bulb, then go dimmable if you want evening flexibility.
If you want to plan brightness room-wide, Calculate the Right Lumens for Any Room can help you avoid the too-dim or too-glary zone.
Watch glare with clear glass
If your pendant has a clear glass globe, choose a bulb that looks pleasant when exposed. Frosted bulbs often feel softer than crystal-clear ones. This also ties into the look of the shade itself. If you are deciding between clear and frosted glass, Glass Globe Lighting: Clear vs Frosted is a helpful companion read.
Best places for this upgrade
- Kitchen islands and peninsulas: Swap one or two recessed lights for pendants to create a focal point and help define the work zone. If you are balancing multiple light types, How to Layer Kitchen Lighting is a great next step.
- Entryways: A pendant adds personality the moment you walk in. For layout ideas, see Entryway Lighting.
- Hallways or stair landings: A single pendant can make a builder-basic pass-through feel intentional. If you are lighting for safety too, Hallway and Staircase Lighting Ideas for Safety and Style is a great guide.
- Bedrooms: In the right spot, a pendant can replace a table lamp, free up nightstand space, and add a soft glow. If you are comparing options, Bedside Lighting: Lamps vs Sconces vs Pendants breaks it down.
Common issues
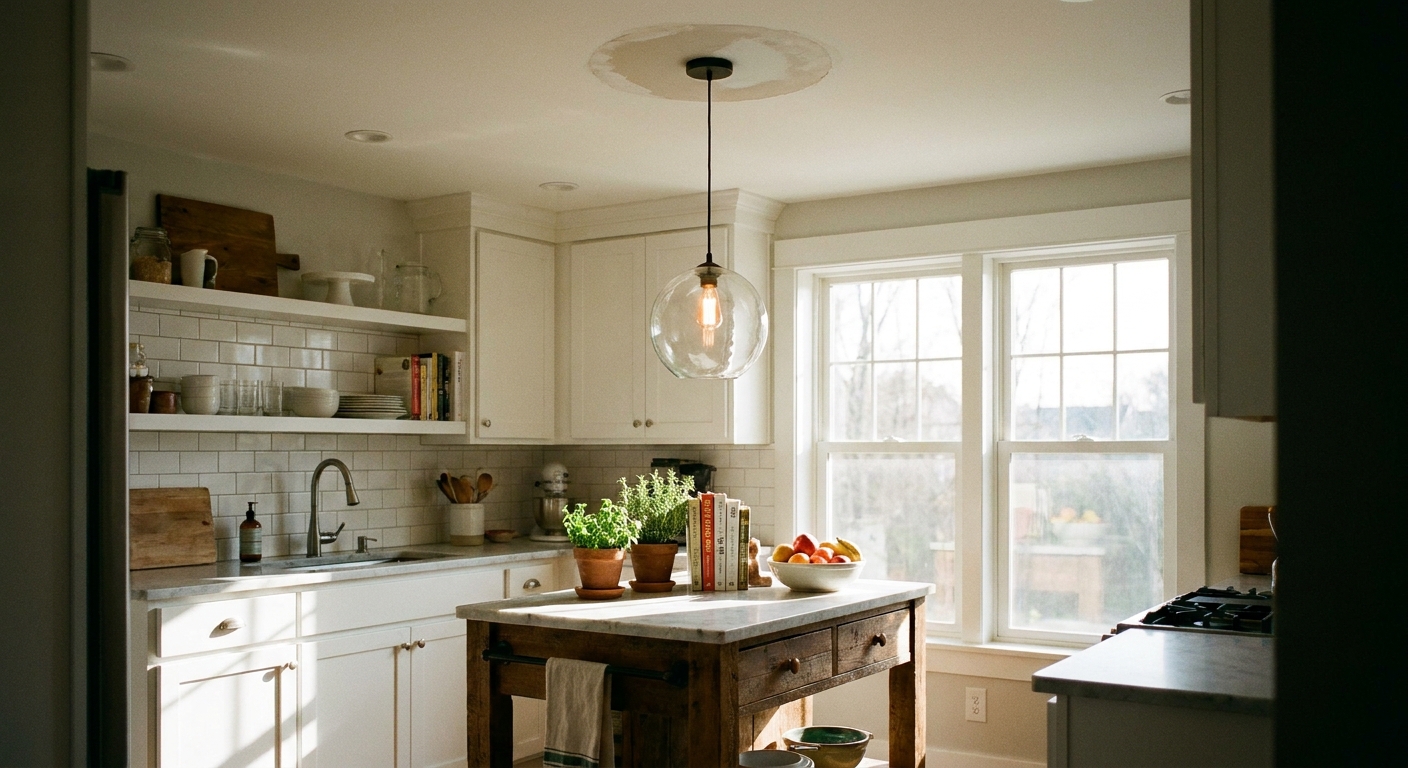
The canopy does not cover the opening
- Double-check your can size. A 5-inch opening needs different coverage than a 6-inch.
- Look for kits with a wider medallion or cover plate designed to hide larger trim gaps.
The pendant hangs crooked
- Make sure the bracket is seated evenly and the canopy set screws are tightened evenly.
- Check that the cord is routed straight and not caught on a spring clip.
It flickers on a dimmer
- Use dimmable LED bulbs.
- Confirm the dimmer is LED-compatible. This matters even more with older dimmers or multi-location (3-way) setups. More details are in How to Fix LED Flicker With the Right Dimmer.
It feels too bright
- Switch to a lower-lumen bulb.
- Try a frosted bulb or a shade with diffusion.
- Add a compatible dimmer if your circuit supports it.
Safety notes
- Turn off power at the breaker whenever you are working with a ceiling light.
- Use a listed conversion kit that is intended to support a pendant, and follow the manual and weight limits.
- Do not exceed weight limits. If a pendant is heavy, it needs proper structural support, not just a conversion kit.
- Respect heat. LEDs are your friend here, especially in enclosed or tight canopies.
- When in doubt, pause. If you discover brittle wiring, scorch marks, or anything that looks damaged, stop and consult a qualified electrician.
Quick FAQs
Can I convert any recessed light into a pendant?
Only if there is a standard screw-in socket in the can and the kit fits your recessed housing size. Dedicated LED recessed fixtures without a replaceable socket usually cannot use typical conversion kits.
Will a conversion kit damage the ceiling?
Most are designed to be reversible and use the existing housing, so they typically do not require cutting drywall. The canopy or cover plate is meant to neatly hide the old opening.
Is this renter-friendly?
It can be, because it uses existing wiring and often reverses back to a recessed trim. Always check your lease and keep the original trim pieces safely stored.
What pendant styles work best?
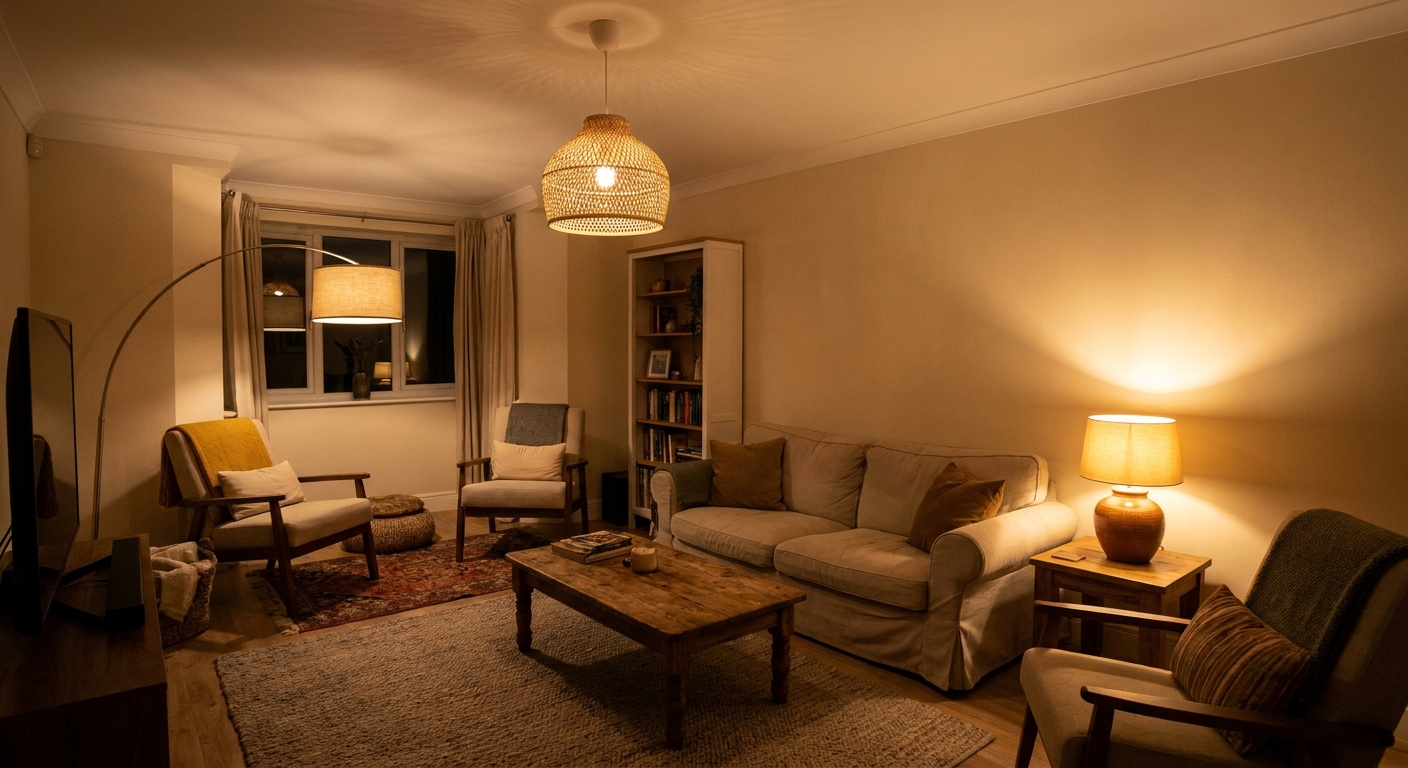
Lightweight pendants with simple canopies are the easiest match. Clear globes feel airy, frosted globes feel softer, and woven shades bring cozy texture. If you love that relaxed look, Woven and Rattan Pendant Lights for Coastal and Boho Rooms is full of inspiration.
A small change, big payoff
Recessed lights are wonderfully practical, but pendants add personality, depth, and that welcoming pool of light that makes a room feel finished. With the right listed conversion kit and a lightweight shade, you can turn a plain ceiling spot into a stylish hanging glow.
If you want more simple upgrades that brighten a home without a major renovation, visit DIY & Easy Upgrades.