Brighten kitchen counters fast—no junction box needed. Compare plug-in vs battery LED strips, pick the right lumens/kelvin/CRI, hide cords, reduce glare, and...
Warm Lumen
How to Layer Kitchen Lighting

Lumi
Lumi is the friendly little firefly host of Warm Lumen, with a heart that glows as brightly as a perfectly placed pendant lamp. He loves discovering how soft bulbs, warm color temperatures, and layered lighting can transform any dark room into a welcoming retreat. Lumi is always fluttering by to share bright ideas and cheer you on as you create a beautifully lit space.
Published
Let’s find the perfect glowing touch for every corner of your kitchen. Layered lighting is the secret: it keeps prep areas bright, makes the room feel welcoming, and helps the whole space look intentional instead of spotty or harsh.
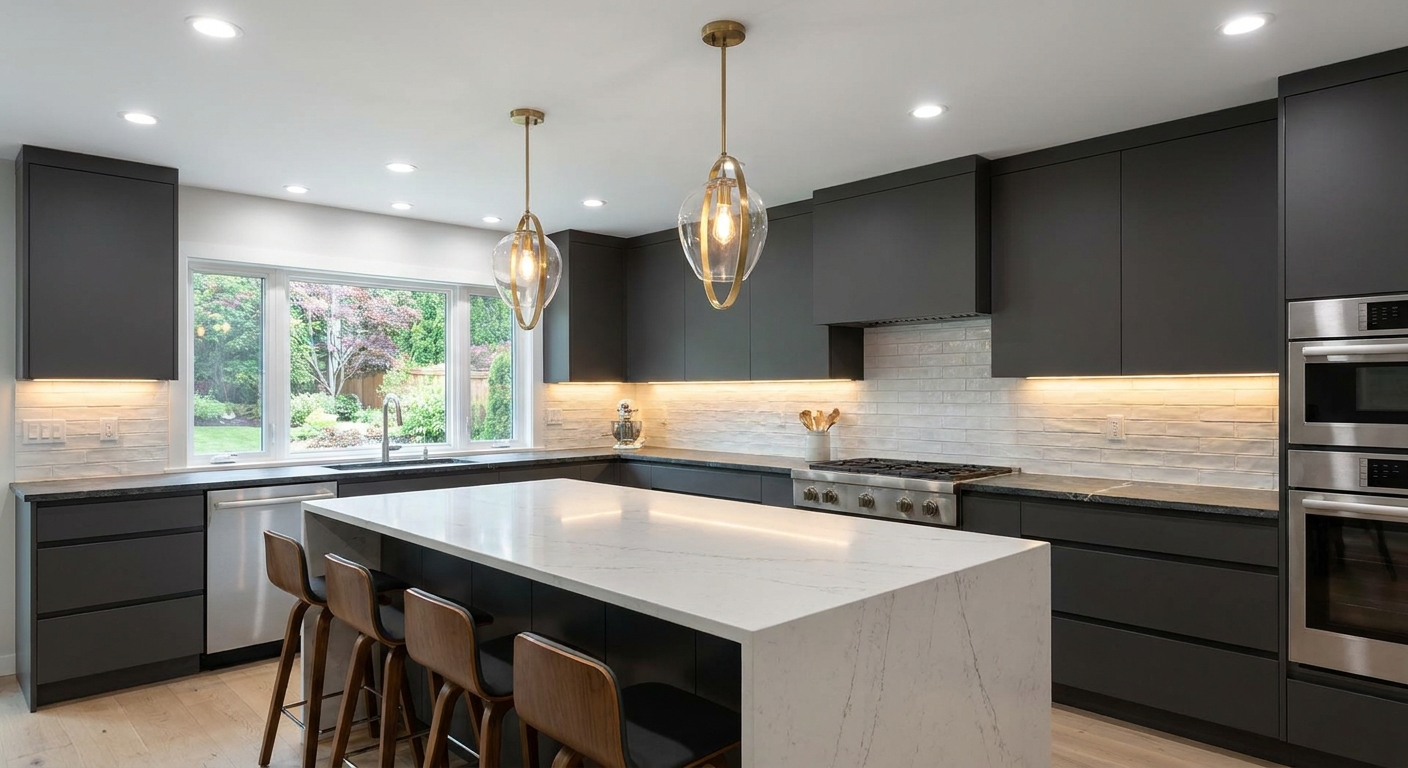
The three kitchen lighting layers
Most great kitchens use three types of light working together. Each layer has a job, and the magic happens when they overlap.
- Ambient lighting: the overall, fill-the-room light. This is often recessed lights, a ceiling fixture, or a mix.
- Task lighting: focused light for working. In kitchens, that usually means under-cabinet lighting for countertops, plus strong light over islands and sinks.
- Accent lighting: lower-output glow that adds depth and makes the room feel finished. Think toe-kick strips, glass-front cabinet lights, or a decorative fixture that adds sparkle without trying to do all the heavy lifting.
If you want a quick foundation on brightness and bulb choices, visit Lighting Basics & Education.
Start with your kitchen zones
Instead of picking fixtures first, map the places where you actually need light. Most kitchens have the same hot spots.
- Perimeter countertops: chopping, measuring, mixing.
- Sink: rinsing and cleanup needs bright, shadow-free light.
- Range and cooktop: often handled by hood lighting, supported by ceiling light.
- Island or peninsula: prep, serving, homework, chatting.
- Pantry and fridge zone: clear visibility helps everyday flow.
- Breakfast nook or dining area: cozy light that feels like an invitation.
Once zones are clear, it’s easier to choose pendants, under-cabinet fixtures, and recessed placements that cooperate instead of competing.
Recessed lighting
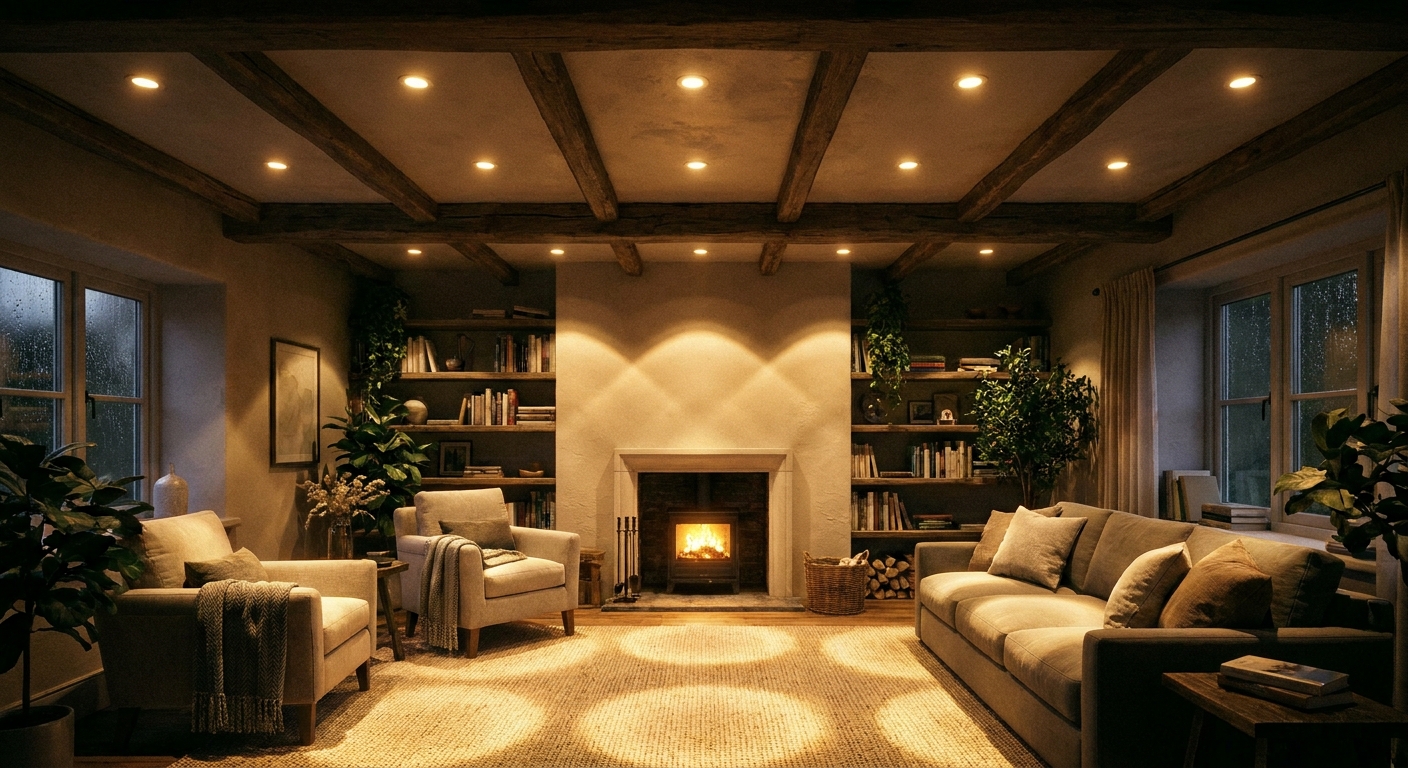
Recessed lights are popular in kitchens because they can provide clean, even coverage when beam angle, spacing, and output are planned well. The most common layering mistake is using recessed cans as the only light source. They are best as the steady baseline, then you add targeted task and decorative light.
Placement tips
- Avoid the shadow stripe: If recessed lights are too close to the wall line behind you, your body can cast shadows onto the counter. Aim so the beam lands on the countertop work area, not directly behind the cook.
- Don’t spotlight cabinet doors only: If lights sit too tight to the uppers, you can end up with bright doors and dim counters.
- Prioritize the sink: Add a dedicated recessed light centered over the sink if you do not have a pendant or other fixture there.
- Use multiple smaller sources: Several recessed lights at moderate output usually feel smoother than a few ultra-bright ones.
Quick spacing rules
- Off the wall: A common rule of thumb is placing recessed lights about 24 to 30 inches from the wall so the light reaches countertops instead of landing behind you.
- Between lights: Another common rule is spacing lights at roughly half the ceiling height (so an 8-foot ceiling often lands around 4 feet between fixtures). Adjust for beam angle, ceiling color, and how bright you like it.
Choose the right type
- Wide beam for general light: Wide flood beams (often 60 degrees or wider) help avoid little pools of light.
- Glare control trims help: Regressed lights, baffles, and deeper trims can feel softer on the eyes in a glossy, reflective kitchen.
- Adjustable gimbals sparingly: Helpful for highlighting a feature, but too many aimed beams can feel busy.
- Dimming matters: Kitchens need bright mode for prep and softer mode for evenings.
Under-cabinet lighting
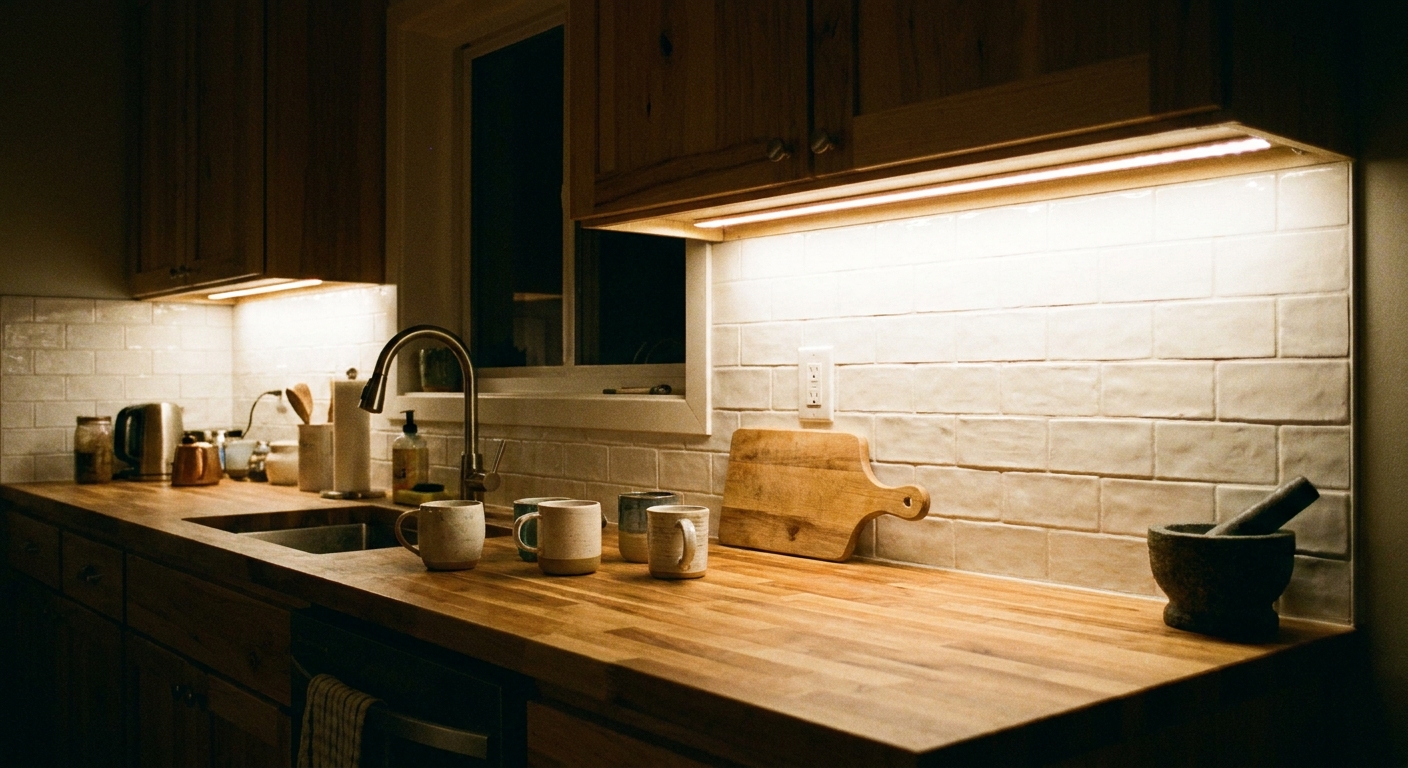
If there’s one upgrade that makes countertops instantly more usable, it’s under-cabinet lighting. It fills in the exact area where shadows love to land.
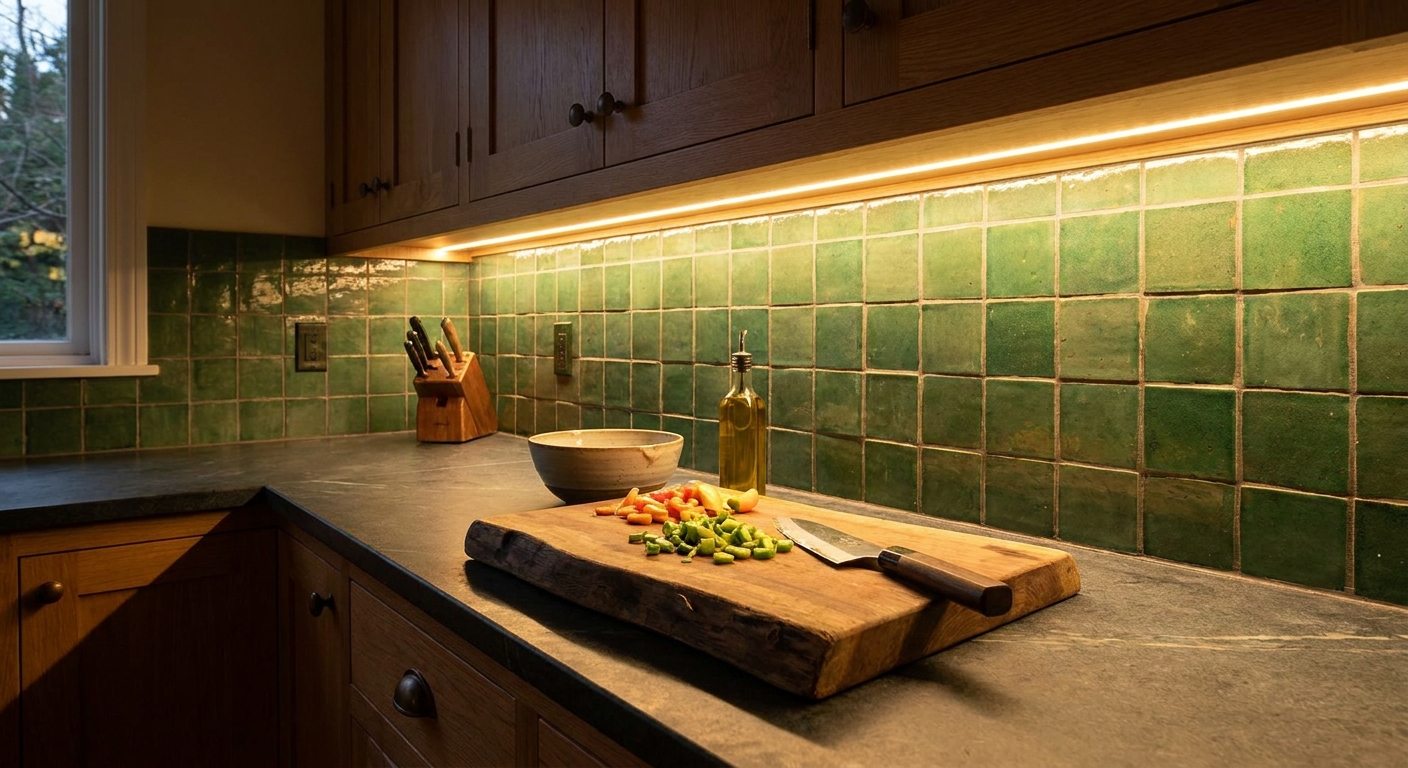
Strip, bar, or puck lights?
- LED strips: Best for continuous, even light, especially across longer runs.
- Light bars: Great for a clean install and consistent diffusion.
- Puck lights: Can create scalloped bright spots unless carefully spaced, but can work for short sections or specific highlights.
Hardwired or plug-in?
- Hardwired: Cleanest look, and easier to put on a wall switch with a dimmer. Great for remodels and renovations.
- Plug-in: Often the simplest DIY path. Plan for where the cord goes so it does not drape across backsplash or countertops. Many people route cords through a small cabinet hole to a hidden outlet.
Color temperature and finish
- Warm and welcoming: 2700K to 3000K is a cozy kitchen range for most homes.
- Match your layers: Try to keep recessed, pendants, and under-cabinet lighting in the same neighborhood of warmth so the room does not look patchy.
- Look for good color quality: A high CRI (often 90+) helps food look more natural. If you want to be extra picky, look for strong red rendering too (often listed as R9), since some LEDs can score well overall but still make tomatoes look a little dull.
Install details that reduce glare
- Front placement helps: Mount under-cabinet lighting closer to the front underside of the cabinet (not all the way at the back) so the light reaches the counter where you work.
- Use a diffuser: Diffused strips and bars reduce dots and harsh reflections on glossy counters.
- Mind shiny surfaces: Polished stone and glossy tile can bounce light. Dimming gives you control.
For more small but high-impact projects, visit DIY & Easy Upgrades.
Pendants
Pendants often steal the spotlight, and that’s okay. They can provide excellent task lighting over an island while adding style and a cozy sense of place.
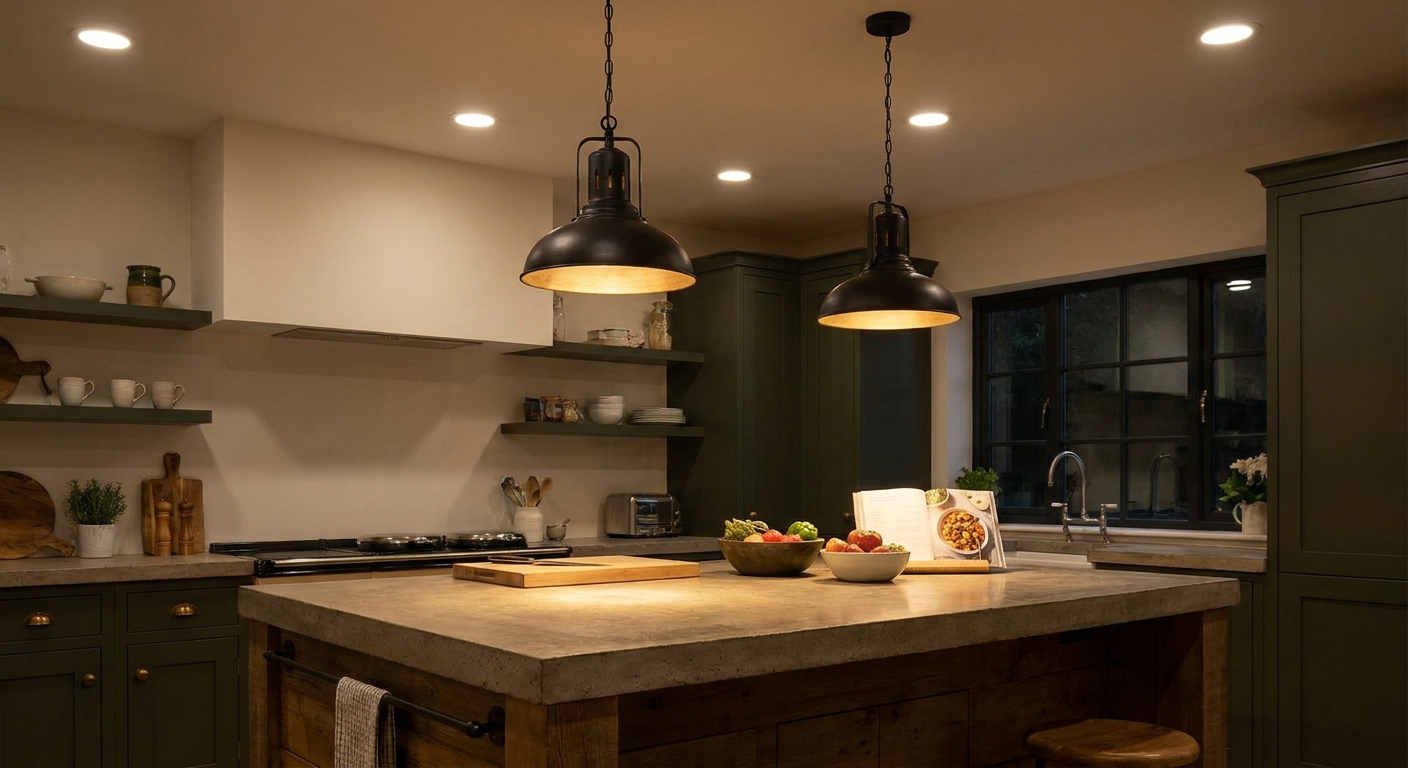
How many pendants over an island?
- Two pendants: Common for medium islands, creates balanced pools of light.
- Three pendants: Works well for longer islands, gives a rhythmic look and more even coverage.
- One larger pendant: Can look clean and sculptural, but make sure it provides enough useful light for the whole work area.
Hanging height
- Over an island: A widely used guideline is to hang the bottom of the pendant about 30 to 36 inches above the countertop. Ceiling height, fixture diameter, and bulb glare can all nudge that number. Your installer may adjust for clearance and sightlines.
- Over a sink: Hang high enough that the fixture does not block the view across the kitchen or feel too low when standing at the sink.
Choose shades that behave nicely
- Opaque shades: Reduce glare and hide the bulb, great for cozy kitchens.
- Clear glass: Looks airy but can cause sparkle and glare if the bulb is harsh. Use a softer bulb and consider a frosted or coated option.
- Wide-open bottoms: Put more light onto the counter (great for task), but can be bright at eye level unless hung thoughtfully and paired with the right bulb.
If you’re choosing shapes and finishes, explore Fixtures & Styles for more design-friendly ideas.
A simple layering recipe
Here’s a reliable way to combine the three fixture types without overthinking it.
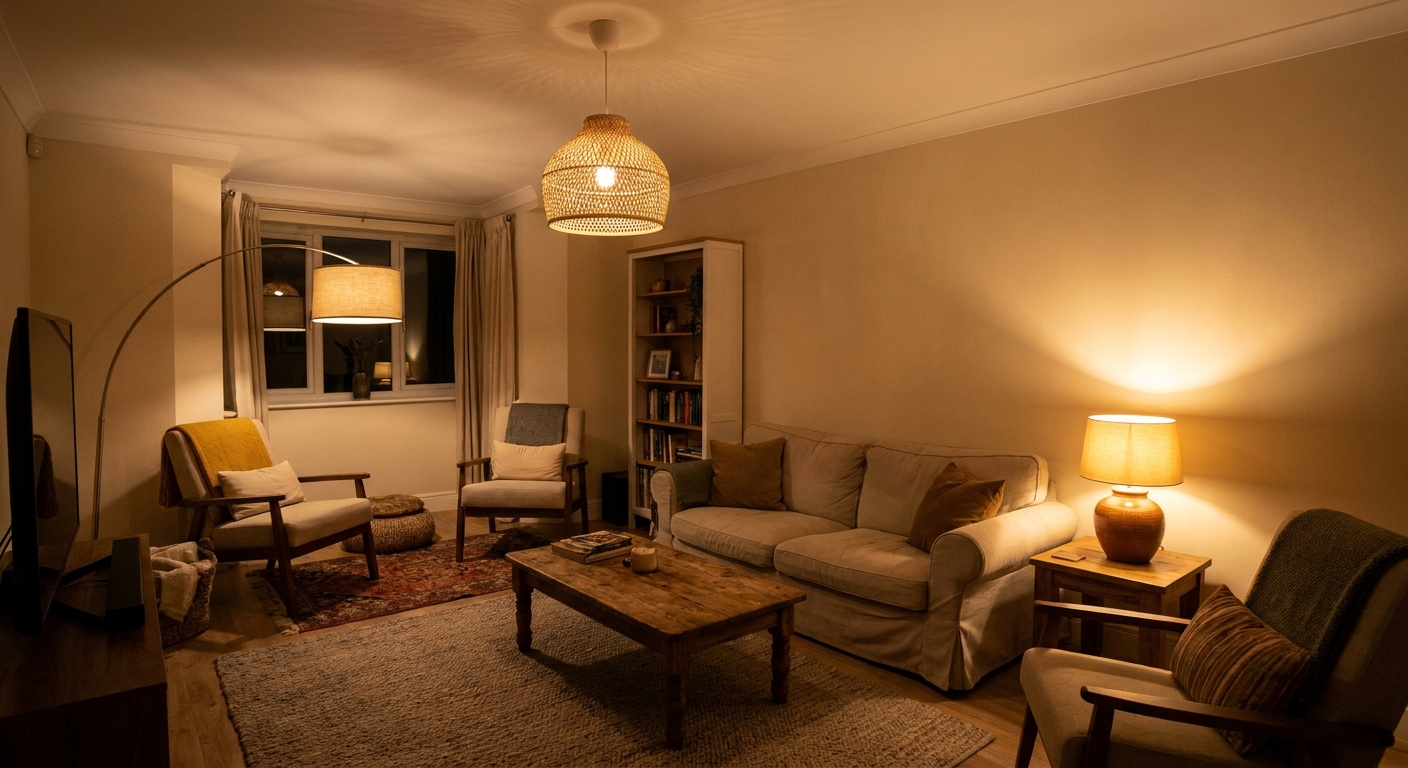
- Ambient: Recessed lights laid out for smooth, general coverage.
- Task: Under-cabinet lighting on all main prep runs, plus strong light over the sink and island.
- Accent: Toe-kick, in-cabinet, or a gentle highlight that adds depth without turning the kitchen into a stage set.
- Control: Put these layers on separate switches and, ideally, dimmers.
Separating controls is the difference between bright enough and perfect for right now.
Brightness and bulb targets
Exact needs depend on room size, ceiling height, and finishes, but these targets help you aim for a kitchen that feels bright without feeling like a showroom. Treat them as friendly starting points, then adjust with dimmers.
- Ambient lighting: Roughly 20 to 30 lumens per square foot as a starting range for general kitchen light.
- Countertop task lighting: Aim for about 50 to 75 foot-candles on work surfaces (about 500 to 800 lux). Under-cabinet lighting is the easiest way to get there without glare.
- Accent lighting: Low output on purpose, just enough to add a soft glow in the background.
Color temperature
- 2700K: very warm, cozy, inviting.
- 3000K: warm-white, still welcoming, a favorite for kitchens because it feels clean but not icy.
- 3500K to 4000K: can feel crisp and bright, but may read cooler against warm cabinets or wood tones. Use thoughtfully if you love a sharper look.
Common layering mistakes
- Only recessed lights: Add under-cabinet lighting to fix countertop shadows fast.
- Pendants too high: Lower them into the working zone (while protecting sightlines) so the counter actually benefits.
- Glare from exposed bulbs: Swap to a softer bulb, add a dimmer, or choose a shade that shields the light source.
- Mismatched color temperatures: Align bulbs and LEDs to one warm range so everything feels like it belongs together.
- Everything on one switch: Split layers into separate circuits or smart controls so you can create scenes.
Wiring and dimmers
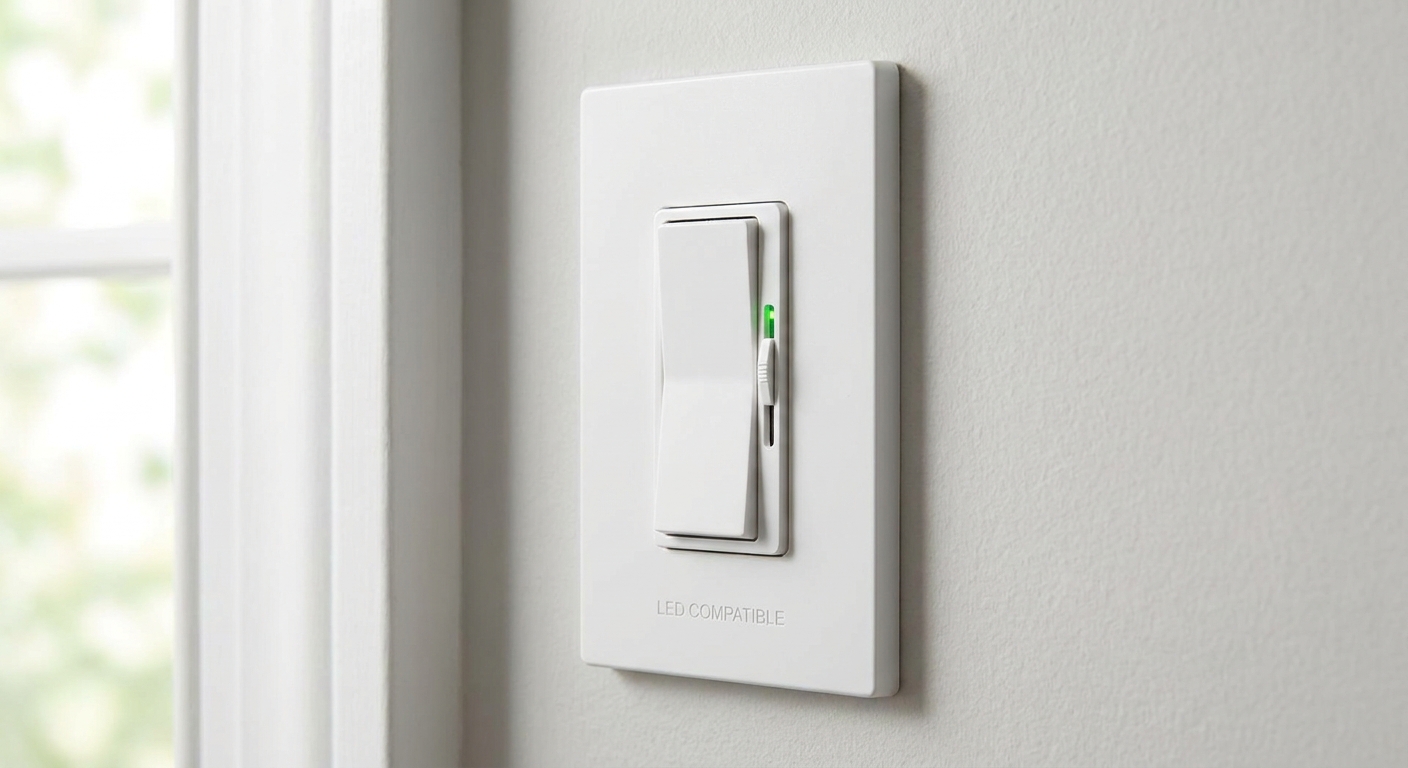
- Match dimmers to LEDs: Some LED drivers need specific dimmer types (often TRIAC or ELV). The wrong pairing can cause flicker or limited dimming range.
- Plan your switch locations: If you can, keep task lighting and ambient lighting on separate controls, so you are not forced to run the whole kitchen at full brightness.
- Hide the practical stuff: For under-cabinet plug-in options, choose a cord path that stays out of sight and away from heat and splash zones.
Small accents that finish the look
Once your big three are in place, a few gentle accents can make the whole kitchen glow.
- Toe-kick lighting: A low, subtle strip along the base cabinets adds a floating effect and soft nighttime guidance.
- In-cabinet lights: A warm glow inside glass-front cabinets adds depth.
- Top-of-cabinet uplighting: If there’s space above uppers, a soft wash can reduce contrast and make ceilings feel higher.
Safety notes
- Use rated fixtures where needed: Choose damp-rated fixtures if a light is close to the sink or exposed to moisture.
- Respect heat and clearance: Follow manufacturer guidance for clearances near cooktops and range hoods.
- Know when to call a pro: If you are adding circuits, moving junction boxes, or unsure about wiring, consult a licensed electrician.
Quick plan checklist
- Recessed lighting for even ambient fill (planned for spacing and beam angle)
- Under-cabinet lighting across main prep counters
- Pendants sized and hung for useful island task light
- All layers in a similar color temperature (often 2700K to 3000K)
- High-CRI light sources where food prep happens, with an eye on R9 if available
- Separate switches and dimmers for each layer
Want more room-specific ideas beyond the kitchen? Visit Room-by-Room Lighting for more cozy, practical glow.
Kitchen lighting FAQ
Do I need pendants if I have recessed lights?
No, but pendants can add focused task light and visual warmth. If you skip pendants, make sure the island still gets bright, shadow-free task lighting from recessed placement or another fixture type.
Is under-cabinet lighting worth it?
For most kitchens, yes. It directly improves visibility where prep happens, and it makes the whole room feel more welcoming in the evening.
Should kitchen lights all match?
They do not have to match as a set, but they should coordinate. A simple way is to repeat one element, like finish (brass, black, nickel) or shape (soft globe, clean cylinder), and keep bulb color temperature consistent.
What if my kitchen already feels too bright?
Brightness without control can feel harsh. Add dimmers, use warmer color temperature, and rely more on under-cabinet task lighting while lowering ambient light for everyday living.