Make mixed metals look intentional—not mismatched. Use the 60/30/10 rule, repeat each finish, match undertones and sheen, and get room-by-room tips for kitch...
Warm Lumen
Spray Paint Old Metal Light Fixtures for a Modern Look

Lumi
Lumi is the friendly little firefly host of Warm Lumen, with a heart that glows as brightly as a perfectly placed pendant lamp. He loves discovering how soft bulbs, warm color temperatures, and layered lighting can transform any dark room into a welcoming retreat. Lumi is always fluttering by to share bright ideas and cheer you on as you create a beautifully lit space.
Published · Last updated
Let’s find the perfect glowing touch for every corner of your home, starting with the fixtures you already have. If you have shiny brass, tired nickel, or a scratched metal finish that makes the room feel dated, spray paint can give it a clean, modern look without the cost of replacing the whole light.
The secret is not the color. It is the prep. When metal is cleaned, lightly scuffed, and properly primed, spray paint can look surprisingly smooth and factory-finished.
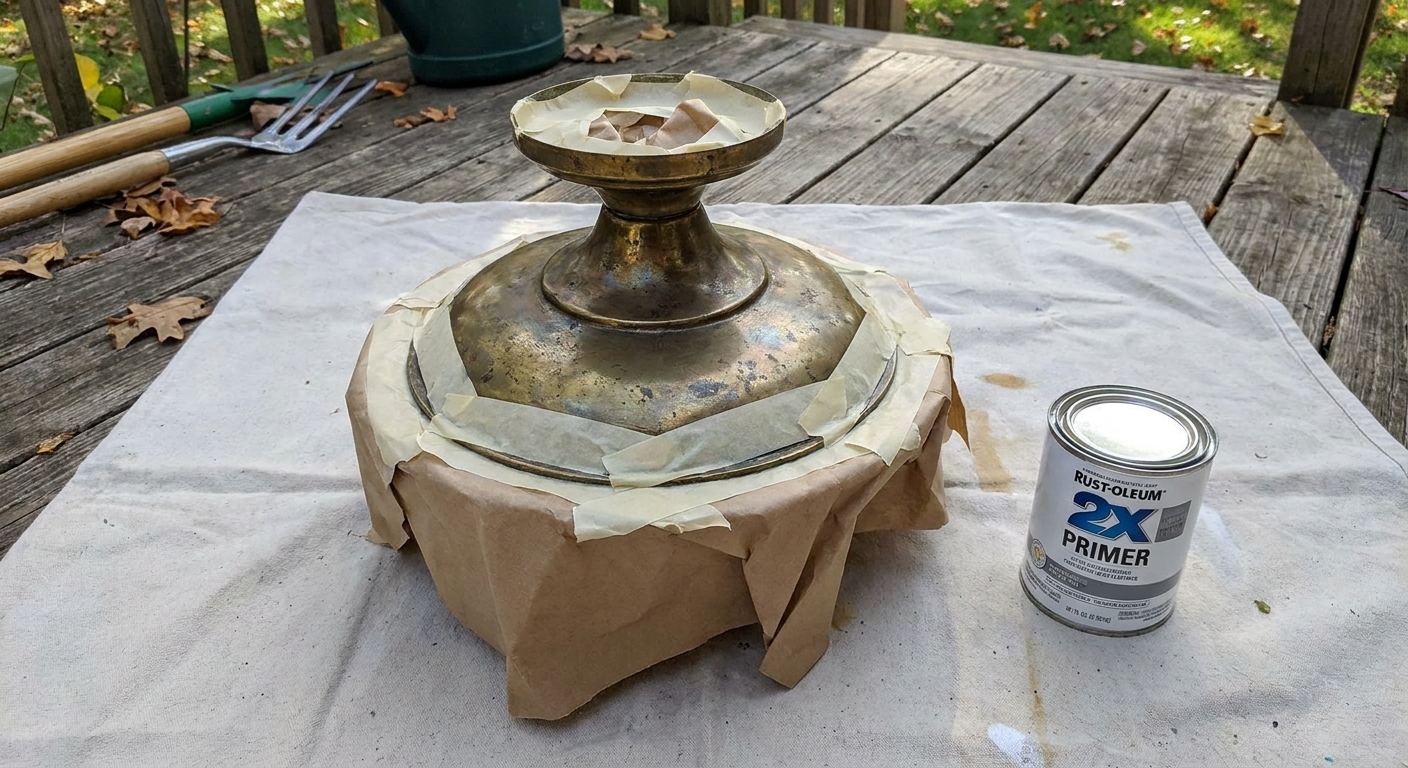
Before you start: safety first
Paint and electricity should never mingle. Put safety first, then worry about the finish.
- Turn off power at the breaker, not just the wall switch.
- Confirm the power is off with a non-contact voltage tester before touching any wiring.
- Work in a well-ventilated area, ideally outdoors or in an open garage with fans.
- Wear the right respirator: a NIOSH-approved respirator with organic vapor cartridges (and P100 particulate prefilters if recommended for your product) is a safer pick than a basic dust mask.
- Know when not to paint: Do not spray paint sockets, bulb threads, wiring, LED driver boxes, ballast components, grounding points that need bare metal contact, or labels you need to read later.
If you are unsure about removing the fixture or dealing with wiring, it can be safer to leave the electrical part to a licensed electrician and do the paint work once the fixture is down.
Tools and materials to gather
Having everything ready helps you keep coats light and consistent, which is what creates that modern, smooth finish.
Prep supplies
- Microfiber cloths or lint-free rags
- Degreaser or dish soap
- Isopropyl alcohol (final wipe)
- Painter’s tape and masking paper or aluminum foil
- Sandpaper: 220 grit and 400 grit, or a fine sanding sponge
- Tack cloth (optional but helpful)
Paint supplies
- Bonding primer for metal or self-etching primer (best for bare metal and some slick metals, but always follow the label for compatibility)
- Spray paint in your chosen finish (matte, satin, or semi-gloss)
- Clear topcoat (optional, depends on location and sheen)
Setup
- Drop cloth or large cardboard
- Nitrile gloves
- Scrap cardboard for test sprays
Conditions
Spray paint behaves best in mild, dry conditions with little wind. Check the can for the recommended temperature and humidity range and stay within it for smoother results.
If you want the finish to feel cohesive across the room, keep your broader lighting plan in mind. Layered lighting makes updated fixtures look even better. Warm Lumen’s guide to layering kitchen lighting is a helpful way to think about the whole room glow, not just one piece.
Step 1: Remove and label parts
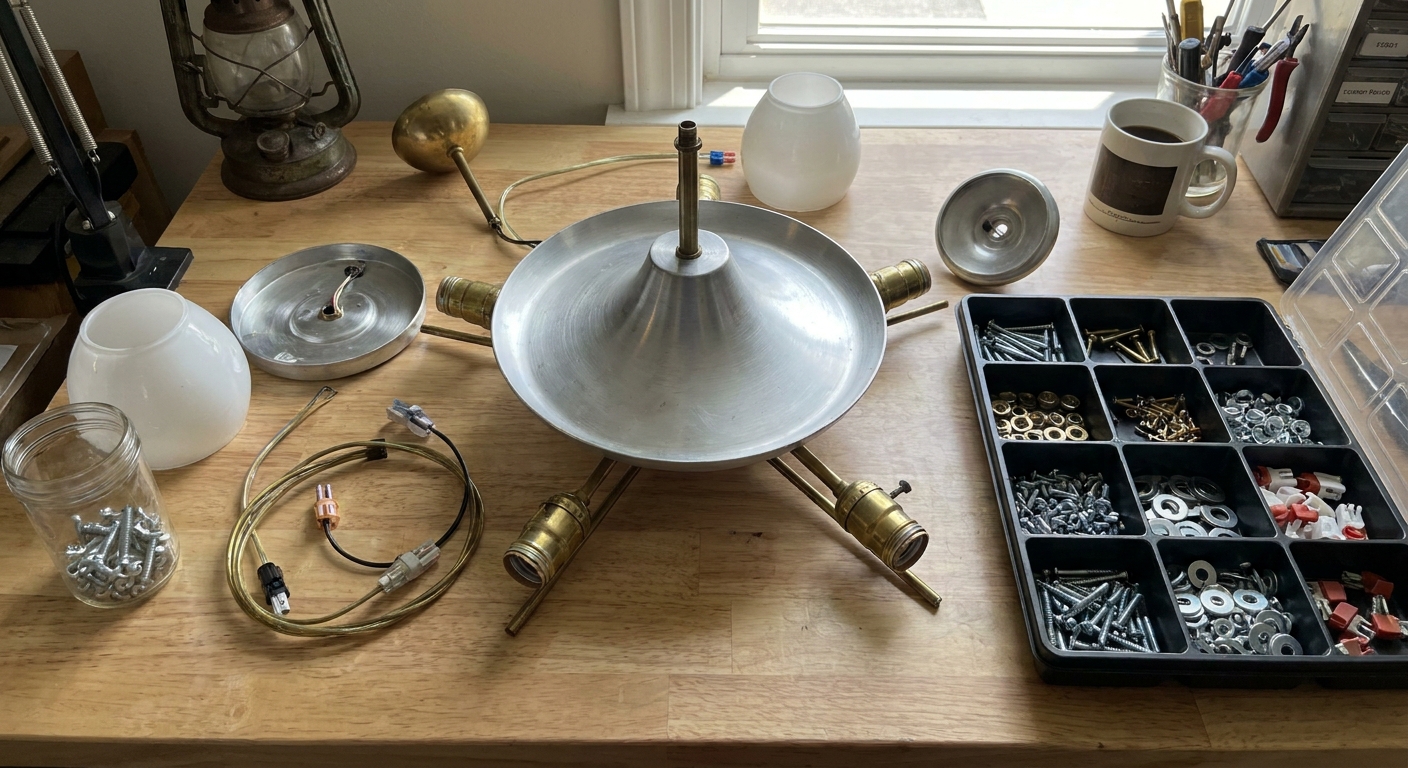
Take the fixture down if possible. Painting overhead is messy and makes it much harder to keep coats even.
- Take a quick photo of the wiring before disconnecting, so reassembly is simpler.
- Keep screws and small parts together in a cup or bag.
- Remove glass shades, globes, and bulbs.
- Separate parts that can be painted individually, like canopy pieces, arms, and decorative rings.
Step 2: Clean thoroughly
Metal fixtures collect invisible grime, kitchen grease, hand oils, and residue from cleaning sprays. Paint hates all of it.
- Wash with warm water and dish soap or a gentle degreaser. Rinse well.
- Dry completely. Water hiding in seams can ruin a coat.
- Final wipe with isopropyl alcohol on a lint-free cloth, especially where hands touched the fixture.
If your fixture lived in a kitchen or near a range, do not skip the degreasing step. This is often the difference between a finish that lasts and one that chips.
Step 3: Scuff sand for grip
You do not need to sand down to bare metal unless the original finish is flaking. The goal is to create tiny scratches so primer can grab on.
- Use 220 grit to scuff glossy brass or nickel.
- Follow with 400 grit if you want a smoother base (especially for matte finishes).
- Remove dust with a tack cloth or a clean microfiber cloth, then do a quick alcohol wipe if needed.
If the old finish is peeling or rusty
- Remove loose paint completely.
- Sand rust until you reach solid metal. If pitting remains, use a rust-inhibiting primer designed for metal.
- If you expose bare metal, avoid water-based wipe-downs afterward. Stick to tack cloth and alcohol so you do not invite flash rust.
Step 4: Mask what must stay clean
Clean lines make a DIY paint job look intentional.
- Do not paint inside sockets, bulb threads, wiring, grounding screws, or any moving switch parts.
- Do not paint surfaces that need metal-to-metal contact for mounting or grounding.
- Mask label plates if you want to preserve model information.
- For socket openings, use foam earplugs or tightly rolled paper towel, then tape over the opening so nothing sheds fibers inside.
For odd shapes, aluminum foil is a handy masking friend. It molds quickly around socket clusters and keeps tape use minimal.
Step 5: Prime the metal
Primer is what helps paint stick to slick metal finishes like polished brass, chrome-like plating, and some brushed nickels.
Choose the right primer
- Self-etching primer: Typically intended for bare metal. It can be excellent when you have exposed metal, but on some previously coated or plated finishes it may be less effective or react. Follow the label and test on a hidden spot if you are unsure.
- Bonding primer for metal: A reliable option for scuffed, previously finished fixtures.
How to prime
- Shake the can for the full time on the label (often 1 to 2 minutes).
- Test spray on cardboard.
- Hold the can about 8 to 12 inches away.
- Use light passes, starting the spray off the piece and sweeping across, then releasing after you pass the edge.
- Apply 2 to 3 thin coats rather than one heavy coat, following the can’s recoat window.
Let primer dry as directed on the label. If it feels rough or dusty after drying, lightly scuff with 400 grit and wipe clean before color coats.
Step 6: Spray paint for a smooth finish
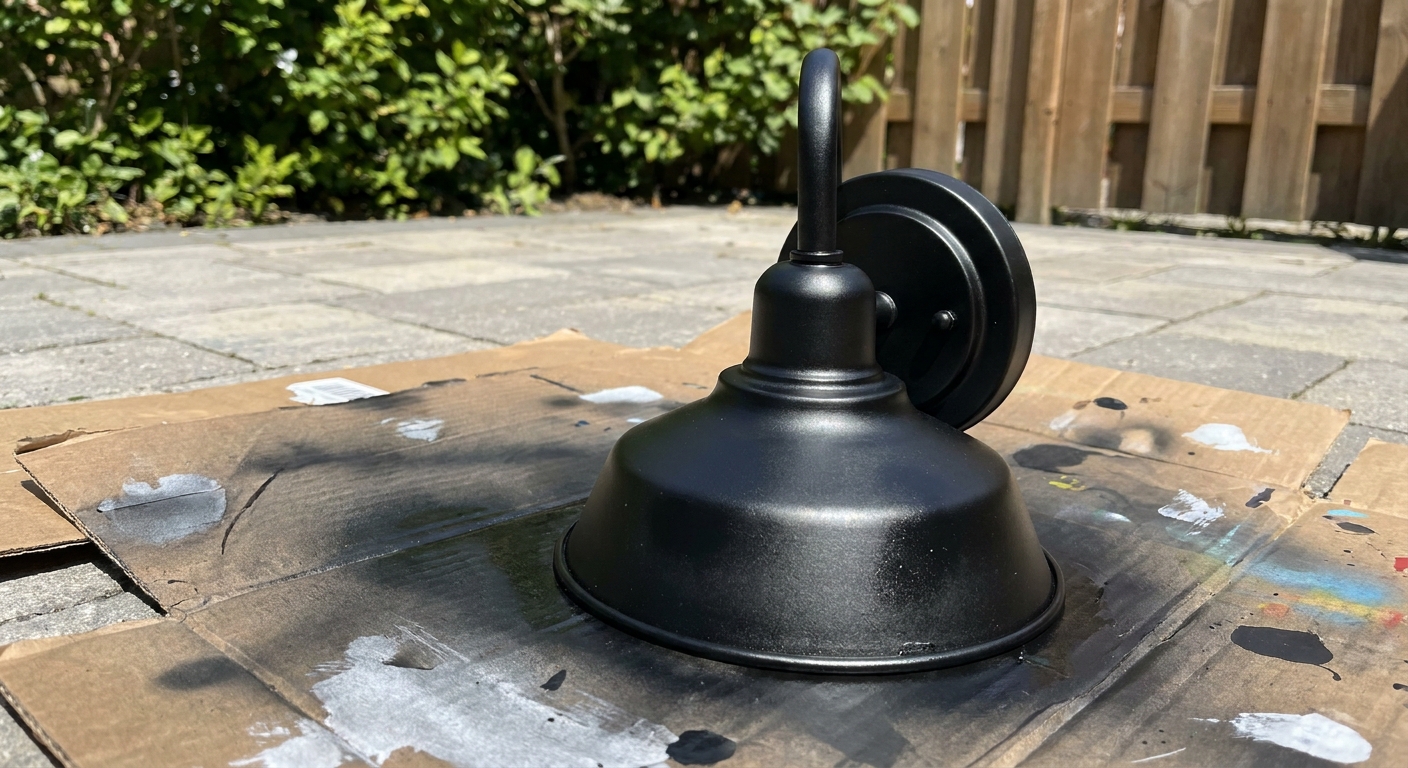
Modern finishes usually look best when they are even and calm, not thick or drippy. Think soft fog, not wet lacquer.
Pick a finish that looks current
- Matte black: Bold and clean, hides small imperfections well.
- Satin black or satin white: Slight glow, very versatile.
- Soft brass or champagne: Warmer, updated, and less shiny than old-school polished brass.
- Oil-rubbed bronze look: Cozy and classic, but can read traditional depending on the room.
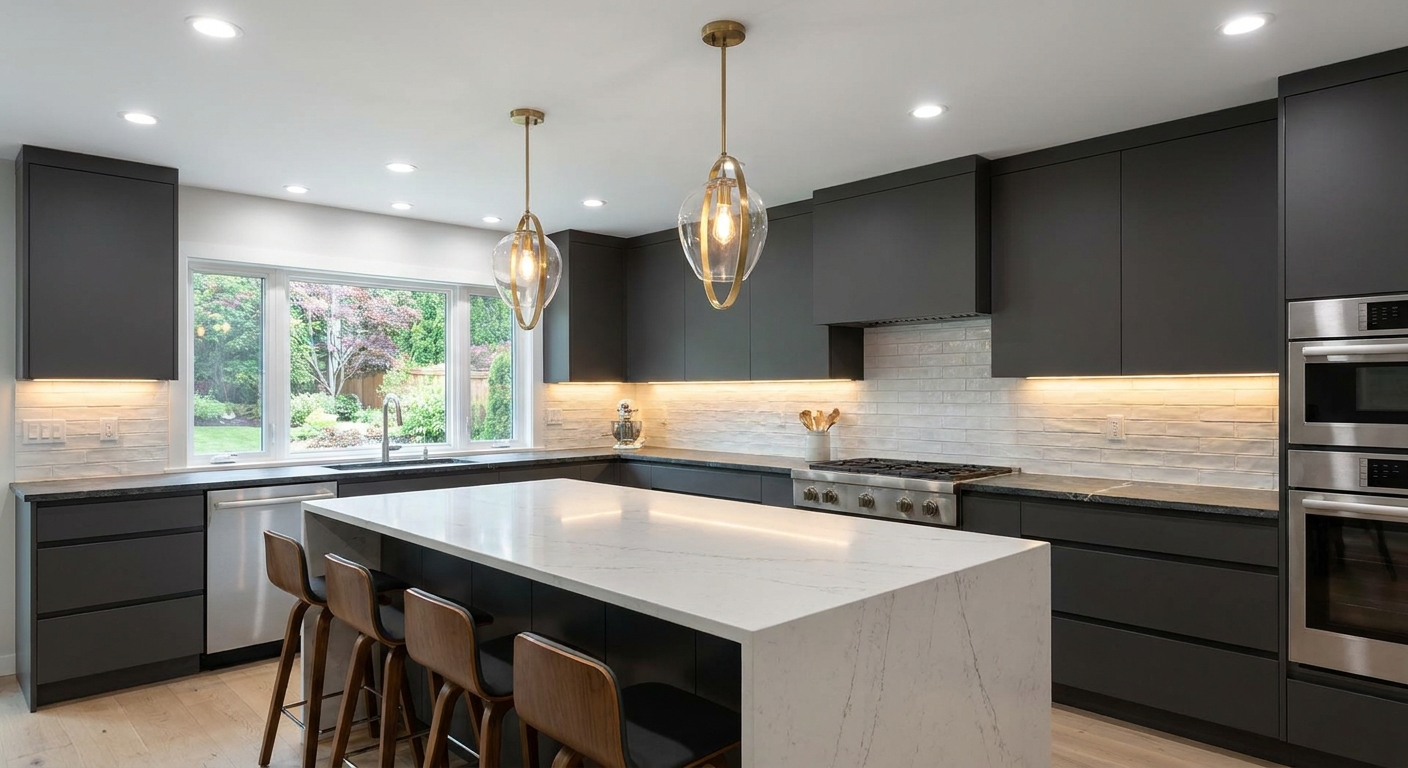
If you are updating multiple metals in a space, Warm Lumen’s guide to mixing metal light fixtures can help you keep the overall look intentional.
Spraying technique that prevents drips
- Keep the can moving. Stopping in one spot causes runs.
- Use multiple light coats, waiting the recommended time between coats.
- Rotate the piece between coats to reach underside curves and arms.
- Watch corners and decorative bumps. Paint builds up there first.
How many coats?
Most fixtures look best with 3 to 5 light color coats, depending on the color change. Painting shiny brass to matte black often takes more coats than you expect, but thin layers stay smoother.
Step 7: Clear coat, if needed
A clear coat can help durability, but it can also change sheen. The most common disappointment is applying a clear coat that turns a soft matte into a slightly plastic-looking satin.
Use a clear coat when
- The fixture will be handled often, like an adjustable wall lamp.
- It is in a high-humidity area, like a bathroom.
- You chose a specialty metallic finish that benefits from sealing.
Skip the clear coat when
- You want a true matte look and your paint already cures hard.
- The spray paint you used specifically says no topcoat needed.
If you do clear coat, keep it compatible. Use the same brand system when possible, follow the label, and apply light coats just like paint.
Step 8: Dry time vs cure time
Paint can feel dry to the touch quickly, but still be soft underneath. That softness is what leads to fingerprints, dents, and sticking parts.
- Dry to touch: Often 30 minutes to 1 hour, but product and conditions vary.
- Handle carefully: Often after several hours.
- Full cure: Commonly 24 to 72 hours, sometimes longer.
The can’s instructions are the source of truth here. Follow its recoat, handle, and full cure schedule, especially if you are adding a clear coat.
During curing, keep parts in a dust-free spot and avoid stacking painted pieces together. If you need to flip a piece while painting, rest it on clean cardboard supports so fresh paint does not press onto the surface.
Integrated LED fixtures: extra caution
If your fixture has integrated LEDs, take a slower path. Many integrated fixtures include plastic diffusers, driver housings, and heat sinks that help the LEDs run cool.
- Avoid painting heat-dissipating surfaces such as heat sink fins or large metal plates designed to shed heat. Paint can insulate and affect thermal performance.
- Do not paint driver housings, vents, or any internal components.
- If the integrated LED components cannot be separated cleanly from decorative parts, consider leaving the fixture as-is or replacing it. A fresh bulb is easier than a compromised LED system.
Reassemble and reinstall
- Remove all masking fully before reinstalling.
- Wear clean gloves during reassembly to avoid oils and smudges.
- Use a soft towel on the work surface.
- Tighten screws snugly, not aggressively. Over-tightening can chip paint at contact points.
- When positioning a canopy against the ceiling, go slowly so you do not scrape the new finish. If you need a little protection while lining things up, a small piece of soft cloth can help, then remove it before final tightening.
- Install bulbs only after the fixture is fully mounted.
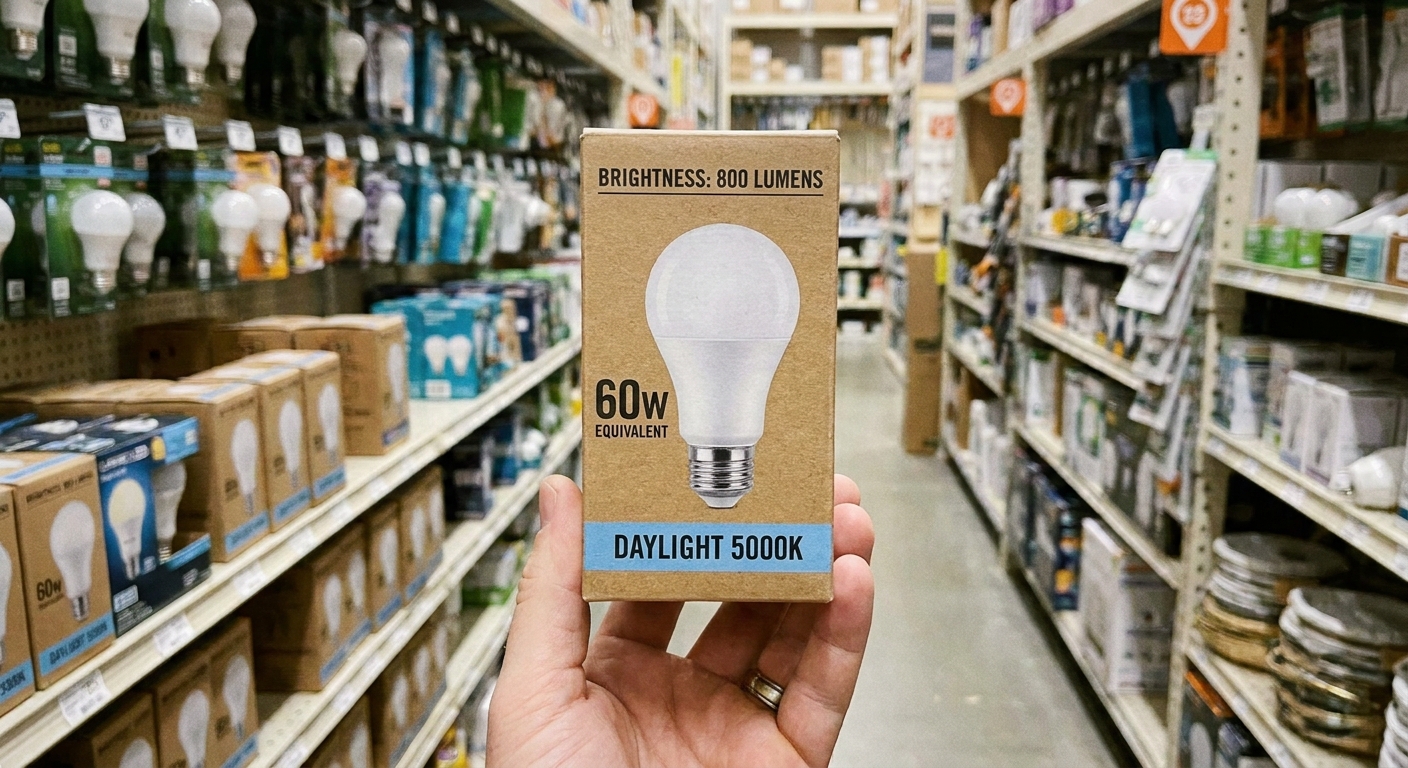
Once your fixture looks new, the bulb choice can make it shine. For a modern but cozy feel, a warm color temperature is a sweet match. If you want help choosing, head to lumens vs watts for LED bulbs and how to calculate the right lumens for any room.
Troubleshooting common problems
Drips and runs
- Cause: Too heavy of a coat or spraying too close.
- Fix: Let it fully dry, sand smooth (400 grit), wipe clean, then respray light coats.
Orange peel texture
- Cause: Spraying too far away, spraying in cold conditions, wind, or laying paint on too dry.
- Fix: Lightly sand smooth, then apply a slightly wetter coat at the proper distance, within the product’s recommended conditions.
Fish eyes (little craters)
- Cause: Oil, silicone, or cleaner residue.
- Fix: Sand back the affected area, clean thoroughly with alcohol, re-prime, repaint.
Chipping later
- Cause: Skipped sanding or primer, rushed cure time, or poor compatibility between layers.
- Fix: Touch up small chips after full cure. For widespread chipping, restart with better prep and follow the label recoat windows.
Modern color that still feels warm
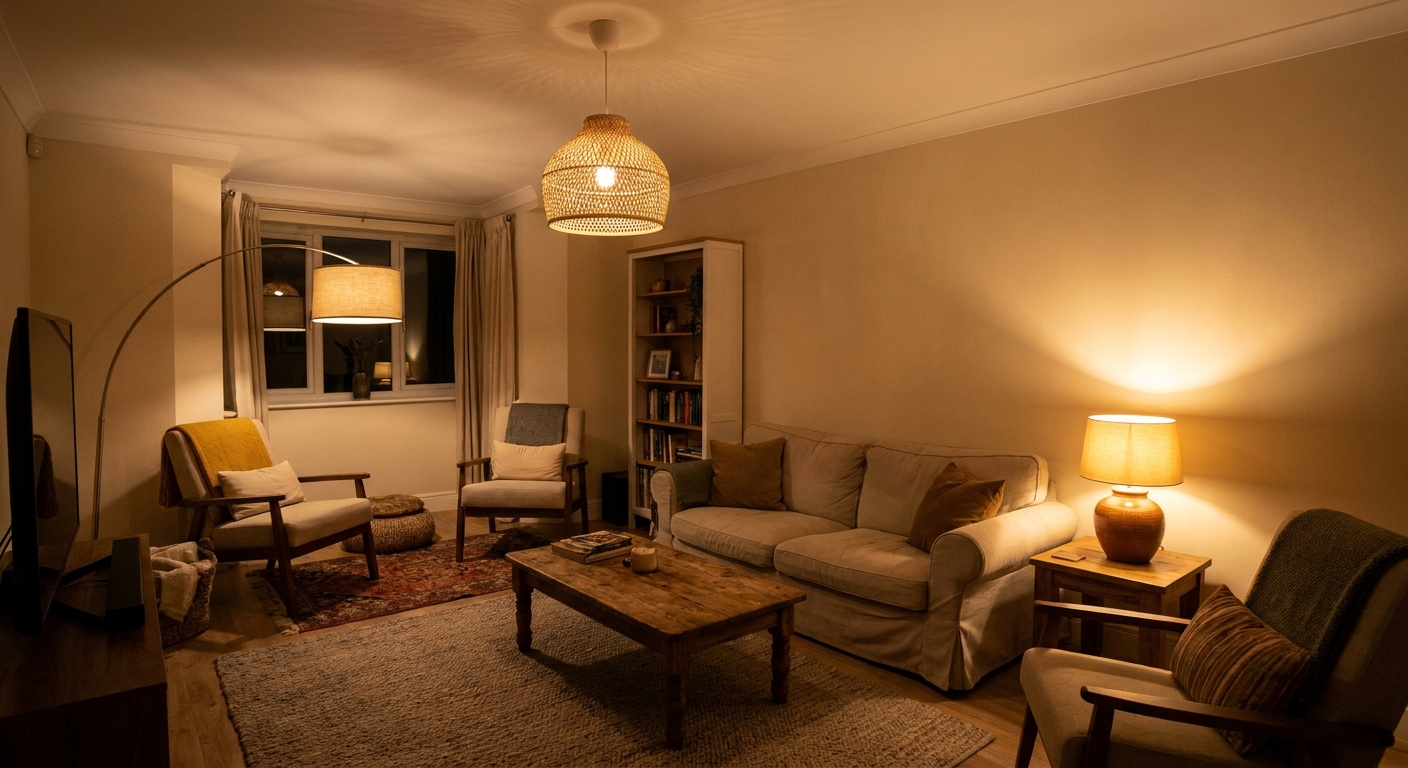
Modern does not have to mean cold. A fixture can look updated and still glow cozy when the finish and bulb work together.
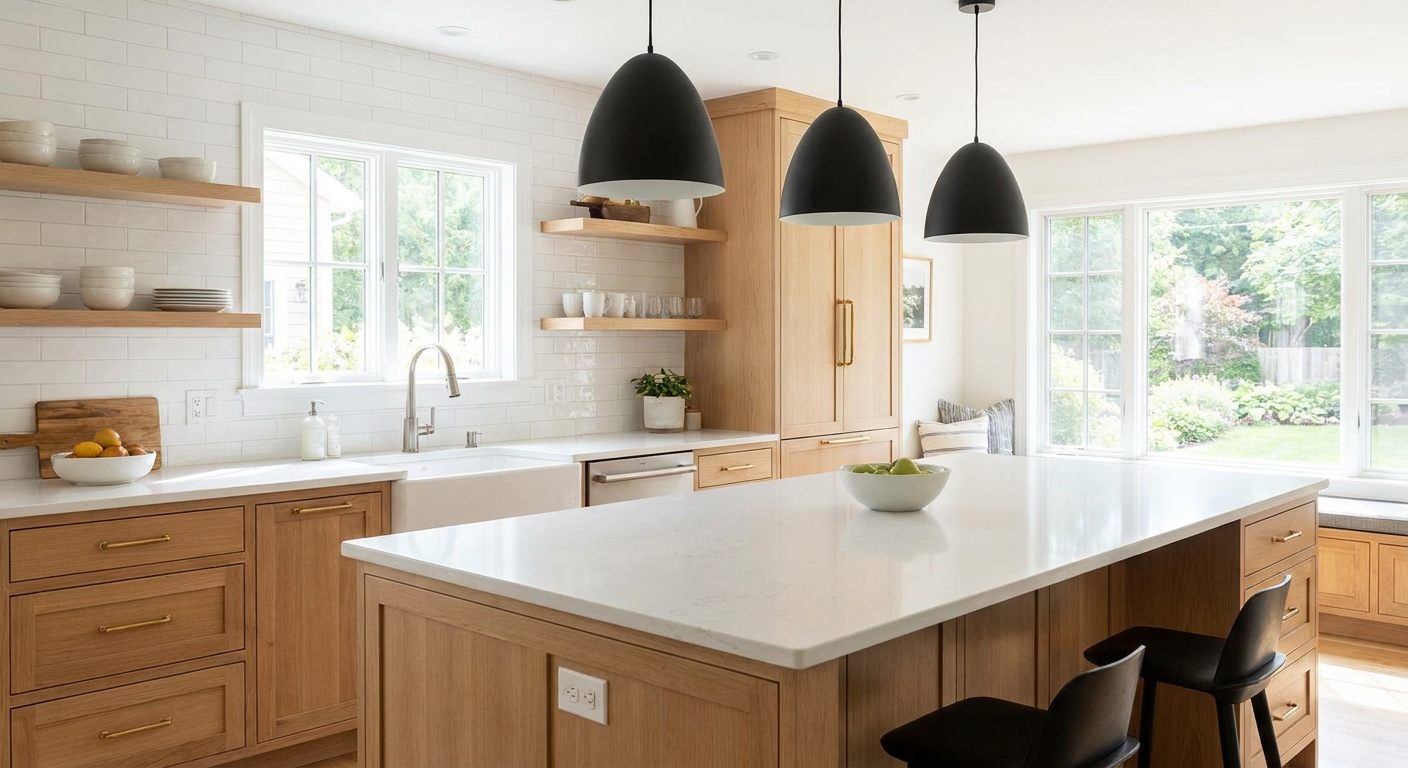
- Matte black + warm LEDs creates crisp lines with a soft amber glow.
- Satin white disappears into ceilings and lets the light itself be the star.
- Soft brass pairs beautifully with warm bulbs and natural textures like wood and rattan.
If your fixture includes a globe or shade, remember that glass changes the feel too. Clear glass shows the bulb more, while frosted glass softens glare. This pairs nicely with the tips in clear vs frosted glass globe lighting.
FAQ
Can you spray paint brass light fixtures without sanding?
Light sanding is strongly recommended. Brass and plated finishes are often slick. A quick scuff plus a bonding or self-etching primer makes the finish far more durable than paint alone.
Do you have to use primer on metal light fixtures?
For most metal fixtures, yes. Primer helps paint adhere evenly and resist chips, especially on shiny brass or nickel.
Is spray painting safe for fixtures that get warm?
It depends on the fixture and the bulb. LEDs usually run cooler than incandescent bulbs, but enclosed fixtures, higher output lamps, and non-LED bulbs can still build heat. Check your paint label for temperature guidance, keep paint off sockets and bulb-contact areas, and avoid painting any heat sink surfaces on integrated LED fixtures.
How do you keep the finish from looking spray painted?
Use thin coats, keep the can moving, and allow proper dry time between coats. Proper prep, especially cleaning and priming, is what makes the finish look smooth and intentional.
A quick glow-up reminder
A modern-looking fixture is not just about color. It is about smooth, even sheen and a clean silhouette. When you prep patiently, prime properly, and build light coats, an old metal fixture can look refreshed, current, and ready to glow for years.
If you are planning a few small upgrades at once, you can find more cozy, doable projects in DIY & Easy Upgrades.