
Upgrade your rental without wiring: the best plug-in wall sconce styles (swing-arm, uplight, task, fabric shades) plus clean cord-hiding ideas, mounting opti...
Warm Lumen
Convert a Hardwired Sconce or Pendant to Plug-In

Lumi
Lumi is the friendly little firefly host of Warm Lumen, with a heart that glows as brightly as a perfectly placed pendant lamp. He loves discovering how soft bulbs, warm color temperatures, and layered lighting can transform any dark room into a welcoming retreat. Lumi is always fluttering by to share bright ideas and cheer you on as you create a beautifully lit space.
Published
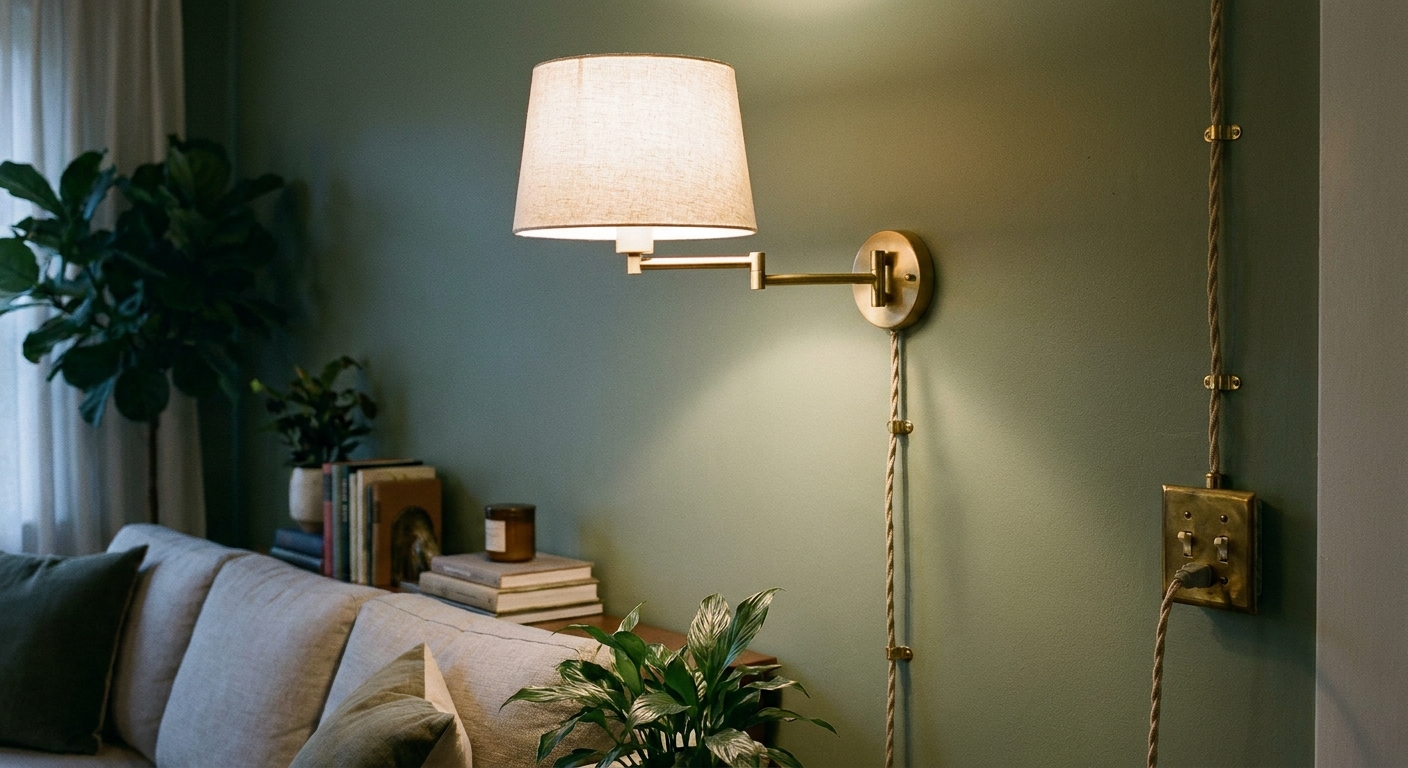
Let's give that beautiful hardwired sconce or pendant a little freedom to glow anywhere you have an outlet. With the right cord, a proper strain relief, and a simple inline switch, you can convert many hardwired fixtures into plug-in lights for renters, reading nooks, gallery walls, and awkward corners that never got a junction box.
Quick reality check: A DIY conversion can void a fixture’s UL or ETL listing and may not be code-compliant in some areas. If you need the fixture to remain listed as-manufactured, or your local rules are strict, this is a great moment to ask a licensed electrician (or choose a purpose-built plug-in fixture instead).
Before you start: what is safe to convert
Many hardwired sconces and pendants can be converted, but a few situations call for a different approach or a pro.
Good candidates
- Simple fixtures with two supply wires (hot and neutral) plus a ground wire or ground screw.
- Fixtures that use standard bulbs and do not rely on a built-in driver tucked inside a wall cavity.
- Fixtures with a safe cord exit (a knockout or cord port) and enough room for splices inside the wiring compartment.
Use extra caution or choose another solution
- Fixtures labeled “hardwire only” or fixtures that depend on being mounted to a junction box for support.
- Very heavy pendants that need a ceiling box to carry weight. A cord should not be the thing holding a heavy light up.
- Fixtures with integrated LED drivers when you cannot access the driver or you are unsure how the line voltage connects.
- Bathroom and outdoor fixtures where wet or damp ratings and GFCI protection matter. If this is for a covered patio or bathroom, read up on ratings first: Damp vs. wet rated lights.
Stop signs
- Brittle cloth-insulated wiring inside a vintage fixture, crumbling insulation, or cracked socket parts.
- Signs of overheating like scorched wire ends, melted insulation, or a burnt odor.
- Unknown house wiring if you are removing an existing hardwired fixture. If you open the box and see anything you do not recognize (including aluminum branch wiring in some homes), pause and call a pro.
Important note on local code and insurance
Electrical codes vary, and some landlords or HOAs have rules about modifications. Conversions also may change how a fixture is classified for listing and inspection. If any step feels fuzzy, it is perfectly glow-worthy to pause and call a licensed electrician.
What you need (and what to look for)
The safest conversions use lamp parts that are meant to be flexed, tugged, and plugged in daily. Here is a practical shopping list, plus what matters for each item.
Parts
- Lamp cord set (plug attached) or bulk lamp cord plus a plug. 18/2 SPT-2 is common for many typical lamps, and SPT-2 has thicker insulation than SPT-1. For some fixtures, you may need 16 AWG or a higher temperature rating. Match or exceed the fixture’s wire gauge and temperature requirements if they are listed on a label or in the instructions.
- Inline cord switch rated for your voltage and wattage. Choose a style compatible with your cord type (round vs. flat).
- Strain relief (also called a cord grip) sized to your cord diameter and to the fixture’s hole size. Many grips require a specific knockout diameter. Avoid enlarging or ovaling out holes in a way that leaves sharp edges or a loose fit.
- Wire connectors (wire nuts) sized for the wire gauge you are joining. Lamp cord conductors are often stranded, so use connectors rated for stranded conductors (and for stranded-to-stranded or stranded-to-solid as needed). Lever-style connectors can also work when they are properly rated for the conductors you are using.
- Grounding hardware if needed (green ground screw, ring terminal). Many fixtures already include a ground screw.
- Optional: cord cover kit for a cleaner wall run.
- Optional: bushing or grommet if the cord passes through a metal opening and your strain relief does not fully protect the edge. The goal is zero chafe.
Tools
- Phillips and flat screwdriver
- Wire stripper and cutter
- Needle-nose pliers
- Utility knife (for some inline switches)
- Non-contact voltage tester (if you are removing an existing hardwired fixture from a wall)
If you are also thinking about hiding the cord neatly, this pairs nicely with: Renter-friendly plug-in wall sconces and cord hiding tricks.
Step-by-step: convert a hardwired sconce to plug-in
This section assumes your fixture is already off the wall and not connected to house wiring. If it is currently installed as a hardwired light, turn off the breaker and confirm power is off with a tester before you disconnect anything.
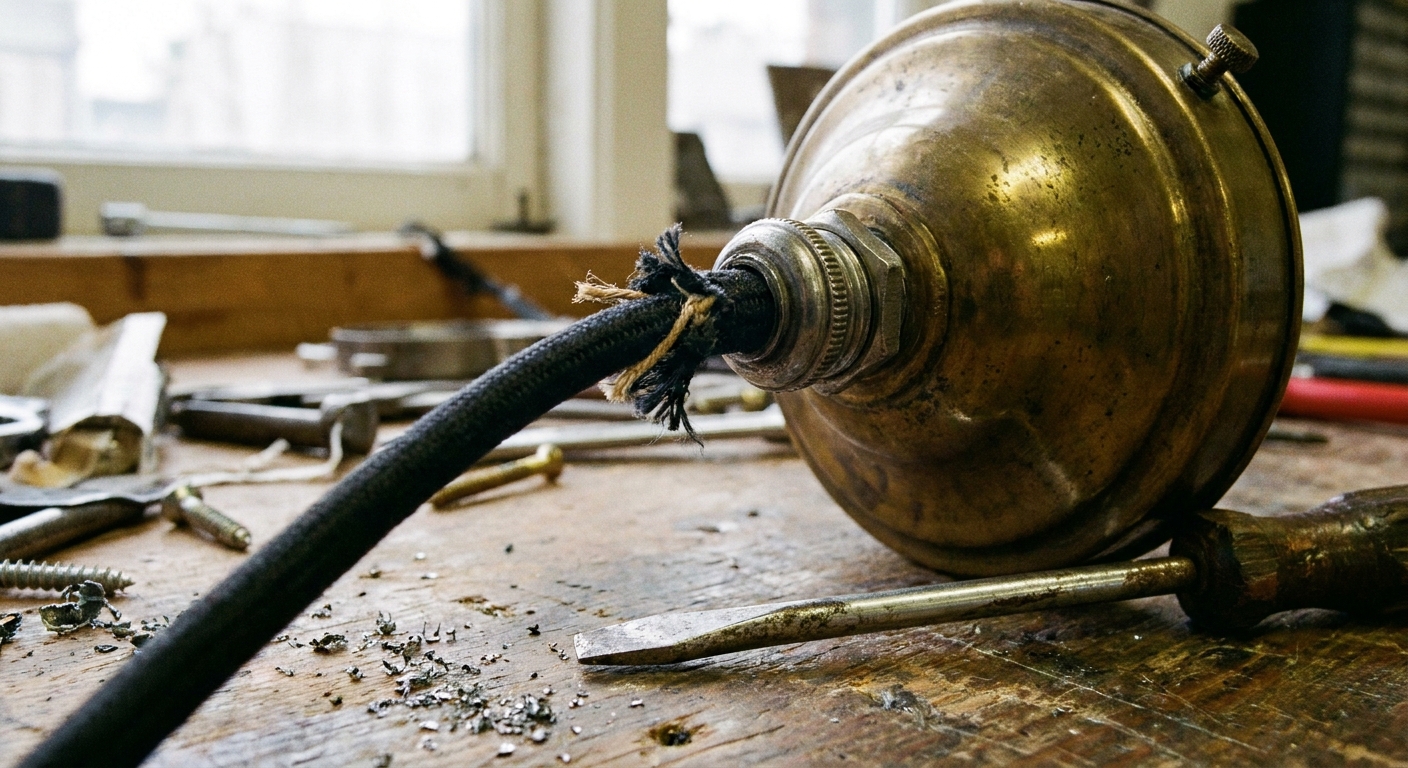
1) Open the wiring compartment
Look for the area where the fixture’s supply wires are housed. On sconces this is often behind the backplate. On pendants it may be inside the canopy at the ceiling end.
2) Plan your cord exit
You need a clean path for the cord to exit without being pinched.
- Best: an existing knockout hole with a proper strain relief installed.
- Common on sconces: cord exits from the bottom of the backplate, through a side notch, or through a purpose-made cord port if your fixture has one.
- Avoid: running a cord under a sharp metal edge. If the fixture does not have a safe exit point, do not improvise with a pinched cord.
If you have unused openings or sharp-edged holes inside the wiring area, close them off or protect them so the cord cannot rub against metal. Your goal is a smooth, protected path from fixture to outlet.
3) Install the strain relief (cord grip)
Feed the cord through the strain relief, then mount the strain relief into the fixture’s hole. Tighten it so it grips the cord jacket firmly. The goal is that a tug on the cord does not pull on the wire splices inside.
4) Identify hot and neutral on the cord
Most lamp cords have one conductor marked to indicate neutral. Common markings include a ribbed or striped insulation on one side.
- Neutral (usually ribbed, marked, or white): connects to the fixture neutral, often a white lead or the silver screw on a socket.
- Hot (usually smooth, unmarked, or black): connects to fixture hot, often a black lead or the brass screw on a socket.
If your plug is polarized, the wide blade is neutral and should line up with the ribbed conductor.
If the fixture wiring colors are not clear, check the socket terminals. Neutral should go to the threaded shell side, hot should go to the center contact. This detail matters for shock risk and socket safety. When in doubt, stop and get help.
5) Connect the wires
- Strip the cord conductors (usually about 3/8 inch to 1/2 inch, depending on your connector).
- Join cord hot to fixture hot with a wire connector.
- Join cord neutral to fixture neutral with a wire connector.
- Gently tug each splice to confirm it is secure.
6) Ground the fixture (when required)
If your fixture has a ground screw or ground wire, treat that as your clear signal to use a three-prong cord set with a ground conductor and connect the green wire to the fixture ground point.
If the fixture is double-insulated (Class II) and has no grounding point, do not add a ground connection arbitrarily. Follow the fixture’s design and instructions, or consult an electrician.
One more glow-check: only plug a three-prong grounded cord into a properly grounded three-slot receptacle.
7) Add the inline switch in the right spot
The inline switch should sit at a comfortable height, usually along the cord run between the fixture and the outlet.
- Unplug before working on the cord.
- Follow the switch instructions for which conductor gets cut. Some inline switches cut only the hot side, which is what you want.
- Make sure the cord jacket sits properly inside the switch body so it is not pinched.
8) Reassemble, then test
- Carefully tuck splices into the wiring compartment.
- Reinstall covers and screws.
- Install a bulb that stays within the fixture’s maximum wattage rating.
- Plug in and test the switch.
Step-by-step: convert a hardwired pendant to plug-in
Pendants follow the same wiring logic, but the hanging and cord management needs a little more planning.
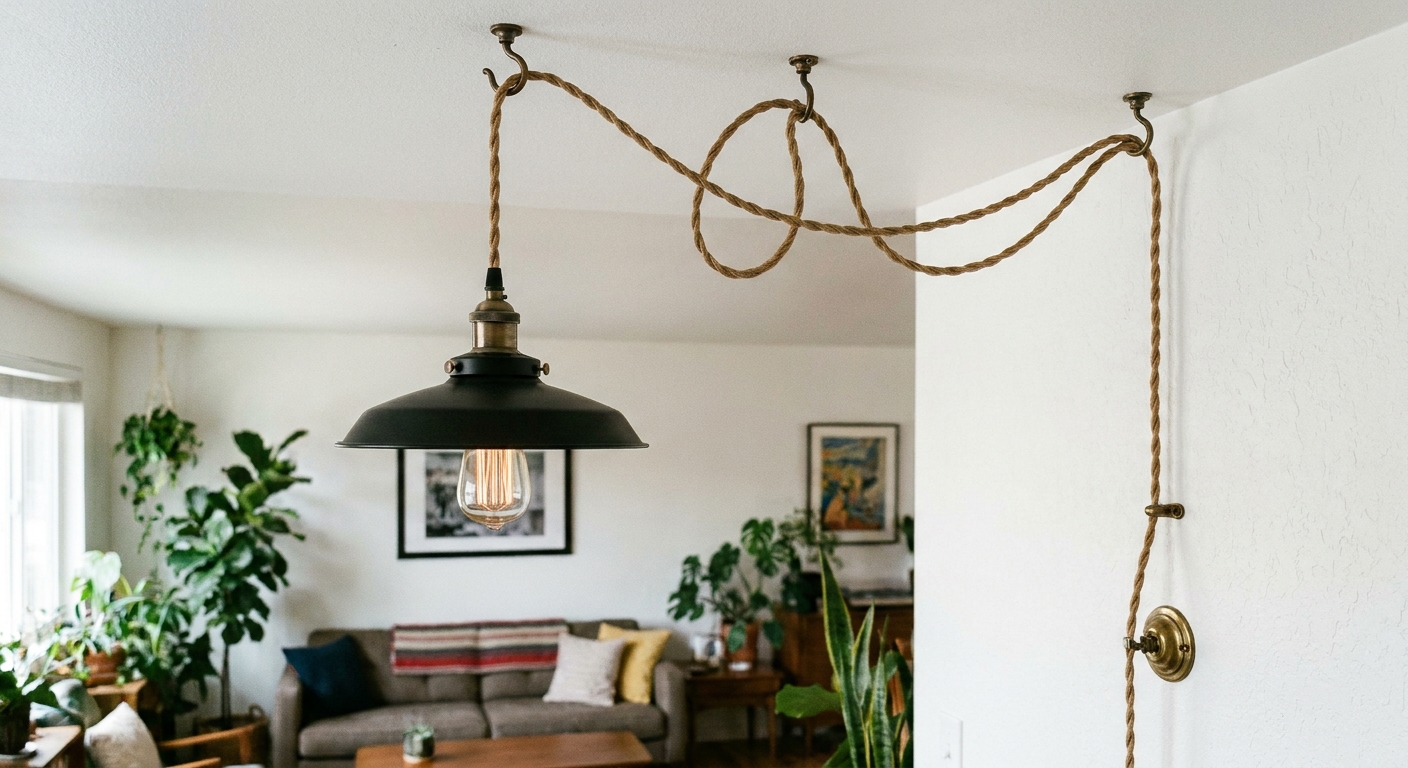
1) Decide how it will hang
- Lightweight pendants: often work well with a ceiling hook (swag hook) plus a cord running to the wall.
- Heavier pendants: should be supported by a proper ceiling box. A cord should never carry the full weight.
If you use a swag hook, install it into framing or use an anchor that is rated for the load and appropriate for your ceiling material. The hook, the anchor, and the cord path all need to be calm and confident.
2) Use a canopy with a cord grip
If your pendant has a canopy, make sure the cord passes through a strain relief inside the canopy so any tugging happens at the grip, not at the wire splices.
3) Wire hot, neutral, and ground correctly
Just like the sconce conversion, match cord hot to fixture hot and cord neutral to fixture neutral. If the fixture has a ground screw or ground wire, use a grounded three-prong cord set and attach the ground to the fixture’s grounding point.
4) Place the inline switch for everyday use
For a pendant, a switch usually feels best on the vertical drop, around chest height, before the cord transitions to the wall run.
Choosing the right cord, plug, and switch
Flat vs. round cord
Many lamp cords are flat (SPT). Many inline switches are designed for flat cord, so match the switch to the cord type.
Two-prong vs. three-prong plug
- Two-prong: common for table lamps and some double-insulated fixtures.
- Three-prong grounded: a safer choice when the fixture provides a grounding point. If your fixture has a ground screw, this is the glow-smart path.
Ratings to check
- Wattage rating of the fixture and the inline switch.
- Bulb type you plan to use. LEDs use less wattage, which makes staying under ratings easier, but you still must follow the fixture label.
- Wire gauge and temperature compatibility. Many lamp parts assume 18 AWG lamp cord, but some fixtures call for heavier gauge or higher-temp wire.
If you are updating bulbs while you are at it, it helps to understand brightness in lumens: Lumens vs. watts for LED bulbs.
Where people get stuck (and how to avoid it)
Mixing up hot and neutral
This is the most common snag. Use the cord markings and match them carefully. If the fixture wires are not color-coded, use the socket screws as your guide. Neutral goes to the silver screw and threaded shell, hot goes to the brass screw and center contact.
No room for splices
If the wiring compartment is tight, use appropriately sized connectors and keep conductors neatly folded. Never force a cover closed over pinched wires.
Skipping strain relief
If you remember only one hardware piece, make it this one. A strain relief is what turns a risky tug-able cord into a secure plug-in fixture.
Flicker or buzzing when dimming
Inline switches are usually on-off, not dimmers. If you plan to dim, use a plug-in dimmer rated for LED loads and flicker performance. For dimmer troubleshooting, visit: How to fix LED flicker with the right dimmer.
Make it look intentional: tidy cord tips
A plug-in conversion can look polished, not temporary. A few small choices make a big difference.
- Use a fabric-covered cord in a color that complements the wall or fixture metal.
- Run the cord vertically and keep it close to trim lines or corners.
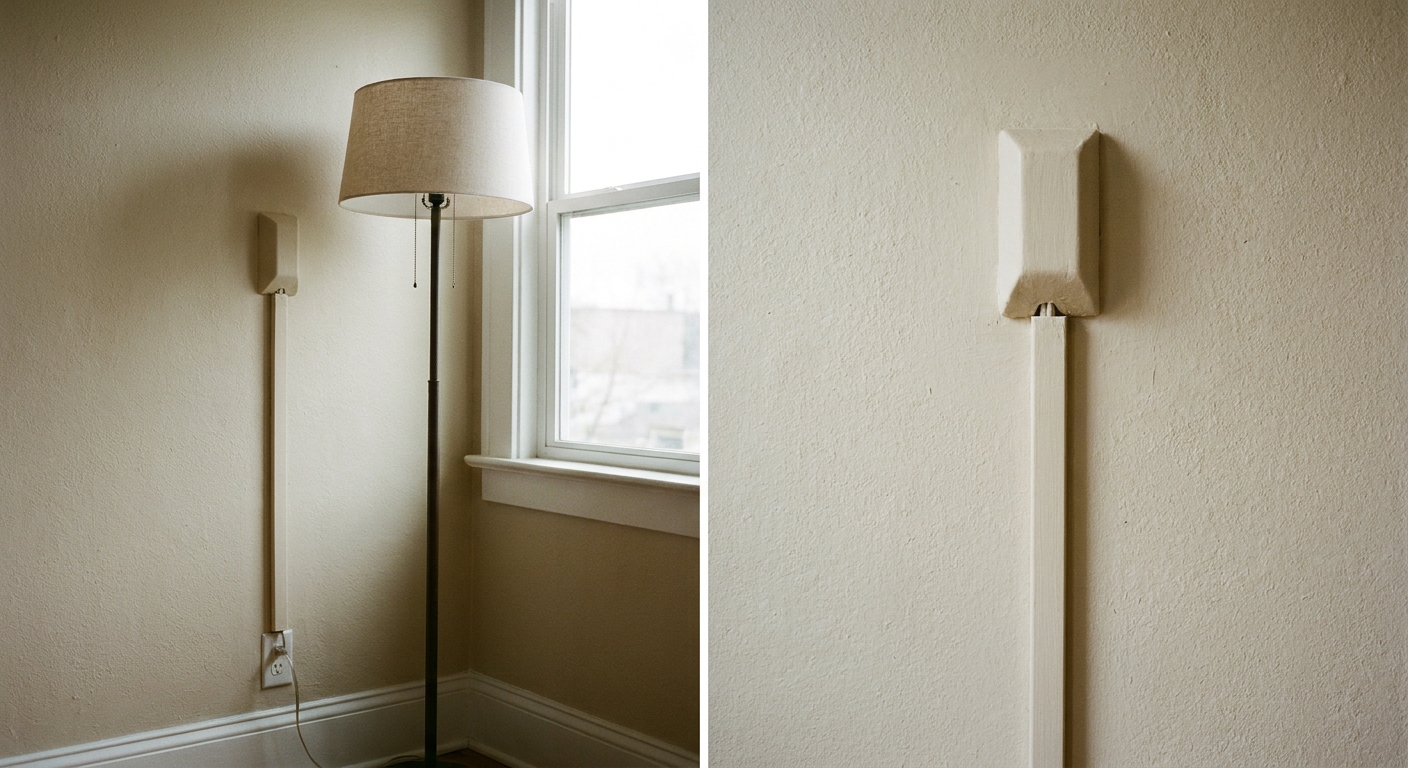
- Use cord covers when you want the cord to disappear into the wall color.
- Mount the switch at a consistent height across a room so it feels as natural as a wall switch.
FAQ
Can I turn any hardwired sconce into a plug-in?
Many can, but not all. The fixture needs a safe cord exit, room for secure splices, and a way to add strain relief. If it is heavy, wet-location, labeled hardwire-only, or requires a junction box for safe mounting, choose another solution.
Do I need an inline switch?
Not always. If the fixture has a socket switch or you will use a smart plug, you can skip it. But an inline switch is often the simplest way to make a plug-in wall sconce feel like a real wall light.
Can I use a smart bulb instead of a switch?
Yes, as long as the fixture stays powered and you control it through the bulb app or a smart assistant. If you want to decide between bulb control and switch control, peek at: Smart bulbs vs smart switches.
How bright should my converted sconce be?
That depends on the job. For gentle mood lighting, lower lumens and warm color temperature feel cozy. For reading, you will want more lumens and better placement. This guide helps you choose: Calculate the right lumens for any room.
A final glow-check
When your converted fixture is finished, give it a gentle tug test at the cord, confirm the strain relief holds firm, and make sure the cord is not rubbing on sharp edges. A plug-in sconce or pendant should feel just as calm and confident as a hardwired one, only more flexible.
If you want more small, high-impact lighting upgrades, visit the DIY hub: DIY & Easy Upgrades.