Stop guessing your lighting. Use a simple foot-candle × square footage formula to find total lumens, then split them into ambient, task, and accent layers wi...
Warm Lumen
Recessed Lighting Beam Angles Explained

Lumi
Lumi is the friendly little firefly host of Warm Lumen, with a heart that glows as brightly as a perfectly placed pendant lamp. He loves discovering how soft bulbs, warm color temperatures, and layered lighting can transform any dark room into a welcoming retreat. Lumi is always fluttering by to share bright ideas and cheer you on as you create a beautifully lit space.
Published · Last updated
Let’s find the perfect glowing touch for every corner of your home! When recessed lights feel too “spotty” or oddly underwhelming, beam angle is often one of the main culprits, but it is not the only one. Lumen output, ceiling height, trim and lens losses, and even dimmer compatibility (especially with retrofit LEDs) can all change how bright a room feels.
Still, beam spread is the big lever for whether a downlight behaves like a focused flashlight or a soft, room-filling glow.
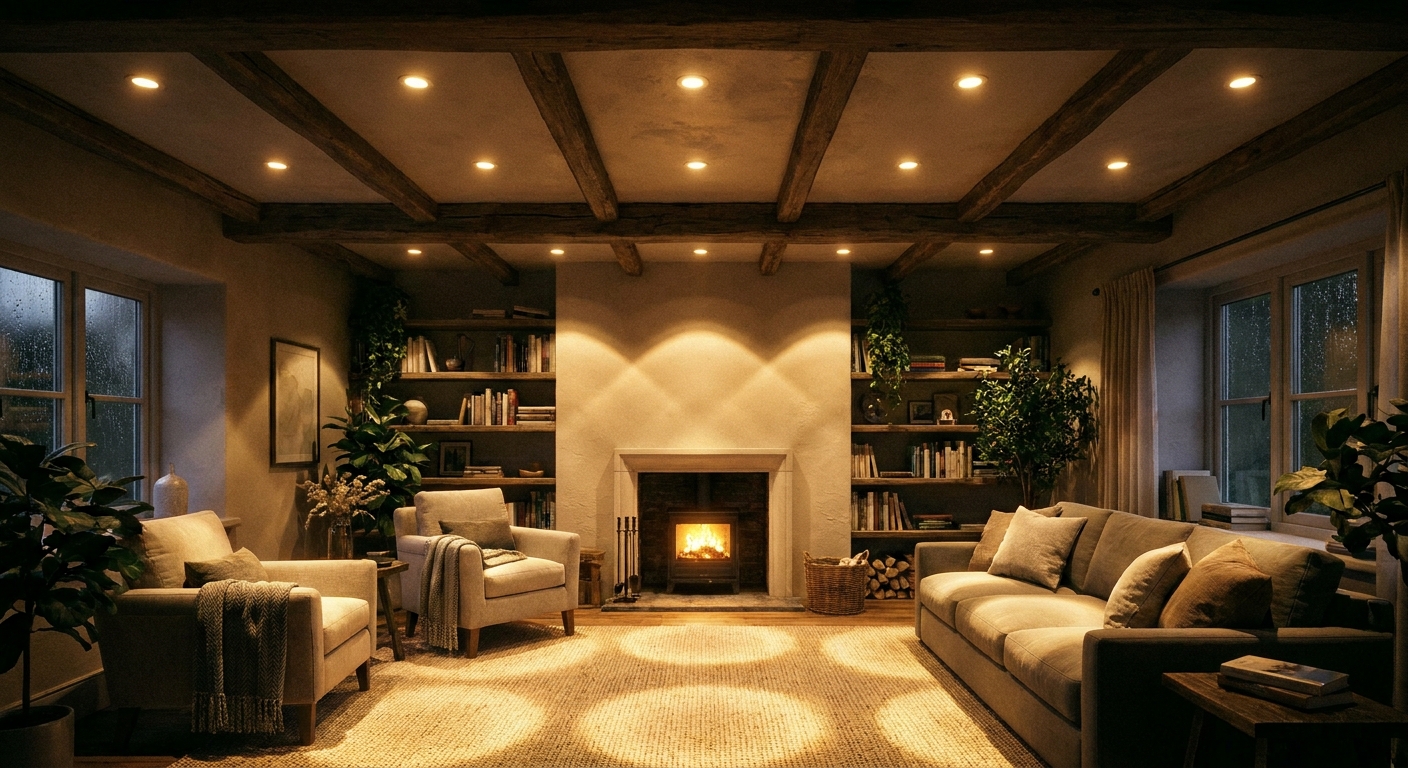
Beam angle in plain language
Beam angle is the width of the cone of light coming out of a recessed fixture, measured in degrees. Smaller degrees make a tighter cone. Larger degrees make a wider cone.
- Narrow spot: commonly about 15 to 30 degrees. Crisp, concentrated light for highlighting.
- Medium: commonly about 35 to 45 degrees. A balanced “general purpose” downlight beam.
- Wide flood: commonly about 50 to 60 degrees in many residential recessed LEDs, with some products going wider for specialty wash optics. Broad, softer coverage for general light and wall washing.
Two quick notes that help everything click:
- Beam angle is not brightness. A narrow beam can look brighter because the same light is concentrated into a smaller area.
- Beam numbers are not always apples to apples. Many manufacturers measure beam angle at about 50 percent intensity, and some spec sheets also list a field angle (a wider measurement that captures the softer edge spill). That is a big reason two fixtures both labeled 60 degrees can still look different.
- Trim and lens design matter. Optics, diffusion, and glare control can change the feel even when the degrees look similar on paper.
Narrow spotlights
Narrow beams are the “look here” setting. They create defined pools of light and stronger contrast, which is wonderful when you want drama or precision.
Best uses
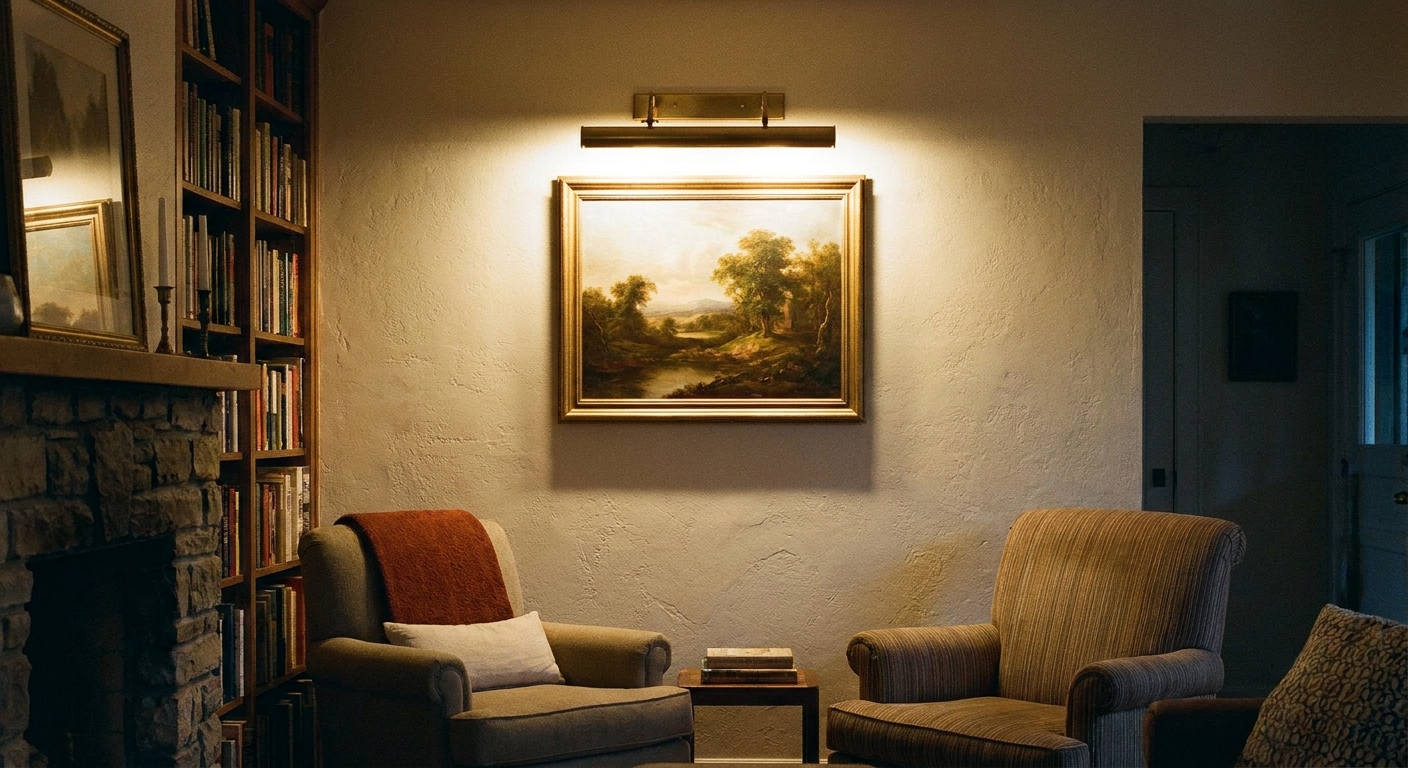
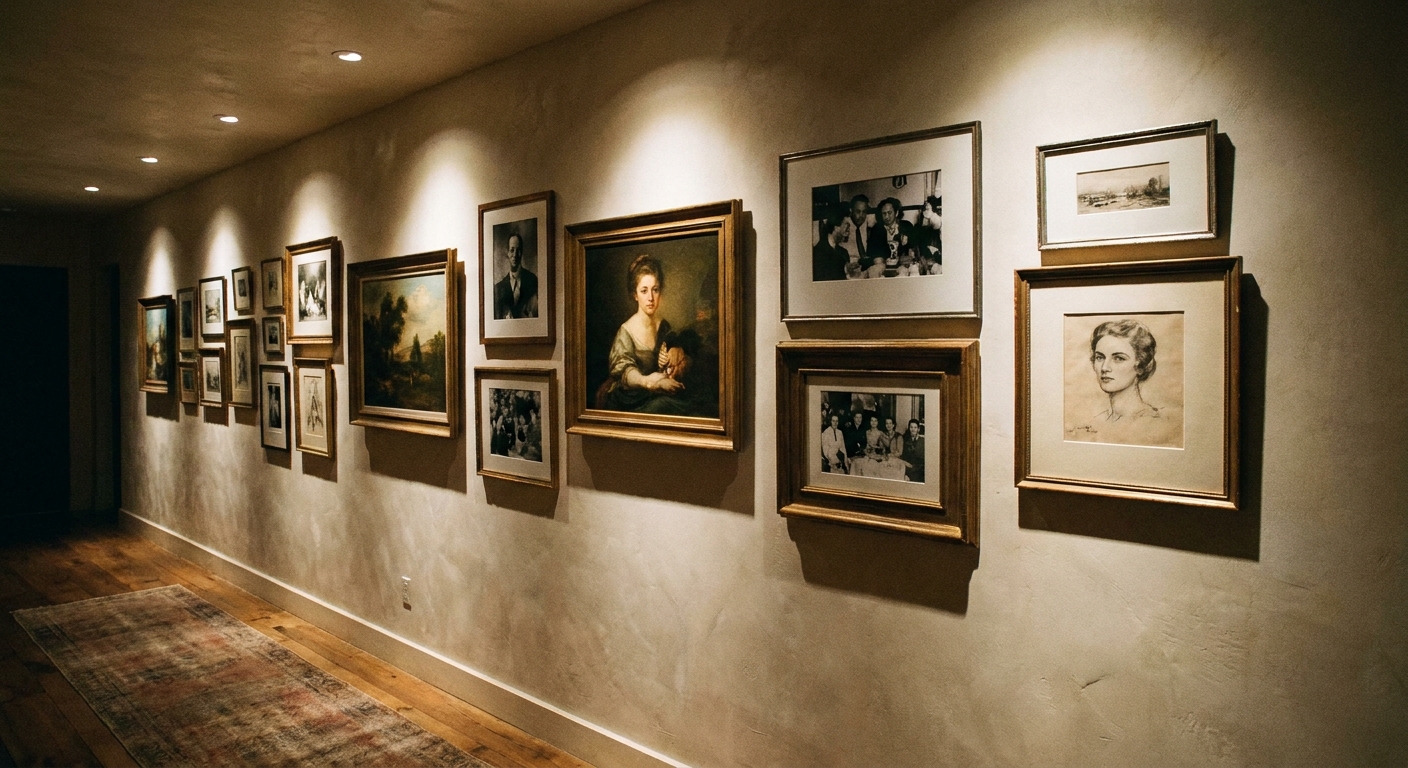
- Artwork and gallery walls (aimed lights or adjustable recessed): to bring out color and texture.
- Architectural features: fireplaces, stone, built-ins, plants, or a beautiful niche.
- Task zones that need punch: a specific prep spot, a sink, or a reading chair, especially when paired with a dimmer.
Watch-outs
- “Spotlight polka dots” on the floor: too many narrow beams in a grid can feel like stage lighting.
- Harsh shadows: narrow beams placed in the wrong spot can carve deep shadows under brows, cabinets, or shelves.
- Glare: tight beams can be uncomfortable if the light source is visible from normal seating angles. Look for a deep regressed light source or better glare control.
If your goal is picture lighting, pairing beam choice with placement matters just as much as the degrees. This guide helps you think through the art side of the puzzle: Art and picture lighting for gallery walls.
Wide floodlights
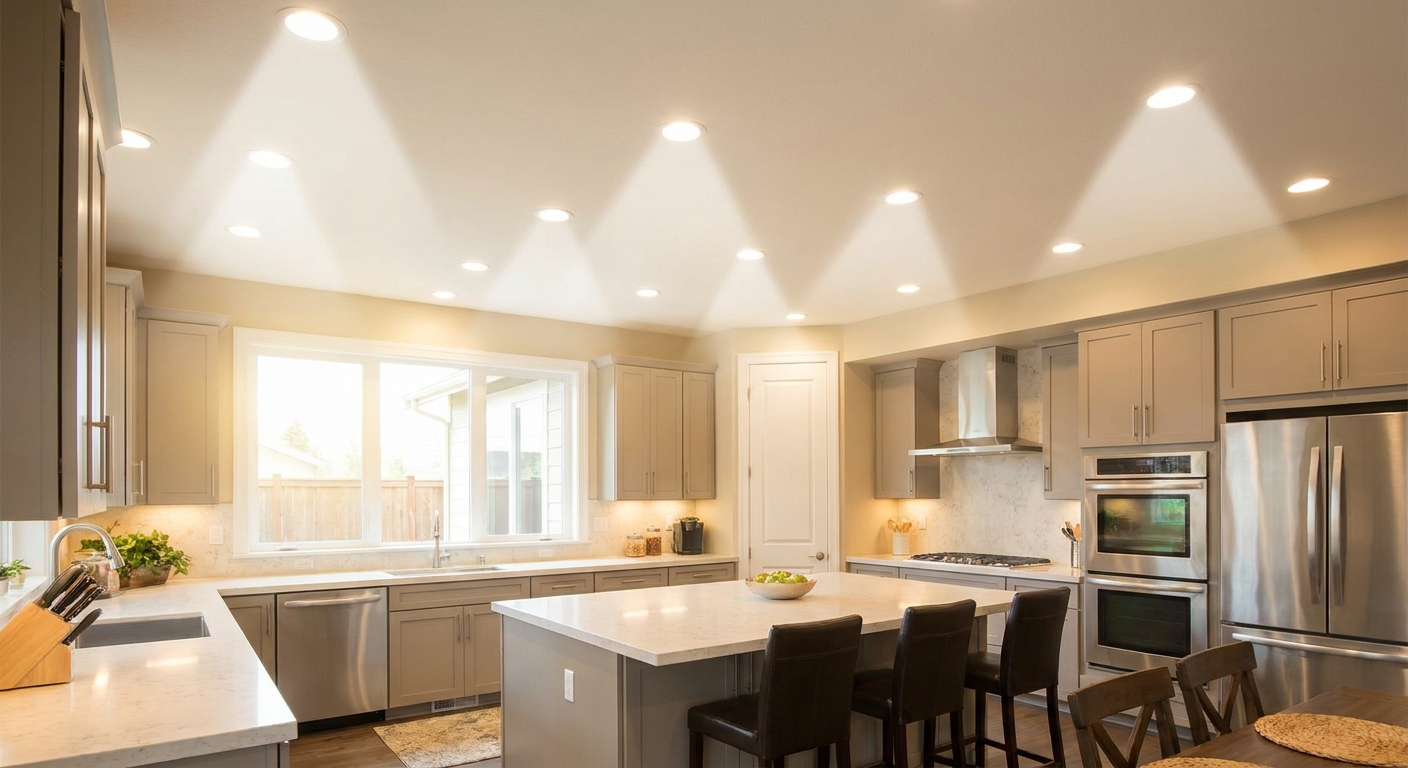
Wide beams are the “wrap the room in light” setting. They soften edges, reduce harsh shadow lines, and make a space feel more evenly lit.
Best uses
- General ambient lighting in living rooms, bedrooms, and open areas.
- Kitchen and island fill when the goal is overall brightness rather than spotlighting one cutting board.
- Wall washing (with the right placement): to visually widen a room and make walls feel clean and bright.
- Hallways and circulation paths: fewer “hot spots,” more comfortable navigation through the space.
Watch-outs
- Less drama: a wide beam is gentle, but it will not “pop” art the same way a narrow beam can.
- Light spill: if you need to keep light off a TV, screen, or reflective surface, a very wide flood can be harder to control.
For kitchens especially, beam angle is only one layer. This pairing approach keeps the whole room comfortable: How to layer kitchen lighting.
Spacing and layout
Here is the simple rule that keeps layouts from feeling blotchy: the wider the beam, the wider you can usually space the fixtures. Narrow beams typically need tighter spacing or they will leave dark gaps between pools of light.
One important caveat: spacing depends on ceiling height and how uniform you want the room to feel. The same beam angle spreads much more on a 10 foot ceiling than on an 8 foot ceiling.
A quick spacing shortcut
If you want a fast starting point, picture the beam as a circle on the floor. A wider beam makes a larger circle at the same ceiling height. For smooth coverage, aim for those circles to overlap a bit instead of sitting apart like separate pools.
- Narrow (15 to 30 degrees): expect distinct pools. Plan for more overlap or use them intentionally as accents.
- Medium (35 to 45 degrees): often works well for standard grids and general lighting.
- Wide (50 degrees and up): produces softer edges. You can often space farther apart without obvious dark bands, especially on standard 8 to 9 foot ceilings.
Brightness still matters, of course. If you are balancing lumen output across a room, this guide helps you size the total light, then beam angle helps you place it: Calculate the right lumens for any room.
Best beam angles by goal
1) Highlighting artwork
- Start with: 15 to 30 degrees for a spotlight effect.
- Tip: Use fewer, better-aimed accent lights rather than turning the entire ceiling into a grid of narrow beams.
- Also consider: Wall grazing and picture lights for delicate control. See gallery wall lighting tips.
2) Lighting a kitchen island
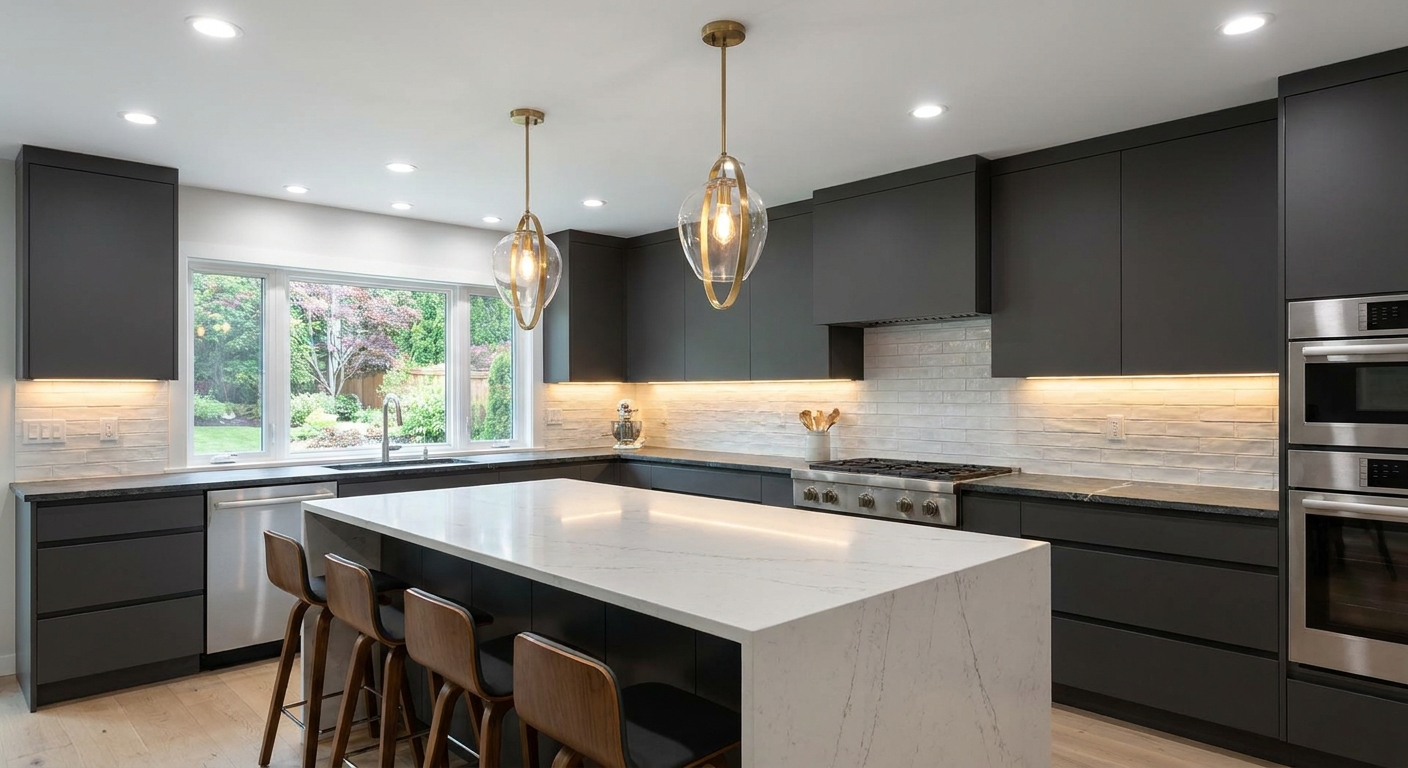
- Start with: 35 to 60 degrees depending on whether the island is mostly a prep zone (tighter) or a hangout zone (wider).
- Tip: Recessed lights work best as support lighting. Islands often feel most welcoming with pendants plus recessed fill. Explore the layering approach in kitchen lighting layers.
3) Washing a wall with light
- Start with: look for modules marketed for wall wash, often in the 50 to 60 degree range with optics designed to spread light evenly down the vertical surface.
- Placement tip: Put recessed fixtures closer to the wall than you would for a room grid so the beam spreads down the wall instead of landing mostly on the floor.
- Glare tip: Choose trims designed for comfort if the lights will be in your normal line of sight.
Beam angle and glare
A recessed light can have a nice wide beam and still feel annoying if it is glaring. A few glare reducers to look for when selecting fixtures:
- Deep regressed light source: the bright source sits higher in the fixture, making it harder to see directly.
- Baffle or louver options: helps shield the bright source from side views.
- More, lower-output fixtures (used thoughtfully): can feel more comfortable than a few very high-output lights, especially when paired with good glare control and dimming.
- Dimmers: one of the best comfort upgrades for recessed lighting.
Color temperature and dimming
Beam spread sets the shape of light. Color temperature sets the mood. Put them together and a room feels intentional instead of stark.
- Warm white (around 2700K to 3000K) usually looks softer, especially with wider beams in living spaces.
- Neutral white (around 3500K) can feel crisp for kitchens and work zones, especially with medium beams.
- Dimming helps narrow beams feel less intense and helps wide beams shift from “clean and bright” to “cozy and calm.”
If you are sorting out Kelvin choices room by room, the concepts here help everything click: Lighting basics & education.
Quick fixes
Problem: Bright circles with dark gaps
- Switch to a wider beam or add fixtures for more overlap.
- Use medium beam for general lighting and reserve narrow beams for accents.
- Double check ceiling height. Higher ceilings may need closer spacing, higher lumen output, or both.
Problem: The room feels dim
- Check total lumens and make sure you are not losing a lot through a diffusing lens or a high-glare trim you keep dimmed down.
- If you are using retrofit LEDs, check dimmer compatibility. Mismatch issues can reduce output or cause flicker, which often reads as “bad lighting.”
Problem: Artwork looks dull
- Try a narrower beam or an adjustable gimbal aimed carefully.
- Check glare and reflections on glass frames and shift the aiming angle if needed.
Problem: The room feels flat and overlit
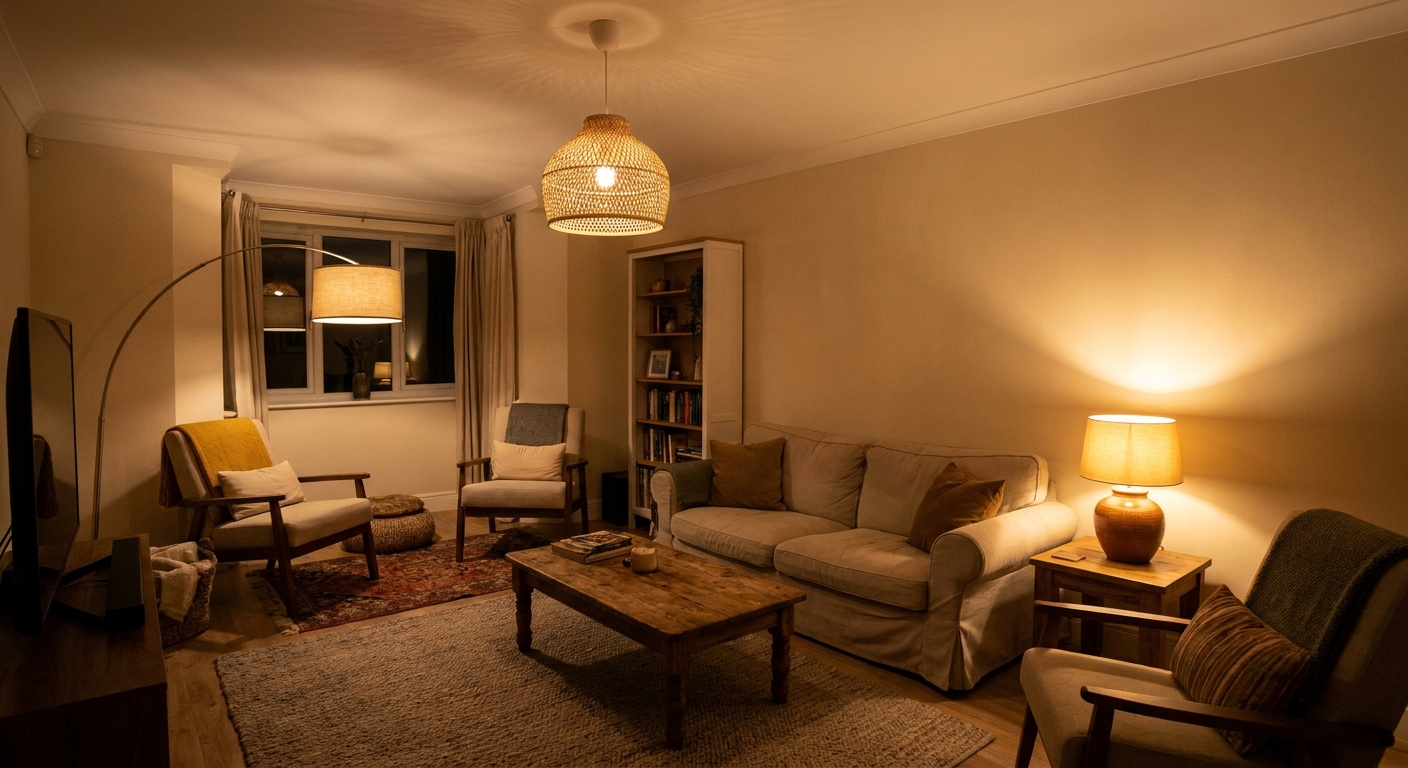
- Add layers like lamps, sconces, or pendants so recessed lights can dim down.
- Consider a warmer color temperature if everything feels clinical.
If you are building a layered plan beyond the ceiling, start here: Room-by-room lighting.
FAQ
What beam angle is best for general recessed lighting?
Many homes land happily in the 35 to 60 degree range for general lighting, then add a few narrower accent lights only where emphasis is needed. If your ceiling is higher than average, you may prefer the wider end of that range or a bit more lumen output.
Is a wider beam always better?
No. Wider beams are smoother and more forgiving, but narrow beams are perfect when you want to highlight a specific object or surface. The best layouts often mix beam spreads on purpose.
Can I change beam angle without changing the fixture?
Sometimes. Many recessed systems let you swap to a different LED module or lamp with different optics. Check compatibility for your exact housing or integrated fixture, and prioritize glare control along with beam spread.