Stop guessing your lighting. Use a simple foot-candle × square footage formula to find total lumens, then split them into ambient, task, and accent layers wi...
Warm Lumen
DIY Garage and Utility Room Lighting Upgrades

Lumi
Lumi is the friendly little firefly host of Warm Lumen, with a heart that glows as brightly as a perfectly placed pendant lamp. He loves discovering how soft bulbs, warm color temperatures, and layered lighting can transform any dark room into a welcoming retreat. Lumi is always fluttering by to share bright ideas and cheer you on as you create a beautifully lit space.
Published
Let’s find the perfect glowing touch for every corner of your home, especially the spaces that do the hard work. Garages and utility rooms tend to get stuck with one dim bulb in the middle of the ceiling, which leaves tools, shelves, and laundry corners hiding in shadow. The good news: you can get a big brightness boost with simple, plug-and-play upgrades that usually do not require any professional electrical work.
If you do not have a convenient outlet, though, adding one is electrical work and can involve permits. In that case, it is worth calling a licensed electrician so your bright upgrade stays safe.
Start with a quick lighting check
Before buying anything, take a quick lap around the room and notice where the darkness pools. Most garages and utility rooms need light in three places: the center of the room, along the walls where shelves and bins live, and over task areas like a workbench, laundry machines, or a utility sink.
- Count fixtures and bulb bases: Is it a bare bulb, a keyless ceiling socket, or a single pull-chain fixture?
- Find switch locations: One switch near the door often controls everything. That is fine for plug-in upgrades if you choose the right placement.
- Measure ceiling height: This affects glare and beam spread. Higher ceilings usually need more total lumens.
- Check clearances: Look for garage door tracks, opener rails, pipes, and storage that can block or limit where lights can mount.
The fastest upgrade: plug-in LED shop lights
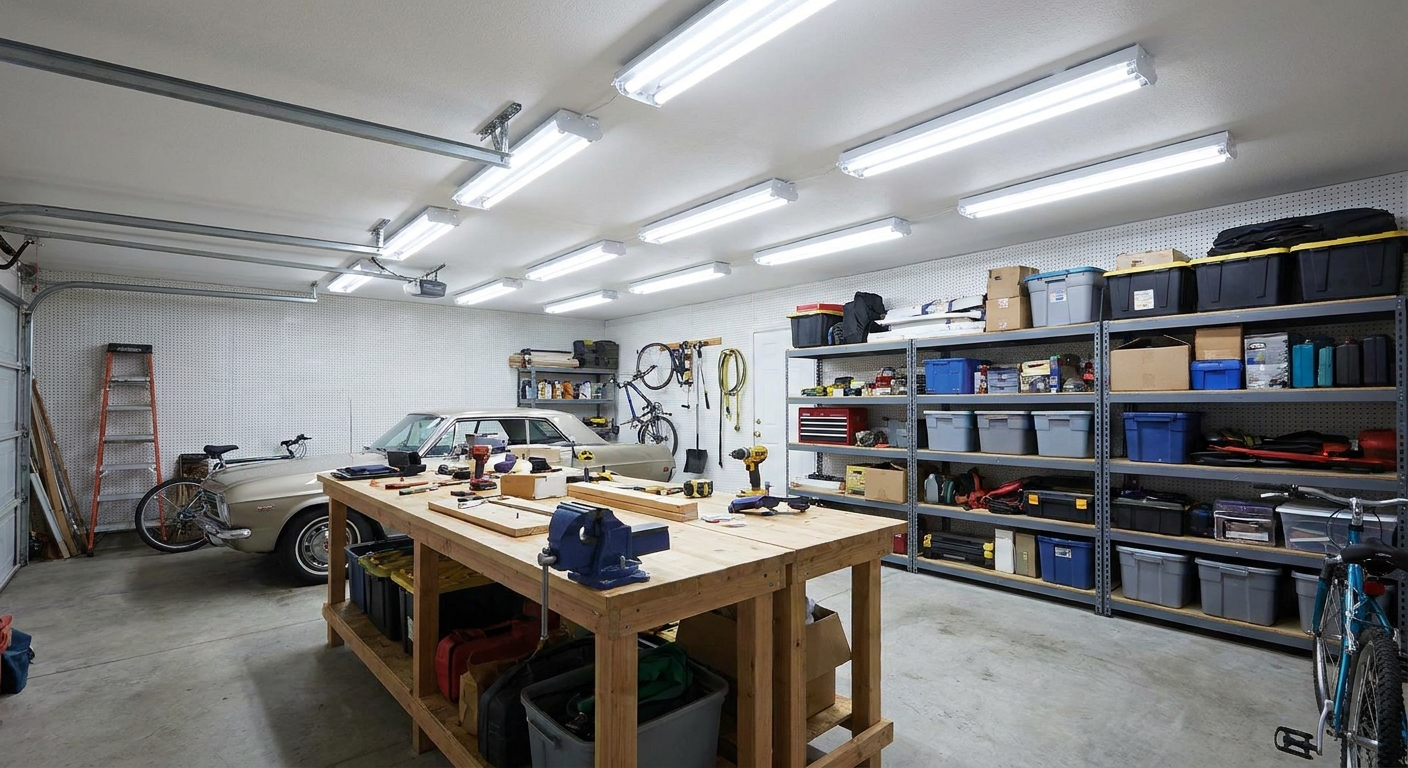
If there is one move that transforms a dim garage in an afternoon, it is adding plug-in LED shop lights. These are bright, efficient, and designed for exactly this kind of space.
What to look for
- Useful lumens per fixture: Many common 4-foot plug-in shop lights land around 3,000 to 6,000 lumens, while higher-output models can go higher depending on length and design. Choose enough total light for the room, not just one intense strip.
- Linkable design: Linkable lights let you plug one into the outlet and connect the rest together. That keeps cords tidy and makes expansion easy.
- Diffuse lens: A frosted or diffused cover softens the light and reduces hot spots on shiny tools or car hoods.
- Mounting style: Look for included chains, clips, or brackets for ceiling mounting. Choose what suits your ceiling surface and access.
- CRI as a quick quality check: If you want paint colors, wire colors, and labels to look more true, look for CRI 80+ (good) or 90+ (even better).
Where to place them for maximum brightness
Instead of one super-bright strip in the center, aim for even coverage so shadows shrink.
- Two-row approach: Run two parallel rows from front to back so light lands on both sides of the room.
- Workbench first: Put one light slightly in front of the workbench area, not behind your head where your body blocks the light.
- Storage aisles: If you have shelves along one wall, offset a light closer to that wall to reduce shadowy bins.
Size cue: For a typical 20 x 20 two-car garage, many people start with 4 to 6 four-foot shop lights arranged in two rows, then add one more if the corners still feel murky.
Upgrade the socket with a brighter LED bulb
If your space has a standard ceiling socket, a high-lumen LED bulb can be a simple improvement while you plan bigger changes. This is especially helpful in utility rooms, where one ceiling fixture might already be centered over the walking path.
Choose brightness that matches the job
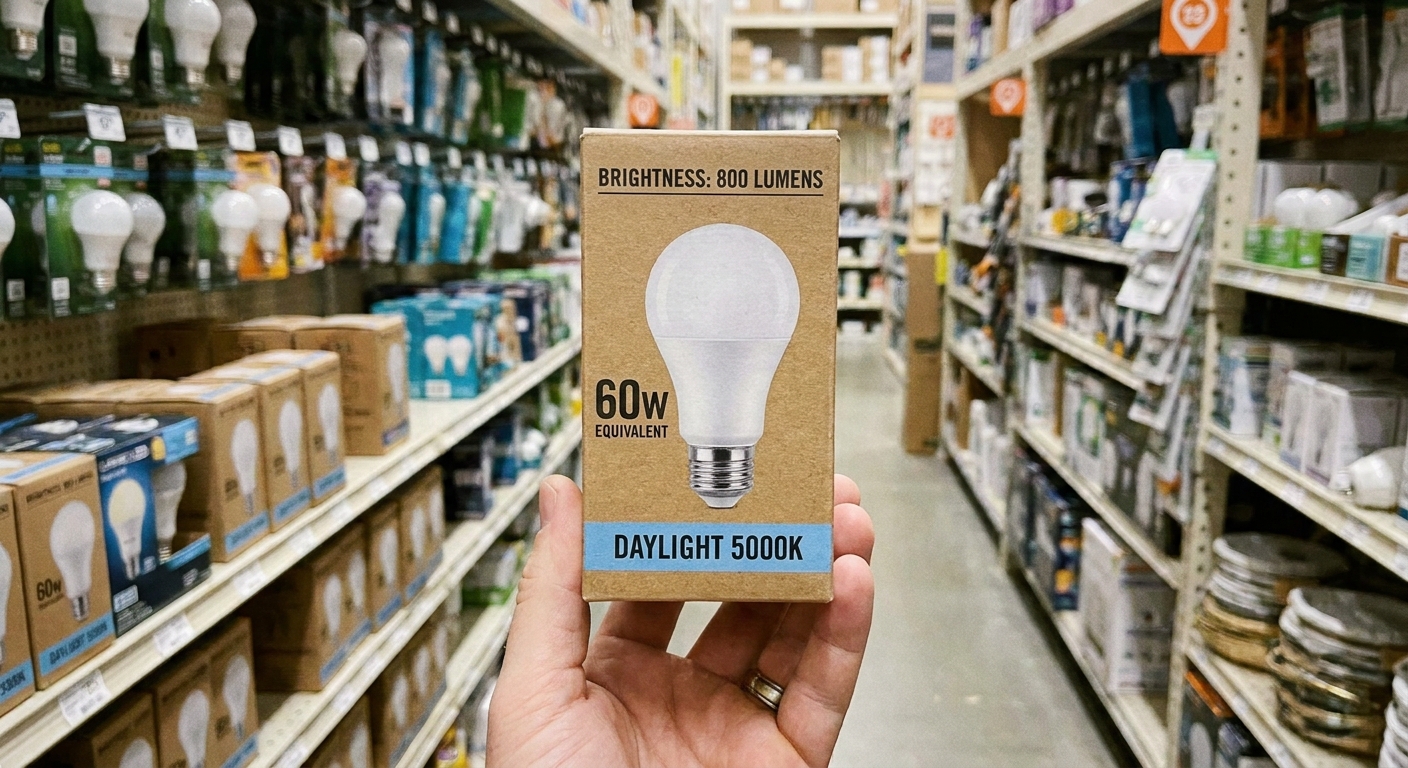
For utility spaces, think in lumens, not watts. A typical old bulb might give you about 800 lumens. For a real upgrade, many LED bulbs offer 1,600 lumens and beyond in a standard shape.
- General lighting: A brighter bulb can help you see labels, detergent lines, and cleanup messes quickly.
- Task areas: If the ceiling light is the only light, pick a bulb bright enough to reach corners without leaving you squinting.
Pick a color temperature that feels clear
Garages and utility rooms often feel best with a clean, alert tone. As a starting point, many people like 4000K to 5000K in garages and workshops for crisp visibility, and 3000K to 4000K in laundry rooms if they want it a little softer. Preference wins, but choosing a range on purpose helps the room feel intentional.
If you want a quick refresher on how color temperature affects mood and clarity, see Lighting Basics & Education.
Add task lighting where your hands work
Bright overhead light is wonderful, but shadows still happen when your body blocks the beam. Task lights bring the glow down to the work surface.
Easy task lighting options (no wiring)
- Plug-in under-shelf LED bars: Great for workbenches or utility shelving. Mount them under the shelf above the workspace.
- Clamp lights with LED bulbs: Fast to reposition and ideal for project corners. Aim them so the beam crosses your workspace from the side, reducing shadow.
- Magnetic or stick-on rechargeable lights: Handy for inside cabinets, near breaker panels, or in tight corners. In cold garages, adhesive strips can let go, so use screws or clips when you can.
Try to position task lighting slightly in front of you and off to one side. That way, your hands are lit without your shoulders casting a big shadow.

Spread light into dark corners
Maximum brightness is not only about more lumens. It is also about where the light goes.
- Use lighter surfaces: If possible, choose lighter wall paint or a light pegboard. Light colors bounce illumination back into the room.
- Avoid blocking fixtures: Keep tall storage units from sitting directly under a shop light. That creates a shadow wall behind it.
- Aim for even spacing: Several lights spaced out usually feel brighter than one intense light, because shadows shrink.
- Clean lenses and covers: Dust and garage grime can dull output over time, especially on diffusers and covers.
Simple layout recipes
One-car garage
- 2 to 4 linkable LED shop lights in two rows (many single-car garages do well starting with 2 to 3 four-foot fixtures)
- 1 plug-in task light over the workbench
- Optional: a motion sensor plug adapter for the shop lights if you want automatic on and off
Two-car garage
- 4 to 8 shop lights in two or three rows (a common starting point is 4 to 6 four-foot fixtures for a 20 x 20 space)
- Dedicated task light for each work zone (bench, tool wall, hobby table)
- Rechargeable stick-on light inside cabinets or near a utility sink
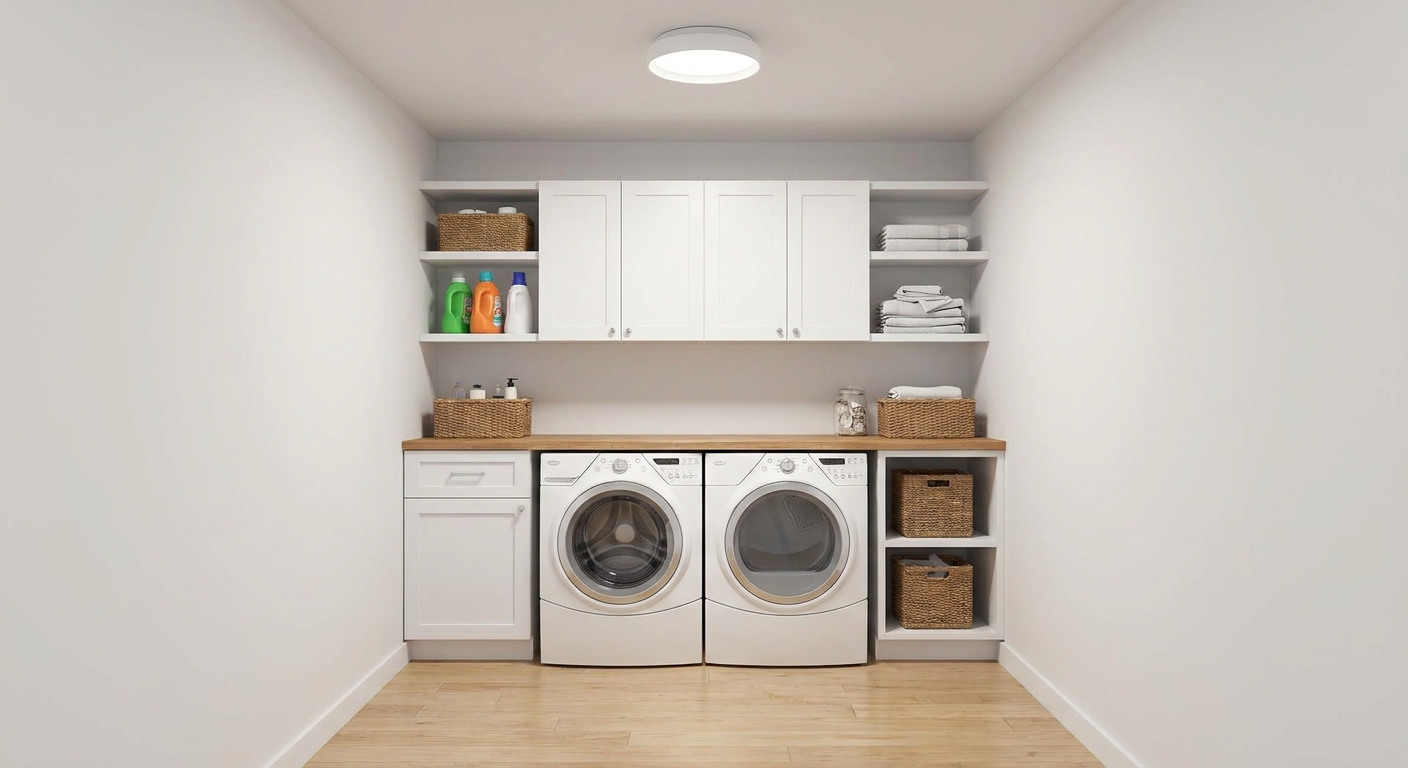
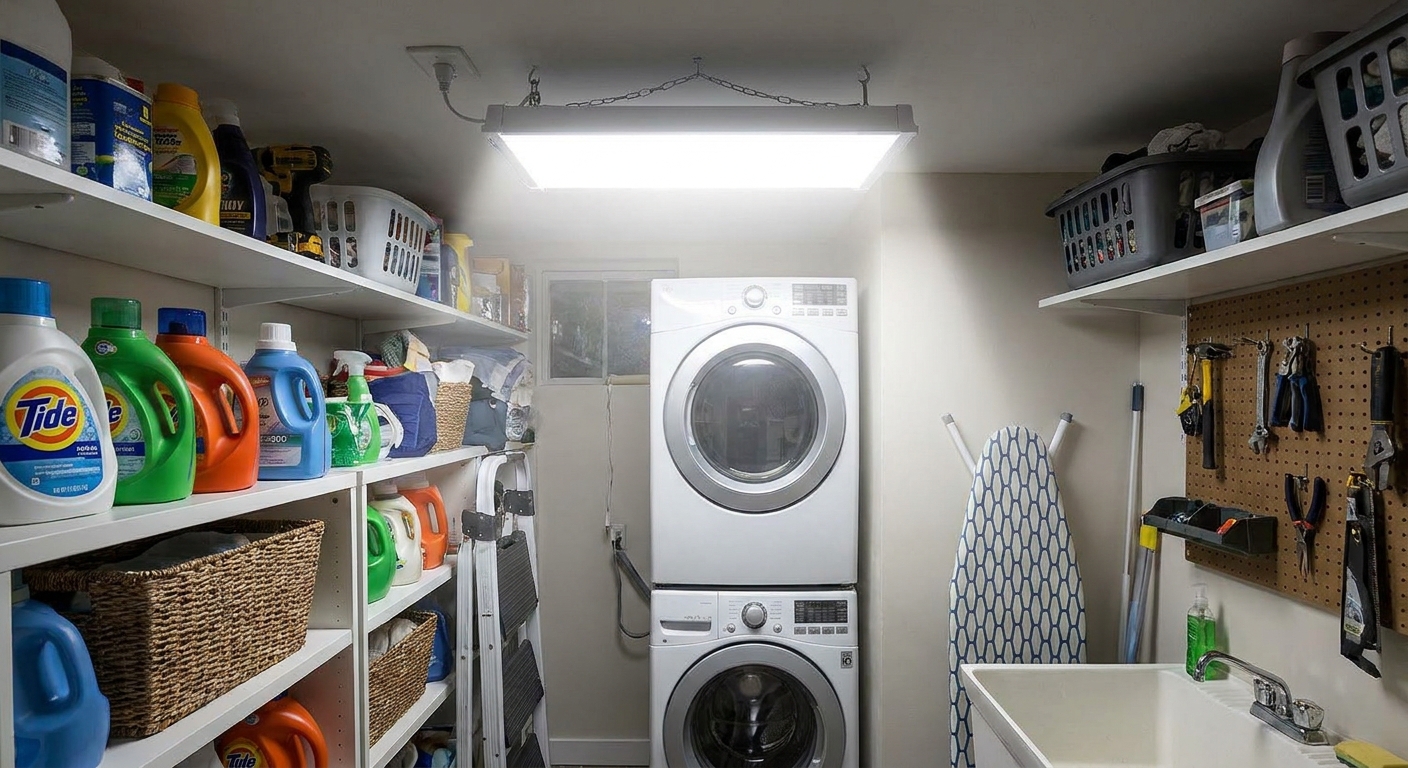
Utility room or laundry room
- Bright LED bulb in the ceiling fixture (if present)
- Plug-in LED bar or under-shelf light above a folding area
- Small stick-on light inside storage cabinets for cleaning supplies
If you like the idea of layering light sources so a room feels evenly lit, the approach is similar to kitchen lighting, just with more emphasis on practical brightness. This guide on how to layer kitchen lighting explains the concept in a simple way that transfers nicely to work spaces.
Safety tips for DIY upgrades
- Do not overload outlets: Check the rating on linkable lights and power strips. Use a quality strip with overload protection if needed.
- Keep cords out of pathways: Route cords along walls or ceiling lines and secure them so they do not snag ladders, bikes, or laundry baskets.
- Choose the right rating: Damp-rated is for humidity or occasional condensation. Wet-rated is for direct water spray. If you have a utility sink nearby, that difference matters.
- Mind door and opener movement: Mount lights so they do not interfere with garage door tracks, opener rails, or the door itself.
For more home-friendly upgrades that stay on the simple side, visit DIY & Easy Upgrades.
Troubleshooting: why it still feels dim
The light is bright, but the room feels shadowy
This is usually a placement issue. Spread lights out, add a second row, or add task lights to the work zones.
Too much glare off tools or car surfaces
Look for shop lights with a diffused lens, and avoid aiming bare, high-output bulbs directly into eye level. Slightly offsetting fixtures can help.
Motion sensor bulbs turn off while you work
In a workshop, small movements sometimes do not trigger sensors. Consider leaving overhead lights on and using a sensor only for a secondary light, or choose a sensor with adjustable time settings.
A bright finish
A garage or utility room does not need fancy wiring to feel wonderfully bright. A handful of plug-in LED shop lights for overall glow, a high-lumen bulb where it helps, and a couple of task lights where your hands work can turn a once-dim space into a clear, welcoming work zone. Keep the light even, reduce shadows, and let every corner shine.
If you want more room-by-room glow ideas, browse Room-by-Room Lighting.