Create a kitchen that feels both bright and welcoming. Learn how to combine recessed ambient light, under-cabinet task lighting, and pendants—with spacing, h...
Warm Lumen
Modernizing Outdated Track Lighting

Lumi
Lumi is the friendly little firefly host of Warm Lumen, with a heart that glows as brightly as a perfectly placed pendant lamp. He loves discovering how soft bulbs, warm color temperatures, and layered lighting can transform any dark room into a welcoming retreat. Lumi is always fluttering by to share bright ideas and cheer you on as you create a beautifully lit space.
Published · Last updated
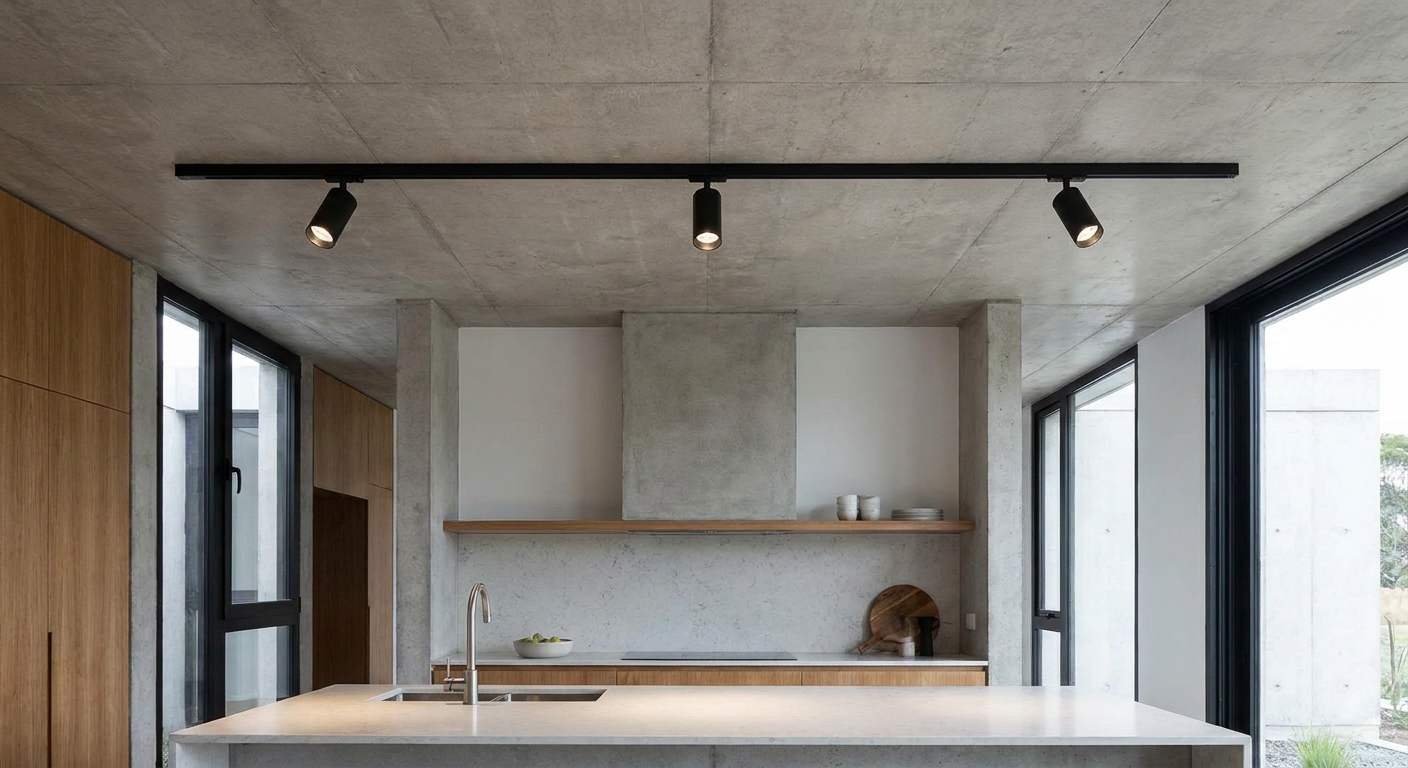
Let’s give that chunky 1990s track lighting a fresh glow. The nice thing about track systems is that you can often modernize the look without opening up the ceiling. With the right approach, you can swap clunky heads for sleek LED directionals, improve light quality, and make the whole run feel intentional instead of leftover.
First, figure out what you have
Track upgrades are easiest when the existing track can stay in place. The key is compatibility. Before buying anything, identify three details.
- Track type: Common standards include H, J, and L style. They look similar, but heads are not interchangeable.
- Voltage: Most household track is line voltage (120V in the US). Some older systems are low voltage with a transformer. This affects what heads you can use.
- Mounting method: Ceiling mounted, suspended, or wall mounted. This influences aiming, glare, and head choice.
Quick ways to identify track type
- Check the label: Look on the canopy (the ceiling box cover), inside the connector cover, or on the track itself for a brand or letter marking.
- Count the conductors: Many tracks have distinct grooves and copper contacts that match a specific standard.
- Compare photos carefully: When shopping, match the shape of the track channel and the position of contacts, not just the words “universal”.
If you want a simple refresher on building a comfortable lighting plan while you’re upgrading fixtures, flutter over to Lighting Basics & Education.
Choose your upgrade path
There are three common ways to modernize track lighting. Pick the one that fits your budget, your ceiling condition, and how much change you want.
Option A: Keep the track, replace the heads
This is the easiest visual upgrade. Sleeker heads instantly update the vibe, and you can improve light quality at the same time.
- Best for: Track in good condition, good placement, and a layout you still like.
- Look for: Low-profile LED heads, smaller cylinders, clean finishes (matte black, brushed nickel, warm brass).
- Lighting tip: Choose heads with good beam control so you are lighting surfaces, not eyeballs.
Option B: Keep the heads, switch to better bulbs (when possible)
If your heads take standard bulbs (like GU10 or PAR20/PAR30), a bulb swap can be a surprisingly big improvement.
- Best for: Heads that still look decent, or when you want a quick, affordable update.
- Look for: LED bulbs with warm color temperature and good color rendering.
Option C: Replace the whole track system
If the track is yellowed, mismatched, poorly located, or uses an odd standard, replacing the full run may be worth it. Modern kits look cleaner and can support better aiming.
- Best for: Outdated layout, damaged track, or you want a new finish and new geometry.
- Bonus: You can often shorten, extend, or re-shape the run with new straight sections and connectors.
Shopping checklist for modern LED track heads
Sleek heads are not just about looks. A few specs make the difference between cozy, useful lighting and harsh glare.
- Color temperature: 2700K to 3000K for warm, inviting light in most homes. (Cooler temperatures can feel stark, especially at night.)
- Color rendering (CRI): Aim for CRI 90+ if possible so skin tones, wood, and textiles look natural.
- Beam angle:
- Narrow (15 to 25 degrees): Accent lighting, art, dramatic highlights.
- Medium (30 to 40 degrees): Great general aiming for counters and seating areas.
- Wide (50+ degrees): Softer spread, but more likely to cause glare if the source is visible.
- Lumens per head: For many rooms, 400 to 800 lumens per head is a comfortable range. Use more heads with lower output for smoother coverage.
- Dimming: If you dim, confirm the head or bulb is dimmable and compatible with your dimmer type (more on that below).
- Aimability: Look for heads that tilt and rotate smoothly and stay put.
Color temperature choices can feel surprisingly personal. If you want a deeper guide to warm versus neutral light, explore Lighting Basics & Education and the practical room advice in Room-by-Room Lighting.
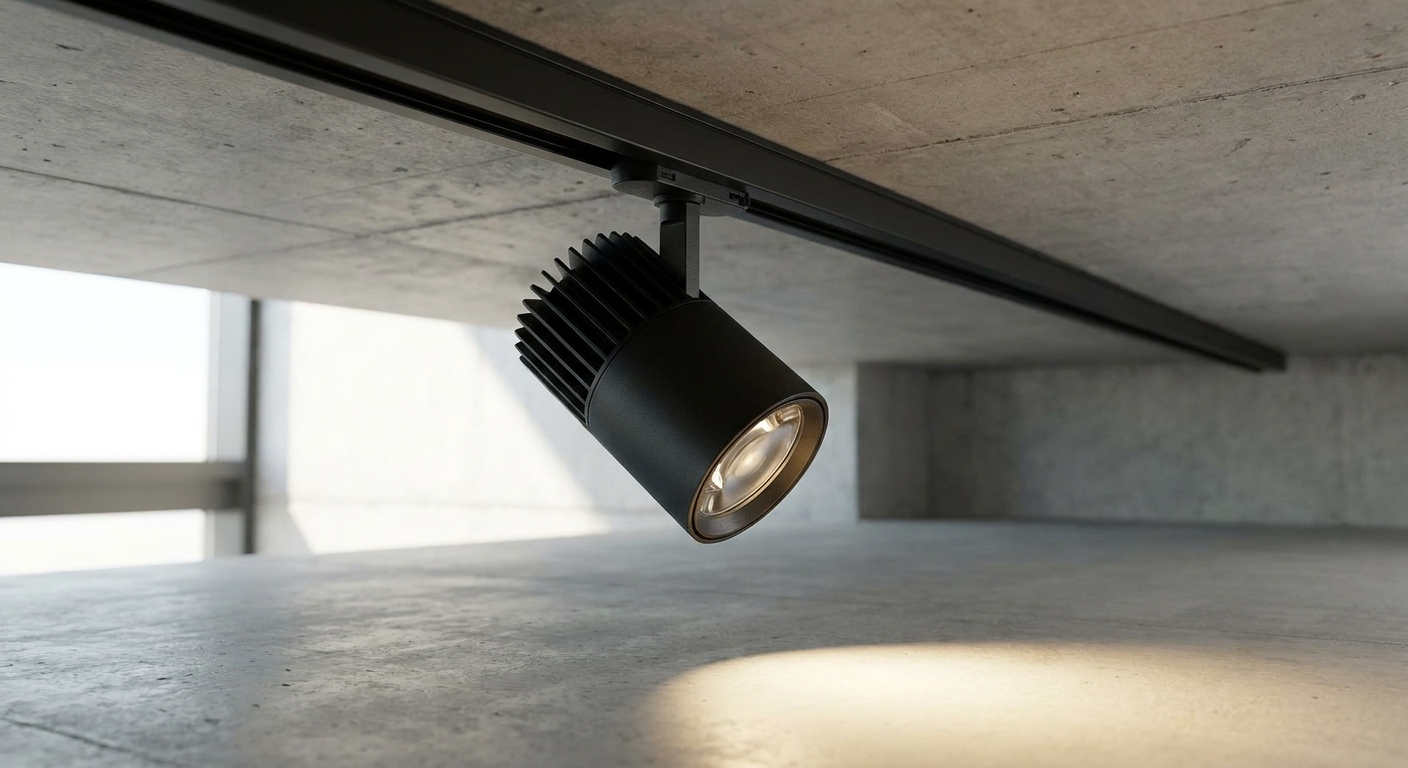
DIY: Replace track heads step by step
This is the most common upgrade, and it is usually tool-light. Always follow the manufacturer instructions for your specific system.
Tools and supplies
- New compatible track heads
- Stepladder
- Non-contact voltage tester
- Soft cloth (for fingerprints on finishes)
Steps
- Turn off power at the breaker. Flip the lighting circuit off, not just the wall switch.
- Confirm power is off. Use a non-contact voltage tester at the heads or canopy.
- Remove old heads. Most twist or release with a small lever. Support the head so it does not swing and scratch the track.
- Inspect the track contacts. Look for scorching, cracking, or loose pieces. If you see damage, stop and consider replacing the track or calling a licensed electrician.
- Install new heads. Align the adapter to the track channel, insert, then lock according to the head design.
- Set initial aiming. Aim each head roughly toward the target surface (countertop, wall wash, artwork), not straight out into the room.
- Restore power and test. Turn the breaker back on and check all heads for secure seating and consistent brightness.
- Fine-tune aiming for comfort. See the aiming section below for a glare-free approach.
For more approachable weekend projects like this, you can browse DIY & Easy Upgrades.
DIY: Replace the track (when the old system has to go)
Swapping the whole track is still a DIY-friendly project for many homeowners, but it has more wiring steps. If you are not comfortable working at the ceiling box, a licensed electrician is the safest choice.
Before you start
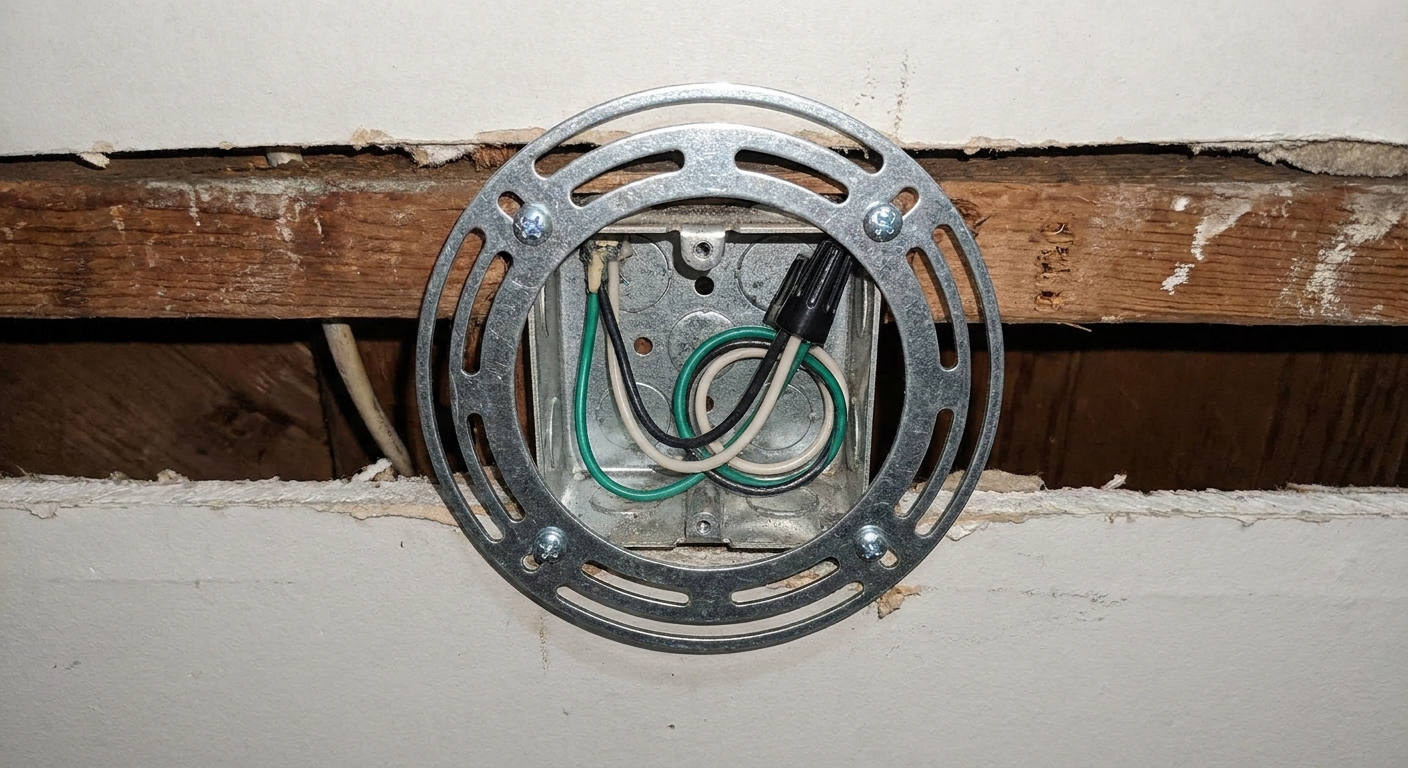
- Confirm ceiling box support. Track canopies typically mount to a standard ceiling electrical box. If there is no box, one must be installed properly.
- Plan the layout on the floor first. Decide where straight sections and connectors will go, and how many heads you will use.
- Match finish and scale. A slim track and compact heads read modern quickly.
High-level steps
- Turn off power at the breaker and verify with a tester.
- Remove old heads, then remove the old track and canopy.
- Install the new mounting bracket and canopy at the ceiling box.
- Connect wires exactly as instructed (typically hot to hot, neutral to neutral, ground to ground).
- Mount the new track sections, connectors, and end caps.
- Add heads, restore power, then aim and dim-test.
If the wiring is brittle, there is no ground, the ceiling box is loose, or anything looks scorched, pause and bring in a pro. A safe glow is always the best glow.
Aiming tips that make track lighting look intentional
Modern track lighting looks best when it feels like it is lighting the room on purpose, not just pointing everywhere. Use these aiming habits to get a calmer, more polished result.
- Target surfaces, not eyeballs. Aim at countertops, walls, shelves, and reading spots.
- Use the wall-wash trick. Aim a couple heads toward a blank wall or curtain for softer bounce light. This helps the whole room feel brighter without glare.
- Keep beams consistent. If heads are in a straight run, try similar tilt angles for a tidy look.
- Cross-light work zones. In kitchens and desks, aim from the side to reduce harsh shadows from your own body.
If you are refreshing a kitchen track run, layered lighting makes everything feel more modern. This guide can help: How to Layer Kitchen Lighting.
Make dimming smooth (and avoid flicker)
Track upgrades often introduce LEDs where halogens used to be. That is a happy energy-saving change, but it can reveal dimmer compatibility issues.
- Match LED to dimmer type. Many LEDs prefer ELV or LED-rated dimmers, while older incandescent dimmers can cause flicker or a limited dim range.
- Watch the minimum load. Some dimmers need a minimum wattage to behave properly. LEDs use so little power that you may need an LED-specific dimmer.
- Use one brand family when possible. Mixing different LED lamps on the same dimmer can create uneven dimming.
If you are unsure what is installed, the dimmer’s model number (inside the wall plate) can usually be checked against the manufacturer’s LED compatibility list.
Common problems and easy fixes
Only some heads turn on
- Head may not be fully locked into the track.
- Track polarity might matter in some systems. Try flipping the head orientation if the adapter allows.
- Track contacts could be dirty or worn. Power off first, then inspect carefully.
Buzzing or flicker
- Dimmer incompatibility is the top cause. Swap to an LED-rated dimmer.
- Loose connection at the canopy can also cause issues. If you are not comfortable checking connections safely, call an electrician.
Glare feels worse after upgrading
- Beam may be too wide or lumen output too high.
- Heads may be aimed too horizontally. Tilt down toward the task surface.
- Add more heads at lower brightness instead of fewer heads at high brightness.
When it’s time to skip track entirely
Sometimes the most modern move is choosing a different fixture style. Consider switching away from track if:
- The track is centered where you really want softer, indirect light.
- You want decorative presence, like a chandelier or pendant as a focal point.
- The ceiling has multiple odd track runs that make the room feel busy.
If you are comparing fixture styles for a cleaner look, this guide is a cozy place to start: Fixtures & Styles. For dining rooms specifically, sizing matters as much as style: Sizing a Dining Room Chandelier or Pendant.
Quick FAQ
Can I put LED heads on old track?
Often, yes, as long as the head adapter matches your track type and voltage. Identify the track standard first, then shop within that family.
Is “universal” track lighting really universal?
Usually not. Many listings use “universal” to mean “common”. Always verify the exact track type (H, J, or L style) before buying.
What color temperature looks modern without feeling cold?
In most homes, 2700K to 3000K reads clean and modern while still feeling welcoming. If you want a crisp look for task areas, 3000K is a popular middle ground.
How many heads do I need?
Enough to light the surfaces you use, not just the center of the room. As a starting point, many spaces feel best with several lower-output heads spaced evenly, instead of a few very bright ones.
A gentle safety sparkle
Track lighting upgrades are very doable, but electricity deserves respect. Turn off power at the breaker, confirm it is off with a tester, and stop if you see damaged insulation, overheating marks, or loose ceiling boxes. When in doubt, a licensed electrician can help you get the modern look safely.
When you’re ready for the next easy glow-up, you can find more ideas in DIY & Easy Upgrades and browse inspiration across Room-by-Room Lighting.